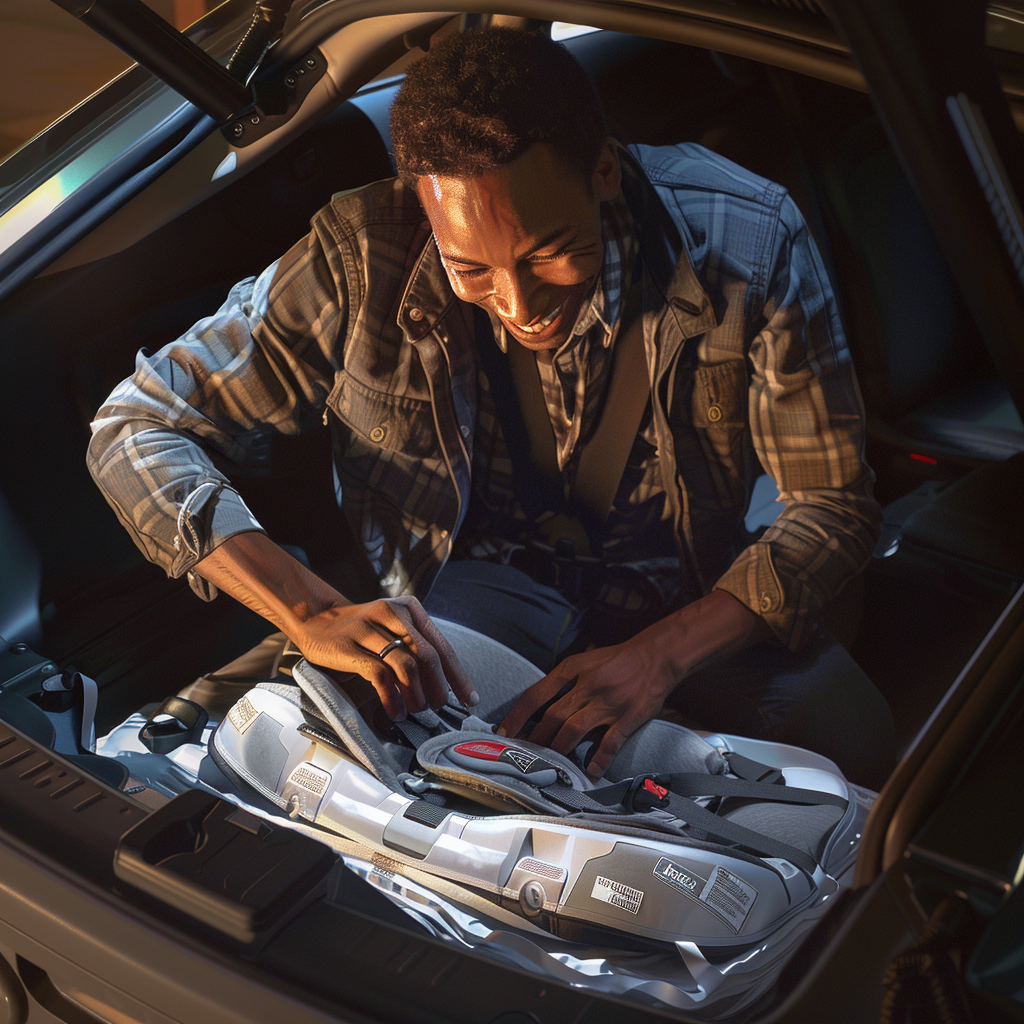
Step-by-Step Guide: Install Your Graco Car Seat Base Easily
Ensuring the safety of your child while traveling is paramount, and installing the car seat base properly is a critical step. Follow this comprehensive guide to install your Graco car seat base with ease and confidence.
Preparing for Installation
Installing the car seat base correctly involves a few initial preparations. Before you begin, ensure you have the following ready:
- Your Graco car seat and car seat base
- Vehicle owner’s manual
- Graco car seat manual
Choose the Right Spot
Determine the appropriate seating position for the car seat:
- Center of the back seat – Typically considered the safest spot as it is farthest from any potential impact.
- Ensure the seating position is compatible with the LATCH system or the car’s seat belt as per the car seat and vehicle manuals.
Installing the Car Seat Base Using the LATCH System
If your car is equipped with the LATCH (Lower Anchors and Tethers for Children) system, follow these steps for a secure installation:
Locate the LATCH Anchors
Identify the lower anchors in the seat crease of your vehicle:
- Look for symbols or labels indicating the anchor points.
- Refer to your vehicle’s manual for precise locations.
Attach the LATCH Connectors
Secure the car seat base by attaching the LATCH connectors:
- Press the connectors onto the designated anchors until you hear a click.
- Double-check that both connectors are securely attached.
Tighten the Strap
Ensure the base is snug and stable:
- Pull the adjustment strap to remove any slack.
- Apply firm pressure while tightening to achieve a solid connection.
Check the Level Indicator
Verify the car seat base is level:
- Use the built-in level indicator on the base.
- Adjust the recline as needed until the indicator shows a proper level.
Installing the Car Seat Base Using the Seat Belt
If your vehicle lacks the LATCH system, the seat belt can be used effectively:
Position the Base
Place the car seat base in the desired seating position:
- Ensure it lies flat against the vehicle seat.
- Check for a secure fit without any overhang.
Thread the Seat Belt
Route the seat belt through the appropriate path on the car seat base:
- Refer to the car seat manual for the correct belt path.
- Verify the belt is not twisted during routing.
Buckle and Lock the Seat Belt
Secure the seat belt and lock it in place:
- Buckle the seat belt and pull it tight.
- Engage the locking mechanism to prevent further movement.
Tighten and Level
Complete the tightening and leveling process:
- Press down on the car seat base while tightening the belt.
- Adjust the base angle if necessary to ensure it is level.
Final Checks and Securing the Car Seat
Once the base is installed, perform these final checks:
Wiggle Test
Conduct a wiggle test to ensure firmness:
- Grab the car seat base near the belt path or LATCH connectors.
- Try to move it side to side and front to back.
- It should not move more than an inch in any direction.
Attach the Car Seat
Secure the car seat to the installed base:
- Align the car seat with the base’s locking mechanism.
- Press until you hear a click, indicating it is locked in place.
Check Base Stability
Ensure the entire setup is stable:
- Verify the car seat is firmly attached to the base.
- Check the car seat’s angle using its level indicator.
Maintenance and Safety Tips
To keep the car seat base functioning correctly, follow these maintenance and safety tips:
Regular Inspections
Periodically inspect the car seat base and its components:
- Check for any signs of wear or damage.
- Ensure the connectors and belts remain secure.
Recheck Installation After Adjustments
Whenever you adjust the car seat or base:
- Reperform the wiggle test to confirm stability.
- Ensure the angle is still appropriate for your child’s age and size.
Follow Weight and Height Guidelines
Adhere to the manufacturer’s recommendations:
- Ensure your child’s weight and height fall within the car seat’s limits.
- Transition to a different car seat model as your child grows.
Conclusion
Installing your Graco car seat base correctly is crucial for your child’s safety. Whether using the LATCH system or a seat belt, meticulous attention to each step ensures a secure and stable fit. By following this step-by-step guide, you can travel with the peace of mind that your child is safely secured for every journey.


