Best Methods to Remove Chalk Paint: A Step-by-Step Guide
Removing chalk paint can be a challenging task, especially if it has been applied to a surface that was not properly prepared. However, with the right methods and tools, you can achieve a smooth, clean finish. This guide provides a detailed, step-by-step approach to effectively remove chalk paint from various surfaces.
Understanding Chalk Paint and Its Removal
Chalk paint is known for its matte finish and is often used to give furniture a vintage or shabby chic look. It adheres well to most surfaces, which can make it tricky to remove. Understanding the nature of chalk paint will help you choose the best method for removal. Whether you’re trying to refresh an old piece of furniture or correct a painting mistake, this guide will help you through each step.
Materials and Tools You’ll Need
Gather the following materials and tools before starting the chalk paint removal process:
- Paint Stripper: Choose one that is safe for the type of surface you’re working on.
- Sanding Blocks or Electric Sander: For both coarse and fine grit sanding.
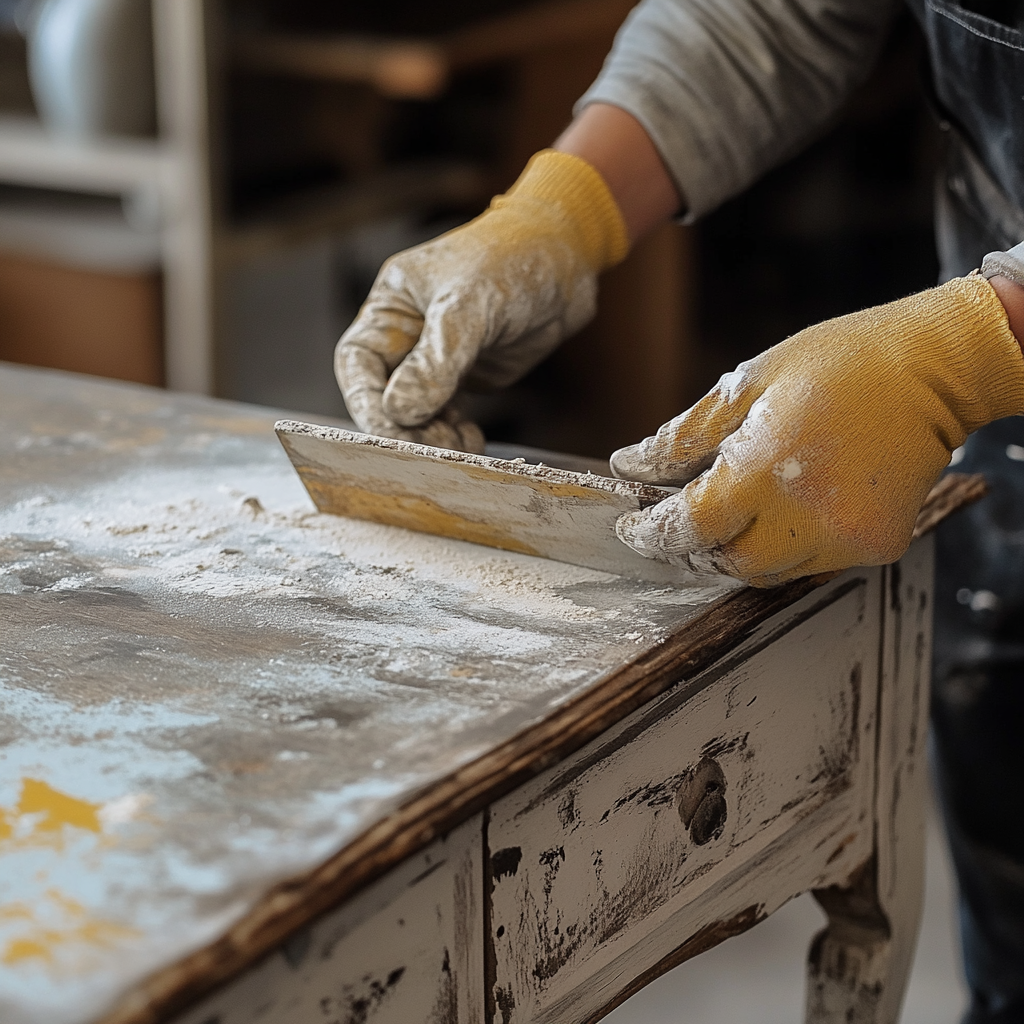
- Plastic Scraper: To gently lift away paint without damaging the surface underneath.
- Paint Brushes: For applying paint stripper or other solvents.
- Old Rags and Cloths: To wipe away residue and clean the surface.
- Protective Gear: Such as gloves, eyewear, and masks to ensure safety during the process.
- Warm Water and Soap: For cleaning the surface after paint removal.
- Drop Cloths and Tape: To protect the surrounding area from spills and drips.
Step-by-Step Guide to Removing Chalk Paint
Step 1: Preparing the Work Area
Begin by preparing your workspace:
- Lay down drop cloths to protect the floor and surrounding areas.
- Ensure good ventilation, especially if using chemical paint strippers.
- Wear protective gear such as gloves, eyewear, and a mask.
Step 2: Choosing the Right Method
The method you choose will depend on the surface and the amount of paint to be removed. Here are three effective methods:
- Using a Paint Stripper: Ideal for thick layers of paint.
- Sanding: Best for small areas or when you need to smooth the surface.
- Homemade Solutions: Suitable for sensitive surfaces or smaller jobs.
Step 3: Applying Paint Stripper
For those opting to use a paint stripper, follow these instructions:
- Read the instructions on the paint stripper’s label carefully.
- Using a paintbrush, apply a thick, even coat of paint stripper to the paint-covered area.
- Allow the stripper to sit for the recommended time, usually about 15-30 minutes.
- Once the paint begins to bubble and lift, use a plastic scraper to gently remove it.
- Wipe the surface with a damp cloth to remove any remaining residue.
Step 4: Sanding the Surface
If you prefer sanding, especially for smaller areas or to ensure a smooth finish, proceed with these steps:
- Start with a coarse grit sanding block or electric sander to remove most of the paint.
- Gradually switch to finer grit sandpaper to smooth the surface and remove any remaining paint.
- Use a damp cloth to wipe away dust and debris as you sand.
Step 5: Trying Homemade Solutions
For sensitive surfaces or when a chemical-free option is preferred, try a DIY solution:
- Mix equal parts of warm water and vinegar in a spray bottle.
- Spray the solution onto the painted surface and let it sit for several minutes.
- Use a plastic scraper or abrasive sponge to gently remove the paint.
Step 6: Cleaning and Final Touches
Once the paint has been removed, follow these steps to clean and finish the surface:
- Use warm water and soap to thoroughly clean the surface.
- Allow the area to dry completely before applying any new finish or paint.
- If necessary, use fine-grit sandpaper to smooth out any imperfections left behind.
Tips for Success
Keep these tips in mind to ensure a successful paint removal process:
- Always test a small, inconspicuous area first to ensure the chosen method does not damage the surface.
- Work in small sections to prevent paint stripper from drying out or becoming less effective.
- Use gentle, consistent pressure when scraping to avoid gouging or damaging the underlying material.
- Be patient and take your time – rushing can lead to mistakes and damage.
Conclusion
Removing chalk paint doesn’t have to be a daunting task. By choosing the right method and following these detailed steps, you can effectively strip away chalk paint and prepare your surfaces for a new look. Remember to prioritize safety and take your time to achieve the best results. Happy painting and restoring!


