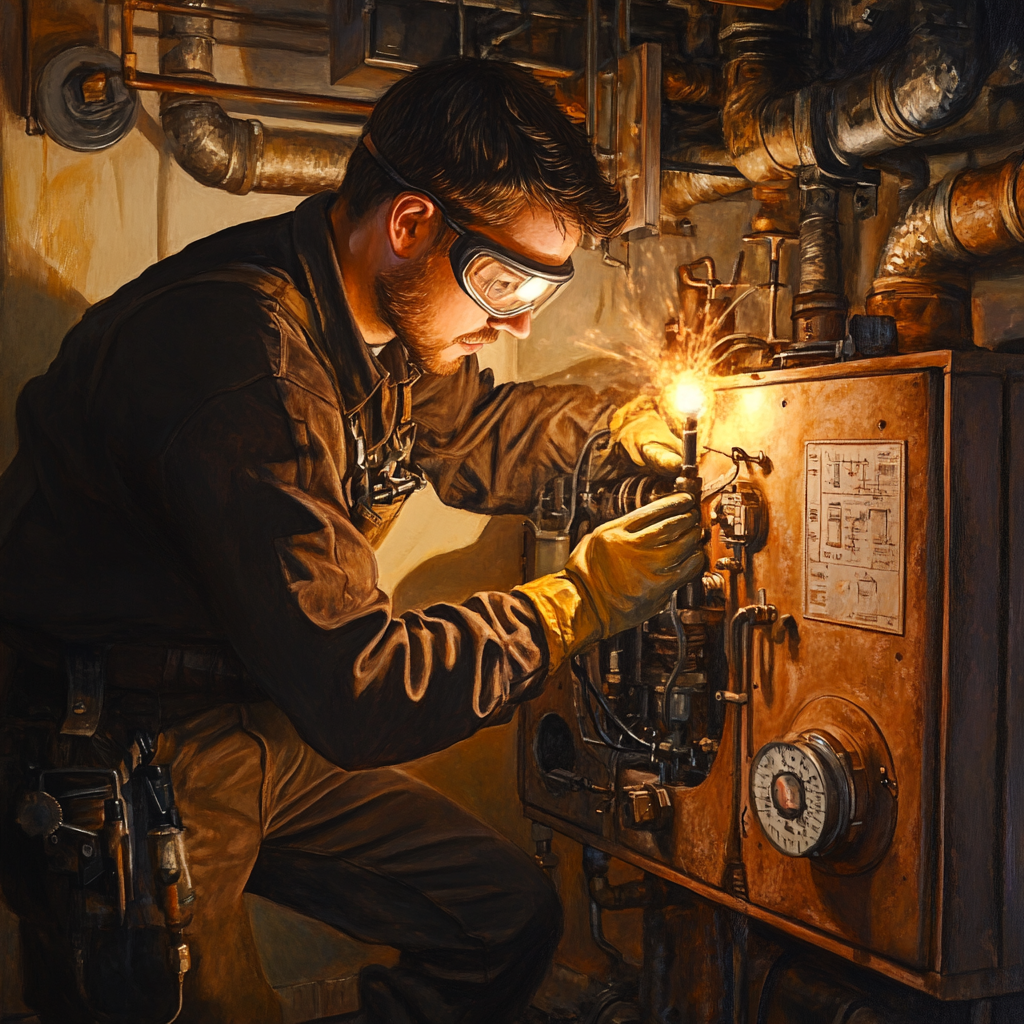
Step-by-Step Guide: How to Prime Your Oil Furnace Efficiently
Proper maintenance and care can extend the life of your oil furnace and ensure it operates effectively throughout the heating season. One crucial aspect of maintaining your furnace is priming. Priming your oil furnace is necessary when the unit runs out of oil or isn’t used for an extended period. Follow this step-by-step guide to prime your oil furnace efficiently and avoid potential operational issues.
Understanding the Importance of Priming
Priming ensures that your oil furnace is free of air and has a consistent supply of oil for burning. Failing to prime could lead to several problems, including:
- Inconsistent heating
- Increased wear and tear
- Potential system damage
Tools and Materials You’ll Need
Before starting the priming process, gather the necessary tools and materials to ensure the task is completed smoothly:
- Wrenches
- Screwdrivers
- Rags
- Container to catch the oil
- Safety gloves and goggles
Step-by-Step Guide to Prime Your Oil Furnace
Step 1: Turn Off the Furnace
Begin by switching off the furnace. This is critical for safety and prevents any potential mishaps during the priming process. Locate the main power switch and turn it off. Ensure the furnace is completely off before proceeding to the next steps.
Step 2: Locate the Bleeder Valve
Find the bleeder valve on your oil furnace. Typically, this valve is situated near the oil pump. The exact location can vary depending on the furnace model, so consult your furnace manual if you’re unsure. The bleeder valve is designed to release trapped air from the oil line.
Step 3: Prepare to Catch the Oil
Place a container under the bleeder valve to catch any oil that might spill out during the priming process. Use rags to protect the surrounding area from oil spills. This step is essential to maintain cleanliness and prevent potential hazards.
Step 4: Loosen the Bleeder Valve
Put on your safety goggles and gloves. Using a wrench, carefully loosen the bleeder valve. Be prepared for oil to start flowing out immediately. The flow of oil helps to expel the trapped air from the system.
Step 5: Activate the Furnace
Switch the furnace back on while keeping the bleeder valve open. As the furnace runs, the oil should start flowing more steadily, indicating that the air is being pushed out of the system. Keep a close watch on the oil flow.
Step 6: Monitor for Air Bubbles
Watch the oil flow carefully. You’ll see a mixture of air and oil at first. As the priming process continues, the flow will become more consistent and the air bubbles will reduce. This change signifies that the air has been expelled from the system.
Step 7: Tighten the Bleeder Valve
Once you notice a steady stream of oil with no air bubbles, it’s time to tighten the bleeder valve. Use the wrench to close the valve securely. Be cautious not to over-tighten as this could damage the valve.
Step 8: Verify Furnace Operation
After securing the bleeder valve, let the furnace run for a few minutes to ensure it’s operating correctly. Check for any irregularities in warmth delivery or unusual noises. Properly primed furnaces should run smoothly and silently.
Regular Maintenance Tips
To keep your oil furnace running efficiently throughout the year, follow these maintenance tips:
- Regularly check the oil level to avoid running out, which can lead to the need for priming.
- Schedule professional maintenance at least annually to keep your furnace in optimal condition.
- Replace the furnace filter periodically to maintain good airflow and efficiency.
- Inspect for leaks around the oil line and ensure connections are secure.
Troubleshooting Common Issues
Even with proper care, you may encounter issues with your oil furnace. Here are some common problems and solutions:
Furnace Won’t Start
– Ensure the furnace is receiving power and the thermostat is set correctly.
– Check if the oil tank has enough fuel.
Inconsistent Heating
– Verify the oil supply for consistency.
– Ensure air filters are clean and not obstructing airflow.
Unusual Noises
– Listen for banging or clanking sounds, which may indicate a mechanical issue.
– Schedule a professional inspection if unusual noises persist.
Conclusion
Priming your oil furnace is a crucial step in maintaining its efficiency and ensuring consistent heating throughout the cold months. By following this comprehensive guide, you can perform the priming process safely and effectively. Remember to integrate regular maintenance practices and address any issues promptly to keep your oil furnace in top condition.


