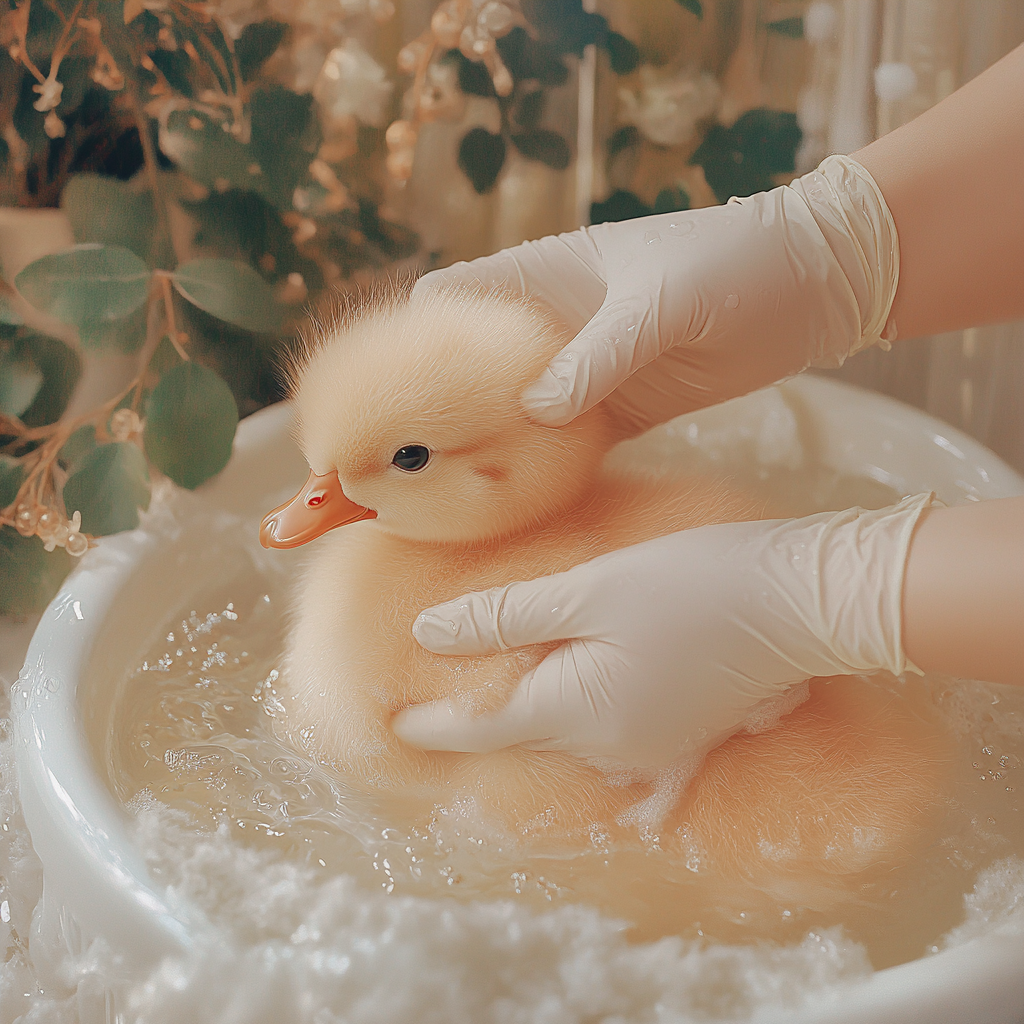
Effective Guide: How to Clean Ducks Safely and Properly
Caring for ducks involves more than just feeding and providing a safe habitat. Maintaining their cleanliness is essential for their health and well-being. Cleaning ducks safely and properly requires attention to detail and the right techniques.
Why Is Duck Cleaning Important?
Keeping ducks clean helps prevent disease and promotes overall health. Dirty feathers can harbor parasites and harmful bacteria, potentially leading to health issues. Regular grooming and cleaning ensure that ducks maintain their natural waterproofing and insulation.
Preparation
Gathering Supplies
Before starting the cleaning process, gather the necessary supplies:
- Warm water: Ensure the water is at a comfortable temperature for the ducks.
- Mild soap: Use a bird-safe soap that won’t irritate their skin.
- Soft brush: A gentle brush to help remove dirt and debris.
- Clean towels: For drying the ducks after cleaning.
- Optional: Vinegar solution: A mild vinegar solution can be used for additional cleaning power.
Setting Up the Cleaning Area
Choose a calm and quiet environment to reduce stress for the ducks. A bathtub or a large basin works well.
- Ensure the area is free from hazards.
- Keep all supplies within reach to avoid interruptions during the cleaning process.
The Cleaning Process
Step 1: Wetting the Duck
Place the duck gently in the water:
- Use one hand to support the duck’s body and head.
- Allow the duck to get accustomed to the water slowly.
- If using a basin, make sure it is not too deep, just enough to immerse the duck comfortably.
Step 2: Applying Soap
Apply a small amount of mild soap:
- Rub the soap gently into the feathers.
- Avoid getting soap in the duck’s eyes, beak, or ears.
- Focus on areas with visible dirt or debris.
Step 3: Brushing Feathers
Use the soft brush to clean the feathers:
- Brush in the direction of feather growth.
- Be gentle to avoid damaging the feathers.
- Pay special attention to the wings and undercarriage.
Step 4: Rinsing
Rinse the duck thoroughly with warm water:
- Ensure all soap is rinsed out to prevent skin irritation.
- Use a gentle flow of water to avoid frightening the duck.
Step 5: Drying
Dry the duck carefully:
- Use clean towels to pat the duck dry.
- Ensure the duck is completely dry before returning it to its habitat.
- Consider using a low-speed hairdryer on a warm setting if the duck is comfortable with it.
Post-Cleaning Care
Observing the Duck
After the cleaning process, monitor the duck for any signs of stress or discomfort.
- Ensure the duck is comfortable and active.
- Provide a warm and safe environment for them to recover.
Maintaining a Clean Environment
Keep the duck’s habitat clean to reduce the frequency of full cleanings:
- Regularly change bedding and nesting materials.
- Maintain clean water sources.
- Ensure the feeding area is clean and free of debris.
Tips for a Stress-Free Cleaning Experience
- Be Patient: Cleaning ducks require patience and gentle handling.
- Stay Calm: Your calm demeanor can help relax the ducks.
- Use Treats: Offering treats can make the process more enjoyable for the ducks.
When to Seek Professional Help
In some cases, professional assistance might be necessary:
- If the duck has severe dirt or debris build-up.
- If there are signs of infection or parasites.
- If you are unsure about the cleaning process.
Conclusion
Cleaning ducks safely and properly is a crucial aspect of their care. With the right techniques and a calm approach, you can ensure your ducks remain healthy and happy. Regular cleaning combined with a clean environment helps prevent health issues and keeps your ducks in top condition. Always prioritize their comfort and well-being during the cleaning process, and don’t hesitate to seek professional help if necessary.


