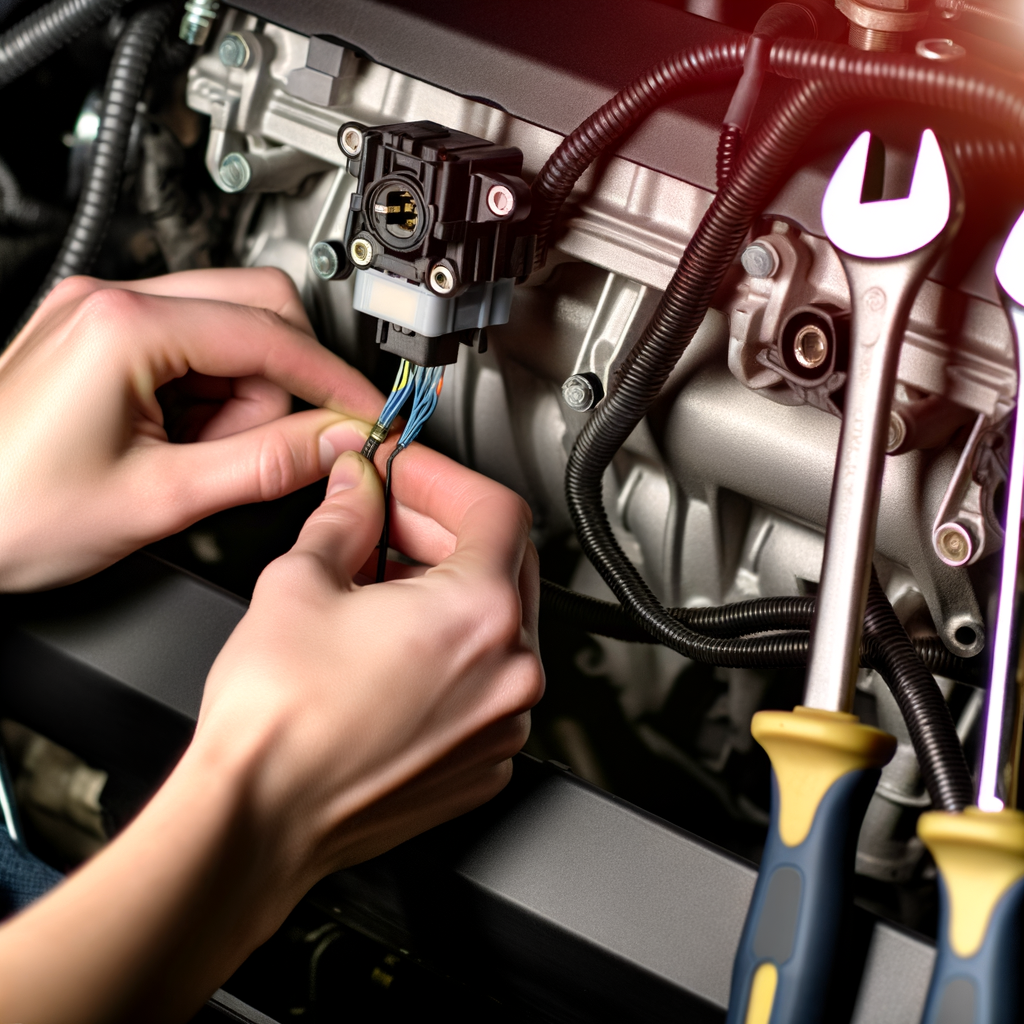
Fix Crankshaft Position Sensor Wiring Harness: Step-by-Step Guide
The crankshaft position sensor is a crucial component that plays a vital role in an engine’s functionality. It monitors the position and rotational speed of the crankshaft and sends crucial data to the engine control unit. However, issues with the wiring harness of this sensor can disrupt your vehicle’s performance. Here’s a comprehensive guide to fixing the crankshaft position sensor wiring harness.
Tools and Materials Needed
Before you begin, ensure you have the following tools and materials:
- Socket set
- Ratchet
- Multimeter
- Wire strippers
- Soldering iron and solder
- Electrical tape
- Heat shrink tubing
- Replacement wiring harness (specific to your vehicle model)
- Protective gloves
Step-by-Step Guide
1. Disconnect the Battery
- Ensure your vehicle is parked on a flat surface and the engine is off.
- Disconnect the negative battery cable to avoid electrical shocks and shorts.
2. Locate the Crankshaft Position Sensor
- Refer to your vehicle’s manual to pinpoint the exact location of the crankshaft position sensor. Typically, it’s found near the crankshaft pulley or the engine block.
3. Inspect the Existing Wiring Harness
- Conduct a visual inspection to assess for any visible damage such as frayed wires, corrosion, or loose connections.
- Use a multimeter to check for continuity and ensure the integrity of the wires.
4. Remove the Damaged Wiring Harness
- Disconnect the plug connected to the crankshaft position sensor.
- Carefully remove the clips and connectors holding the wiring harness in place, using a socket set or ratchet if necessary.
5. Prepare for the Replacement
- Lay out the new wiring harness and compare it to the old one to ensure compatibility.
- If needed, trim the wires to match the length of the existing harness.
6. Connect the New Wiring Harness
- Start by stripping the ends of the wires using wire strippers.
- Use a soldering iron and solder to join the new wires to the existing ones. Ensure solid and clean connections.
- Cover the soldered areas with heat shrink tubing for added protection. Apply heat to shrink the tubing securely around the connections.
- Wrap the connected wires with electrical tape to safeguard against moisture and physical damage.
7. Secure the New Wiring Harness
- Reattach any clips or connectors to hold the wiring harness in place, ensuring it is positioned correctly and securely.
- Connect the plug back to the crankshaft position sensor.
8. Reconnect the Battery
- Reconnect the negative battery cable to your vehicle’s battery.
9. Test the Repair
- Start the engine and observe its performance. The engine should run smoothly without any error codes indicating issues with the crankshaft position sensor.
Additional Tips and Precautions
- Safety First: Always wear protective gloves and eyewear when working on your vehicle’s electrical system.
- Proper Soldering: Ensure that your soldering is clean and free of cold joints. Refer to guides on proper soldering techniques if needed.
- Regular Maintenance: Regularly inspect your wiring harness and other critical components to preempt potential issues.
- Vehicle Manual: Always refer to your vehicle’s manual for specific instructions and wiring diagrams.
When to Seek Professional Help
There are instances where professional assistance might be necessary:
- If you lack confidence in dealing with electrical systems.
- If the damage to the wiring harness is extensive and beyond a simple repair.
- If the engine fails to start following the repair and additional diagnostics are required.
A professional mechanic can diagnose issues precisely and ensure that your vehicle’s engine runs optimally.
Conclusion
Fixing a crankshaft position sensor wiring harness may seem like a daunting task, but with the right tools, proper instructions, and a bit of patience, it can be accomplished efficiently. This DIY guide is aimed at providing you with comprehensive steps to ensure your engine remains in top condition. Regular maintenance and timely repairs will not only enhance the performance of your vehicle but also extend its lifespan.


