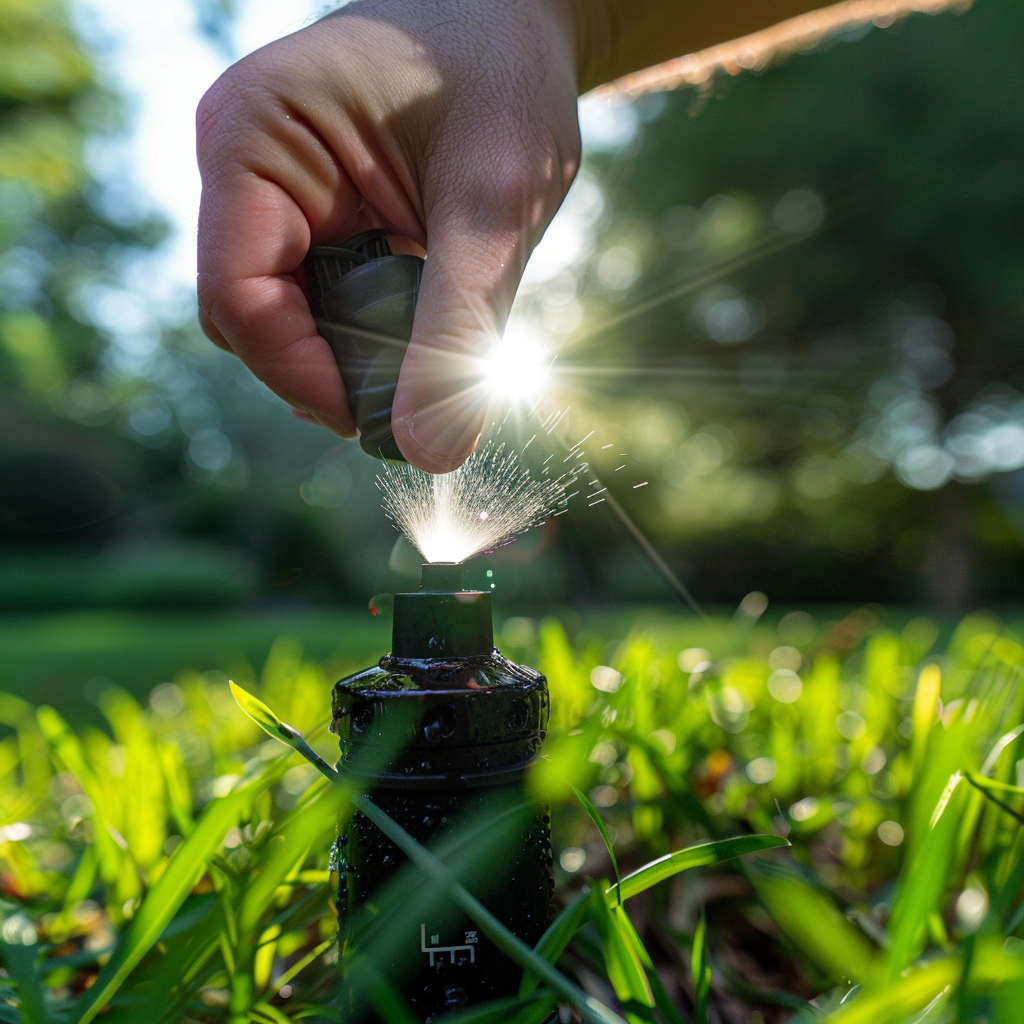
Adjust Rain Bird 5000 Sprinkler: Step-by-Step Guide for Optimal Performance
Sprinkler systems play a crucial role in maintaining a lush, green lawn. The Rain Bird 5000 series is renowned for its durability and efficiency. However, achieving optimal performance requires proper adjustment. Whether you’re installing a new system or fine-tuning an existing one, this step-by-step guide will help you adjust your Rain Bird 5000 sprinkler for the best results.
Understanding the Rain Bird 5000 Sprinkler System
Before diving into adjustments, it’s essential to understand the basic components and functionalities of the Rain Bird 5000 sprinkler.
Key Features
The Rain Bird 5000 series comes with several key features:
- Adjustable Arc: Allows you to modify the sprinkler’s coverage area.
- Pressure Regulation: Ensures consistent water flow.
- Nozzle Variety: Different nozzles are available to match your lawn’s requirements.
- Durable Construction: Built to withstand various weather conditions.
Initial Setup
When first installing your Rain Bird 5000 sprinkler, ensure it is connected correctly to your water supply and that the sprinkler heads are at the proper height relative to the soil surface.
Step-by-Step Guide to Adjusting Your Rain Bird 5000 Sprinkler
1. Gathering Essential Tools
Before adjusting the Rain Bird 5000, gather the necessary tools:
- Flat-head screwdriver: For arc and distance adjustments.
- Spray tool: Specifically designed for Rain Bird adjustments (often included in the package).
- Waterproof gloves: To protect your hands.
2. Adjusting the Spray Arc
The spray arc determines the angle the sprinkler covers.
- Turn Off the Water: Ensure the water supply is turned off to prevent surprises.
- Locate the Adjustment Slot: Find the arc adjustment slot at the top of the sprinkler head. Use your flat-head screwdriver or the Rain Bird spray tool.
- Increase the Arc: Turn the screwdriver clockwise to increase the coverage area. The maximum arc is typically 360 degrees.
- Decrease the Arc: Turn the screwdriver counterclockwise to decrease the coverage. The minimum arc is usually 40 degrees.
- Test the Adjustment: Turn the water back on and observe the sprinkle pattern to ensure it meets your requirements.
3. Adjusting the Spray Distance
Adjusting the spray distance ensures water reaches all areas of your lawn.
- Locate the Distance Adjustment Screw: This screw is usually found on the top of the nozzle.
- Use the Flat-head Screwdriver: Turn the screw clockwise to reduce the spray distance. Turning it counterclockwise will increase the distance.
- Test and Fine-Tune: After each adjustment, turn on the water and check the spray distance to ensure it aligns with your lawn’s coverage needs.
4. Adjusting the Water Pressure
Proper water pressure is crucial for the Rain Bird 5000’s efficiency.
- Check the Pressure Regulator: Ensure your sprinkler system includes a pressure regulator. If absent, consider installing one.
- Monitor System Pressure: Use a pressure gauge to monitor the system’s pressure. Optimal pressure typically ranges between 30-50 PSI.
- Adjust Pressure Settings: Modify the pressure settings as needed to ensure even water distribution.
5. Choosing the Right Nozzles
The Rain Bird 5000 offers a variety of nozzles designed for different irrigation needs.
- Identify Lawn Requirements: Determine if your lawn has zones needing specific water coverage.
- Select Appropriate Nozzles: Choose nozzles based on the spray pattern and distance suitable for each zone.
- Replace Existing Nozzles: Follow the manufacturer’s instructions to replace and install the new nozzles correctly.
6. Perform Regular Maintenance
Maintaining your Rain Bird 5000 sprinkler ensures it operates efficiently.
- Inspection: Regularly inspect the sprinkler heads for damage or blockages.
- Cleaning: Remove any debris or dirt that might clog the nozzles.
- Winterization: If you live in a region with freezing temperatures, winterize your system to prevent damage.
Troubleshooting Common Issues
Even with careful adjustments, you might encounter issues with your Rain Bird 5000 sprinkler.
Uneven Water Distribution
Causes and Solutions:
- Clogged Nozzles: Clean or replace clogged nozzles.
- Incorrect Arc or Distance Settings: Re-adjust arc and distance settings for even coverage.
- Pressure Issues: Verify that the system pressure is within the recommended range.
Sprinkler Heads Not Retracting
Causes and Solutions:
- Debris Around Heads: Clean any debris surrounding the sprinkler heads.
- Damaged Sprinkler Heads: Check for any damage and replace as needed.
- Insufficient Water Pressure: Ensure adequate water pressure for proper retraction.
Water Leakage Issues
Causes and Solutions:
- Loose Connections: Secure any loose connections or fittings.
- Damaged Pipes: Inspect for pipe damage and repair promptly.
- Faulty Valves: Check valves for malfunction and replace if necessary.
Final Thoughts
Adjusting your Rain Bird 5000 sprinkler system for optimal performance is essential for maintaining a healthy, green lawn. With the right tools and a systematic approach, you can ensure your sprinkler system operates efficiently. Regular maintenance and prompt troubleshooting can further enhance the longevity and performance of your system. Follow this guide, and your Rain Bird 5000 will deliver consistent, even irrigation to keep your lawn looking its best.


