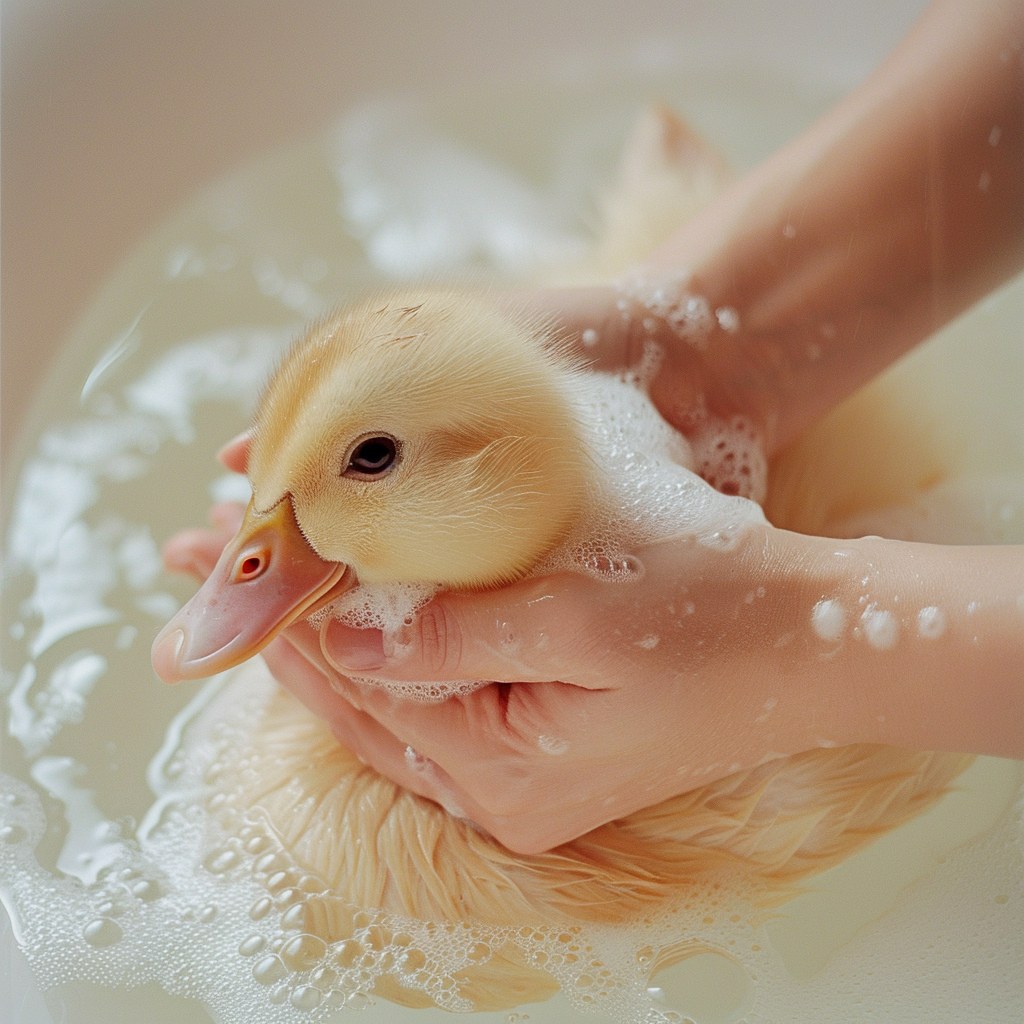
Effective Tips for Safely Cleaning Your Pet Duck
Keeping your pet duck clean is essential for its health and well-being. This step-by-step guide will provide you with everything you need to know to ensure your feathered friend looks its best. Proper cleaning can prevent infections and keep your pet happy.
Understanding the Importance of Cleaning Your Pet Duck
Cleaning your pet duck is not just about aesthetics; it plays a crucial role in their overall health. Dirty feathers can lead to parasites and infections. Additionally, a cleaner duck is a happier and more comfortable one.
Precautions Before Beginning
Before starting the cleaning process, make sure to take the following precautions:
- Check Weather Conditions: Always ensure the weather is warm enough so your duck doesn’t catch a chill after its bath.
- Secure Environment: Conduct the cleaning in a safe, enclosed area where the duck cannot escape or be attacked by predators.
- Avoid Overcleaning: Ducks naturally preen themselves, so avoid overcleaning which can damage their natural oils.
Essential Supplies for Cleaning
To clean your pet duck effectively, you will need the following supplies:
- Large tub or sink filled with lukewarm water
- Mild, non-toxic soap or duck-specific shampoo
- Soft sponge or cloth
- Large towel for drying off
- Small brush for removing dirt and debris from feathers
Step-by-Step Cleaning Process
Step 1: Preparation
Fill your tub or sink with lukewarm water. Make sure it’s not too hot or too cold to maintain your duck’s comfort.
Step 2: Gentle Introduction to Water
Gradually introduce your pet duck to the water. Gently lower them into the tub, ensuring that their feet touch the water first. Keep a reassuring hand on them to prevent panic.
Step 3: Applying Shampoo
Wet the duck thoroughly but avoid submerging their head. Apply a small amount of mild, non-toxic soap or duck-specific shampoo to your hand. Gently work it into the duck’s feathers, focusing on areas with visible dirt or oil build-up. Avoid contact with the eyes and beak.
Step 4: Gentle Scrubbing
Using a soft sponge or cloth, gently scrub away the dirt. Pay special attention to the underside, wings, and tail regions. A small brush can help remove stubborn dirt while ensuring you don’t damage feathers.
Step 5: Rinsing
Rinse the duck thoroughly with clean, lukewarm water. Ensure all soap residues are removed as they can irritate their skin if left behind.
Step 6: Drying
Lift the duck out of the water and immediately wrap it in a large, soft towel. Gently pat them dry to remove as much moisture as possible. Ensure the duck is kept warm during this process, particularly if the weather is cool.
Maintaining Your Duck’s Cleanliness
Regular Preening
Encourage your duck to preen regularly. Ducks naturally clean themselves by preening, redistributing their natural oils, and maintaining their feather health.
Provide a Daily Bath
Allow your duck to bathe daily in fresh, clean water. This will help maintain their cleanliness and provide them with a fun, enriching activity.
Check for Signs of Illness
Regularly inspect your duck for any signs of illness or distress. Cleanliness can often highlight underlying health issues such as:
- Feather loss
- Skin irritation
- Parasites
A Final Note on Cleaning Your Pet Duck
Cleaning your pet duck doesn’t have to be intimidating. With the right tools and a gentle approach, you can keep your duck clean and healthy. Remember, a clean duck is a happy duck, and prioritizing their hygiene will lead to a lively, thriving feathered friend.
In conclusion, regular cleaning and maintenance of your pet duck are vital for its well-being. By following these simple steps and guidelines, you can ensure your duck remains healthy and happy. Don’t forget to enjoy the process—it’s an excellent opportunity to bond with your feathered companion.


