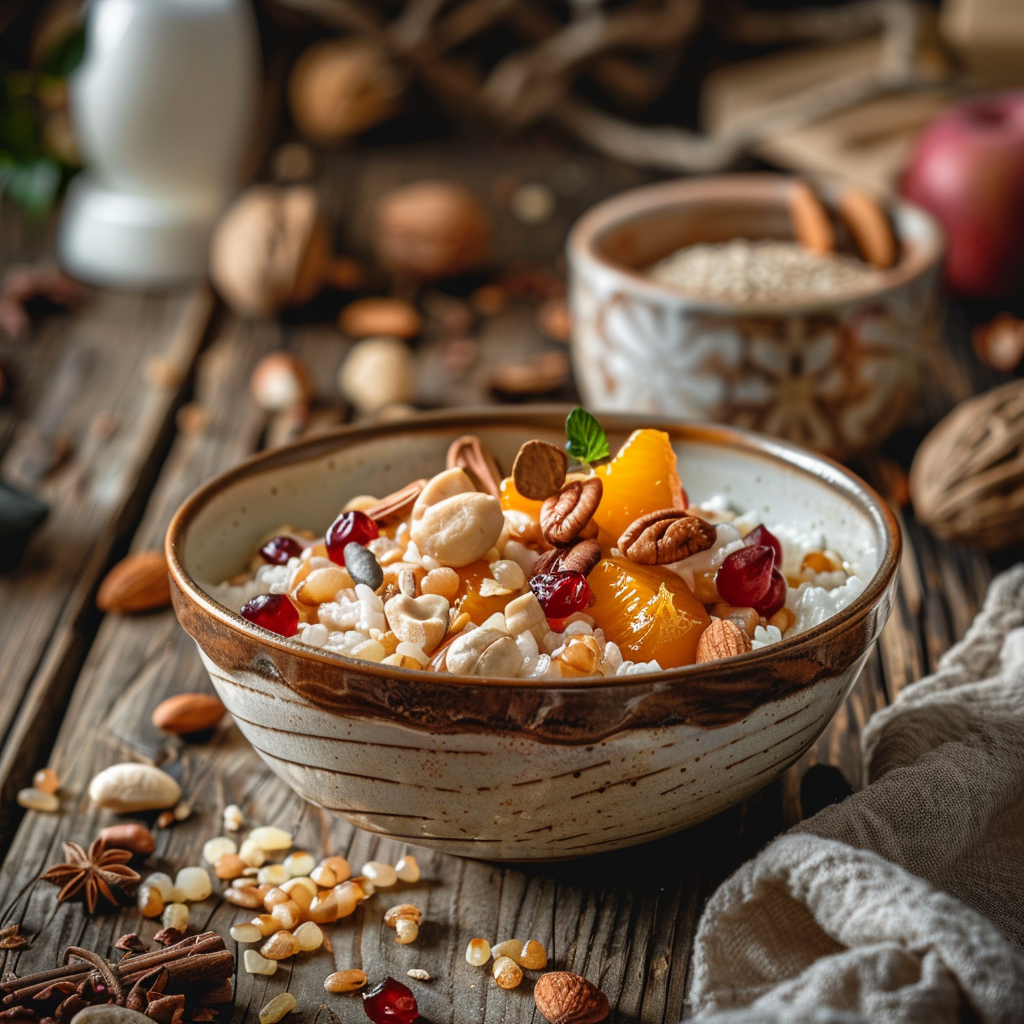
Easy Homemade Rice Puff Cereal Recipe: Step-by-Step Guide
Are you looking to start your day off with a delightful and crunchy breakfast? Look no further than this easy homemade rice puff cereal recipe. It’s not only fun and simple to prepare but also a healthier alternative to store-bought cereals. Let’s dive right into the kitchen with this step-by-step guide and create a delicious, nutritious breakfast option.
Why Choose Homemade Rice Puff Cereal?
Choosing to make your own rice puff cereal at home comes with numerous benefits:
Healthier Ingredients
Customizable Flavors
Cost-Effective
Freshness Guaranteed
By controlling the ingredients and avoiding unnecessary additives and preservatives, you can ensure you are treating your body to the best possible start to the day.
Ingredients You Will Need
Before starting, gather all the necessary ingredients to ensure a smooth and organized cooking process:
2 cups of cooked rice (white or brown, based on preference)
2 tablespoons of honey or maple syrup
1 teaspoon of vanilla extract (optional)
1/4 teaspoon of salt
Step-by-Step Instructions
Step 1: Cook and Prepare the Rice
First and foremost, you will need to cook your rice. Follow these steps to cook the perfect rice for your cereal:
Rinse 1 cup of rice under cold water until the water runs clear.
In a medium-sized saucepan, combine the rinsed rice with 2 cups of water.
Bring the mixture to a boil over medium-high heat.
Once boiling, reduce the heat to low, cover, and simmer for about 18-20 minutes until the rice is tender and the water is absorbed.
Fluff the rice with a fork and allow it to cool completely.
Step 2: Preparing the Cereal Mixture
Once your rice has cooled, it’s time to prepare the mixture for puffing:
In a large mixing bowl, combine the cooked rice with honey or maple syrup, vanilla extract, and salt.
Gently mix until all the ingredients are well incorporated.
Step 3: Shaping and Drying the Rice
For that perfect puff, follow these shaping and drying instructions:
Preheat your oven to 275°F (135°C).
Line a baking sheet with parchment paper.
Spread the rice mixture evenly onto the baking sheet, aiming for a thin and uniform layer.
Place the baking sheet in the preheated oven and bake for about 45-60 minutes. Stir the rice occasionally to ensure even drying.
The rice should be completely dry and slightly crispy when done. Remove from the oven and allow it to cool.
Step 4: Puffing the Rice
Now for the exciting part, puffing the dried rice:
In a deep saucepan or a pot, heat a few inches of oil (such as vegetable or canola oil) to 350°F (175°C).
Test the oil’s readiness by dropping a small piece of dried rice into the hot oil. If it puffs up immediately, the oil is ready.
Carefully add a small handful of dried rice to the hot oil.
Let the rice puff up, which should take just a few seconds. Use a slotted spoon to remove the puffed rice and transfer it to a paper towel-lined plate to drain excess oil.
Repeat the process in small batches until all the dried rice is puffed.
Step 5: Cooling and Storing Your Rice Puff Cereal
After puffing, it’s crucial to cool and store your rice puff cereal properly to maintain its crunchiness:
Let the puffed rice cool completely on the paper towel-lined plate.
Once cooled, transfer the rice puff cereal to an airtight container to keep it fresh and crispy.
Serving Suggestions and Customizations
Homemade rice puff cereal can be enjoyed in many creative ways. Here are some serving suggestions:
Serve with your favorite milk or plant-based milk
Top with fresh fruits like berries, bananas, or mango
Add nuts or seeds for extra crunch and nutritional value
Mix with yogurt for a protein-packed breakfast or snack
Add a dash of cinnamon or cocoa powder for a flavor twist
Experimenting with different add-ins and toppings allows you to keep breakfast exciting and never boring.
Health Benefits of Homemade Rice Puff Cereal
Making your own rice puff cereal gives you control over what goes into your body. This cereal:
Is free from unnecessary additives and preservatives
Can be made gluten-free
Offers a source of complex carbohydrates for sustained energy
Can be low in sugar depending on your choice of sweetener
Provides an opportunity to introduce whole grains if using brown rice
This simple yet effective recipe demonstrates how easy it is to make delicious and healthy food at home with minimal effort.
Conclusion
Creating your own homemade rice puff cereal is not only gratifying but also an excellent way to enhance your breakfast nutrition. With this step-by-step guide, you can make a batch in advance and enjoy a week of crunchy, well-balanced breakfasts. Embrace the opportunity to add your personal touch with unique flavors and toppings. Happy cooking!


