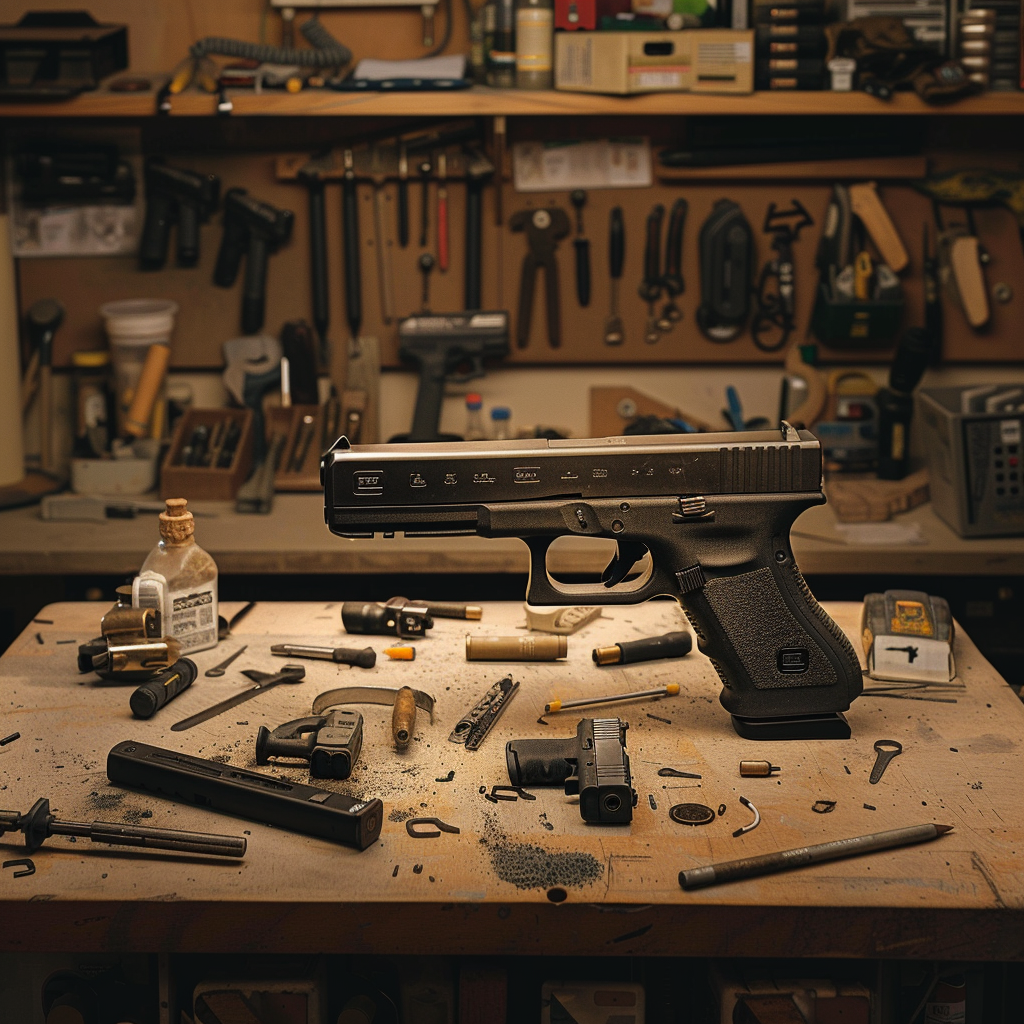
Guide to Disassembling a Glock: Step-by-Step Instructions
Disassembling a Glock is a fundamental skill for maintaining your firearm. Whether you’re a seasoned gun owner or a novice, knowing how to safely and effectively disassemble your Glock can ensure optimal performance and longevity. This guide provides a detailed, step-by-step introduction to this essential process.
Why Disassemble Your Glock?
Regular disassembly and cleaning can prevent malfunction, enhance accuracy, and prolong the life of your Glock. Here are some key reasons to disassemble your firearm:
- Maintenance: Regular cleaning removes debris and buildup.
- Inspection: Check for wear and tear, ensuring all parts are functioning correctly.
- Lubrication: Proper lubrication reduces friction and wear on moving parts.
Pre-Disassembly Safety Checks
Before starting the disassembly process, safety must be a top priority. Follow these crucial steps to ensure a safe environment:
- Unload the Firearm: Eject the magazine and empty the chamber.
- Check Twice: After unloading, visually inspect the chamber and feel for any remaining rounds.
- Work in a Safe Area: Choose a clean, flat workspace with no distractions.
Once you’ve completed the safety checks, you’re ready to begin disassembling your Glock.
Tools You’ll Need
While disassembling a Glock is relatively straightforward and often doesn’t require specialized tools, having a few basic items on hand is helpful:
- Cleaning Mat: Protects your workspace and organizes parts.
- Punch Tool: Useful for pushing out pins.
- Screwdriver Set: For handling screws, if necessary.
- Cleaning Supplies: Brushes, cloths, and solvents for post-disassembly cleaning.
Step-by-Step Guide to Disassembling Your Glock
Follow these steps closely to disassemble your Glock:
Step 1: Remove the Slide
- Check for Unloaded Firearm: Double-check to ensure your Glock is unloaded.
- Point in a Safe Direction: Always keep the firearm pointed in a safe direction.
- Pull the Trigger: With the firearm unloaded, pull the trigger.
- Move the Slide Back: Slightly pull the slide back about a quarter of an inch.
- Pull Slide Lock: Pull down the slide lock on both sides, simultaneously.
- Remove Slide: While holding the slide lock, push the slide forward off the frame.
Step 2: Disassemble the Recoil Spring and Barrel
- Remove the Recoil Spring: Compress the recoil spring assembly slightly, then lift it out of the slide.
- Lift Out the Barrel: Tilt the barrel upward and lift it out of the slide.
Step 3: Field Strip Completed
At this point, you have successfully field stripped your Glock. The basic components should now be separated:
- Frame
- Slide
- Barrel
- Recoil Spring Assembly
For most maintenance purposes, this level of disassembly is sufficient.
Further Disassembly (Optional)
If you need to perform more detailed maintenance or inspections, you can further disassemble the frame and slide components. This involves removing internal parts such as the trigger assembly, firing pin, and extractor. Here’s how:
Disassembling the Frame
1. **Remove the Pin:**
– Use a punch tool to push out the locking block pin from the frame.
2. **Remove the Slide Lock Spring:**
– Take out the slide lock spring from the frame.
3. **Lift Out the Trigger Assembly:**
– Carefully lift the trigger assembly out of the frame.
Disassembling the Slide
1. **Remove the Firing Pin Assembly:**
– Compress the spacer sleeve and pull out the firing pin assembly from the slide.
2. **Extract the Extractor:**
– Push down on the safety plunger and remove the extractor.
Reassembling the Glock
To reassemble your Glock, follow these steps in reverse order. Here’s a concise summary:
1. **Reassemble Slide:**
– Insert the barrel, followed by the recoil spring assembly into the slide.
2. **Attach Slide to Frame:**
– Align the slide with the frame rails and push the slide back until it locks into place.
3. **Final Checks:**
– Cycle the slide a few times and perform a function test to ensure everything is working correctly.
Tips for Effective Disassembly and Maintenance
– **Consistency:** Regularly clean and inspect your Glock to maintain its condition.
– **Quality Supplies:** Use high-quality cleaning and lubrication products to ensure longevity.
– **Stay Organized:** Keep parts in order and use a mat to avoid losing small components.
– **Refer to Manual:** Always refer to the user manual for your specific Glock model for detailed instructions and safety guidelines.
Conclusion
Disassembling a Glock is a fundamental task that all Glock owners should master. By following this step-by-step guide, you can ensure your firearm is well-maintained, enhancing its performance and reliability. Regular cleaning and proper reassembly play a crucial role in firearm safety and functionality. Always remember, safety first, and happy disassembling!


