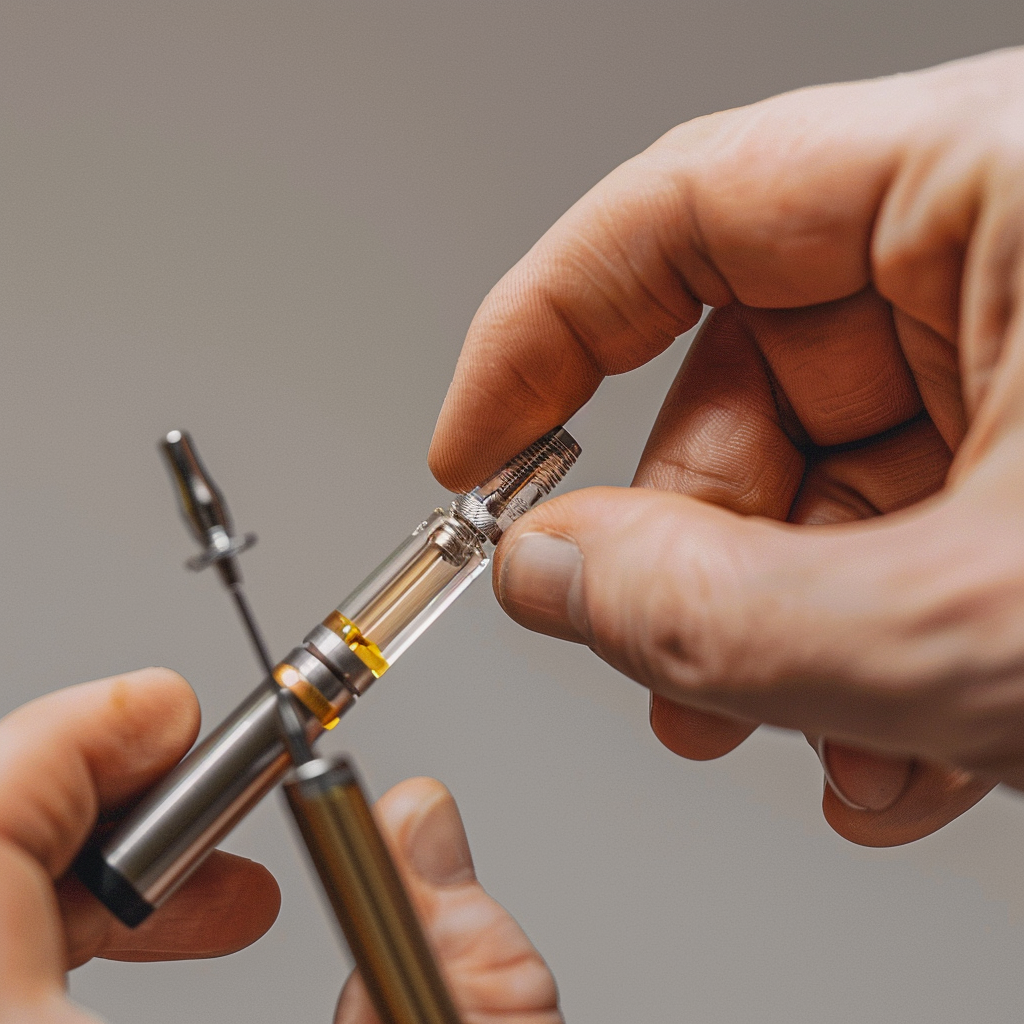
Unclog Disposable Vape Carts: Easy Steps to Fix Blockages
Disposable vape carts are incredibly convenient, but one downside can be the occasional clogging issues. If you’ve ever experienced this frustrating problem, you’re not alone. This blog post will detail some straightforward methods to help you unclog your disposable vape carts, ensuring a smooth vaping experience.
Understanding the Problem: Why Vape Carts Clog
Before delving into the solutions, it’s essential to grasp why vape carts clog in the first place. Several factors contribute to this issue:
Oil Viscosity: Thicker oils are more prone to causing blockages, especially in cooler temperatures.
Improper Storage: Storing vape carts upright can lead to oil settling and hardening near the mouthpiece.
Frequent Use: Continuous use without proper cleaning can lead to residue buildup, resulting in clogs.
Easy Steps to Unclog Your Vape Cart
Fear not! With the right techniques, you can get your vape cart back to its optimal functionality. Here’s a step-by-step guide to unclogging your disposable vape cart:
Step 1: Gentle Heat Application
Applying gentle heat can help soften the oil, making it easier to clear the clog.
Use a hairdryer on a low setting and direct the warm air at the clogged area for a few seconds.
Avoid exposing the cart to excessive heat for long periods, as this could damage the oil and the device.
You may also place the vape cart in a sealed plastic bag and dip it into warm water for a few minutes.
Step 2: Blowing Through the Mouthpiece
Sometimes, a simple blow can dislodge the blockage.
Remove the vape cart from the battery.
Firmly but gently blow through the mouthpiece. This can push the clog out through the bottom.
Ensure you do this carefully to avoid damaging any components inside the cart.
Step 3: Use a Needle or Paperclip
For more stubborn clogs, you may need a tool to help clear the blockage.
Straighten a paperclip or use a needle.
Gently insert it into the mouthpiece and carefully move it around to dislodge the clog.
Be cautious not to apply too much pressure as this could damage the cart.
Step 4: Clean the Mouthpiece
Once the clog is cleared, cleaning the mouthpiece can prevent future blockages.
Dampen a cotton swab with rubbing alcohol and clean the interior of the mouthpiece.
Allow it to dry completely before using the vape cart again.
Regular cleaning can maintain the functionality of your vape cart.
Preventative Measures to Avoid Clogs
Prevention is always better than cure. Here are some tips to help keep your vape cart clog-free:
Store Your Vape Cart Properly
Keep the vape cart upright to prevent oil from settling in the mouthpiece.
Store in a cool, dry place to maintain the oil’s viscosity.
Avoid exposing the cart to extreme temperatures.
Regularly Clean Your Vape Cart
Set a routine to clean the mouthpiece with a cotton swab and rubbing alcohol.
Perform this maintenance at least once a week if you use the vape cart frequently.
Avoid Overuse
Give your vape cart periodic breaks to prevent residue buildup.
Avoid chain vaping; it helps keep the device in good condition.
When to Replace Your Vape Cart
Despite your best efforts, there might come a time when unclogging no longer works. Knowing when to replace your vape cart can save you time and frustration.
If you’ve tried all the steps above and the cart still won’t unclog, it may be time for a new one.
Constant clogging could indicate that the cart is nearing the end of its lifespan.
Always have a backup on hand to avoid interruptions to your vaping experience.
Conclusion
Clogged disposable vape carts can be a hassle, but with these easy steps, you can quickly resolve the issue and continue enjoying a smooth vaping experience. Remember to take preventative measures and clean your vape cart regularly to minimize the chances of future clogs. Happy vaping!


