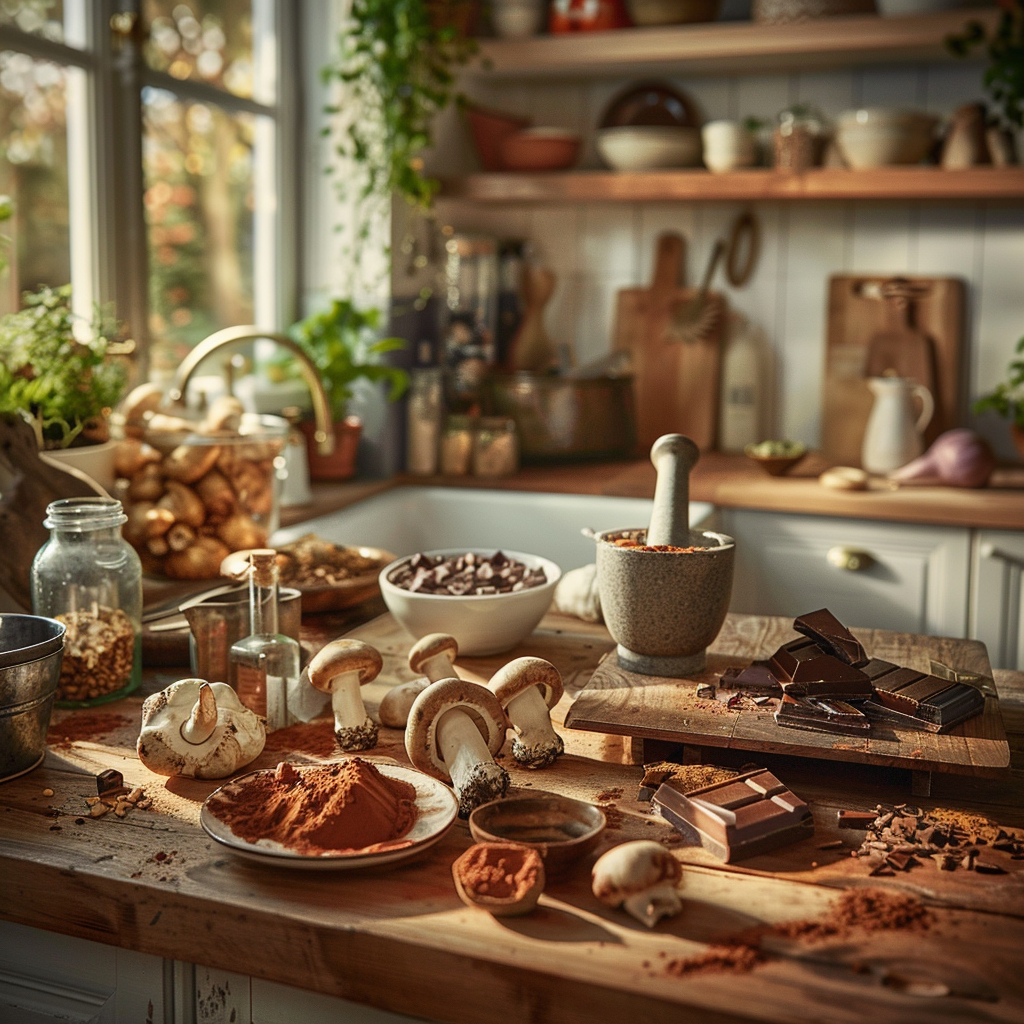
Crafting Delicious Mushroom Chocolates: A Step-by-Step Guide
Are you ready to take your love for chocolate to a whole new level? Incorporating mushrooms into your chocolate creations not only adds a unique and earthy flavor but also leverages the health benefits of certain mushrooms. In this guide, you’ll learn how to craft delicious mushroom chocolates with ease.
Why Mushroom Chocolates?
Mushroom chocolates combine the rich, velvety taste of chocolate with the nutritional benefits of mushrooms. Some reasons to consider mushroom chocolates include:
Now, let’s dive into the step-by-step process of creating these delightful confections.
Ingredients and Tools Needed
Before you start, gather all the necessary ingredients and tools to ensure a smooth crafting process. Here’s what you’ll need:
Ingredients
- High-quality chocolate (dark, milk, or white as per preference)
- Mushroom powder (e.g., reishi, lion’s mane, chaga, etc.)
- Cocoa butter (for additional smoothness)
- Sweeteners like honey or maple syrup (optional)
- Flavor enhancers (e.g., a pinch of sea salt, vanilla extract, or spices)
Tools
- Double boiler or microwave-safe bowl for melting chocolate
- Whisk or spatula
- Silicone chocolate molds
- Measuring spoons/cups
- Thermometer (optional but recommended for tempering chocolate)
Step-by-Step Guide to Crafting Mushroom Chocolates
Follow these steps to create mushroom chocolates that are both beautiful and delicious.
1. Prepare Your Workspace and Ingredients
* Clean and organize your workspace to avoid any contamination.
* Measure out all the ingredients before you start melting the chocolate.
2. Melt the Chocolate
*Place your chocolate in a double boiler or microwave-safe bowl.*
- If using a double boiler, heat water in the bottom pot but do not let it boil. Place the chocolate in the top pot, stirring constantly until fully melted.
- If using a microwave, heat the chocolate in short intervals (15-20 seconds), stirring between each interval to avoid burning.
3. Add Mushroom Powder
*Once the chocolate is melted, remove it from heat and gradually add the mushroom powder.*
- Start with a small amount of mushroom powder to avoid overpowering the chocolate. Depending on your taste and the type of mushroom, 1 teaspoon per 100g of chocolate is a good starting point.
- Whisk or stir the mixture thoroughly to ensure even distribution of the mushroom powder.
4. Add Optional Ingredients
*Enhance the flavor and texture of your chocolate with add-ins.*
- If desired, add a small amount of cocoa butter, sweeteners, and flavor enhancers like sea salt or vanilla extract.
- Continue to stir until all ingredients are well combined.
5. Pour Chocolate into Molds
*Carefully pour the chocolate mixture into silicone molds.*
- Tap the molds gently on the counter to remove any air bubbles and ensure an even surface.
- Feel free to get creative with shapes and sizes to make your chocolates visually appealing.
6. Cool and Set
*Allow the chocolates to cool and set for a few hours at room temperature or in the refrigerator.*
- If setting at room temperature, make sure the area is cool and dry to avoid melting.
- For quicker results, you can place the molds in the refrigerator, but avoid the freezer as it can cause the chocolate to become too brittle.
7. Unmold the Chocolates
*Gently pop the chocolates out of the silicone molds once fully set.*
- Patience is key—ensure the chocolates are completely set before removing from the molds to avoid breaking.
- If needed, use a toothpick to help release any stubborn chocolates.
Storing Your Mushroom Chocolates
Store your mushroom chocolates in an airtight container to maintain freshness. If you live in a warm climate, it’s advisable to keep them in the refrigerator. Mushroom chocolates can last for several weeks if stored properly.
Tips and Tricks for Perfect Mushroom Chocolates
To ensure your mushroom chocolates come out perfectly every time, consider these tips and tricks:
- Experiment with flavors: Not all mushroom powders taste the same. Feel free to experiment with different types of mushrooms to find your favorite flavor.
- Monitor the temperature: Tempering chocolate can be a game-changer. It helps achieve a glossy finish and prevents blooming (those white streaks or spots on chocolate).
- Use high-quality ingredients: The better the quality of your chocolate and mushroom powder, the more delicious your final product will be.
- Be creative with additives: Nuts, dried fruits, or even a sprinkle of sea salt can elevate your mushroom chocolates to gourmet status.
Creating mushroom chocolates is a fun and rewarding culinary adventure. Whether you’re looking to impress your friends or simply enjoy a unique and delicious treat, this step-by-step guide makes the process straightforward and enjoyable. Happy crafting!


