Crafting DIY Sage Bundles: A Step-by-Step Guide
Introduction to Sage Bundles
Sage bundles, often used for smudging, are popular for their ability to cleanse spaces of negative energy. Crafting your own DIY sage bundles not only ensures you utilize fresh, organic ingredients but also adds a personal touch to the cleansing ritual. This step-by-step guide will navigate you through creating your own sage bundles, perfect for personal use or as gifts.
Materials Needed
Before diving into the crafting process, gather the following materials:
- Sage: Fresh sage leaves or bundles are the main ingredient. Garden sage or white sage are popular types.
- String: Natural twine or cotton string are ideal for binding the sage together. Avoid synthetic materials.
- Scissors: A good pair of scissors to trim the string and sage.
- Optional:Flowers, Herbs, or Other Additives: Add lavender, rosemary, or even rose petals for a unique blend.
Step-by-Step Instructions
1. Harvest and Prepare Sage
Begin by harvesting sage from your garden or purchasing fresh sage from a local market. If picking from your garden, cut the sage in the morning when the oils are concentrated inside the leaves.
- Wash: Rinse the sage leaves gently to remove any dirt or insects.
- Dry: Pat the leaves dry or let them air dry in a shaded area for a few hours.
2. Choose Additives (Optional)
If you wish to personalize your sage bundles, now is the time to gather any additional herbs or flowers.
- Lavender: Known for its calming properties.
- Rosemary: Aids in mental clarity and focus.
- Rose Petals: Adds a fragrant aroma and symbolizes love.
3. Bundle and Bind
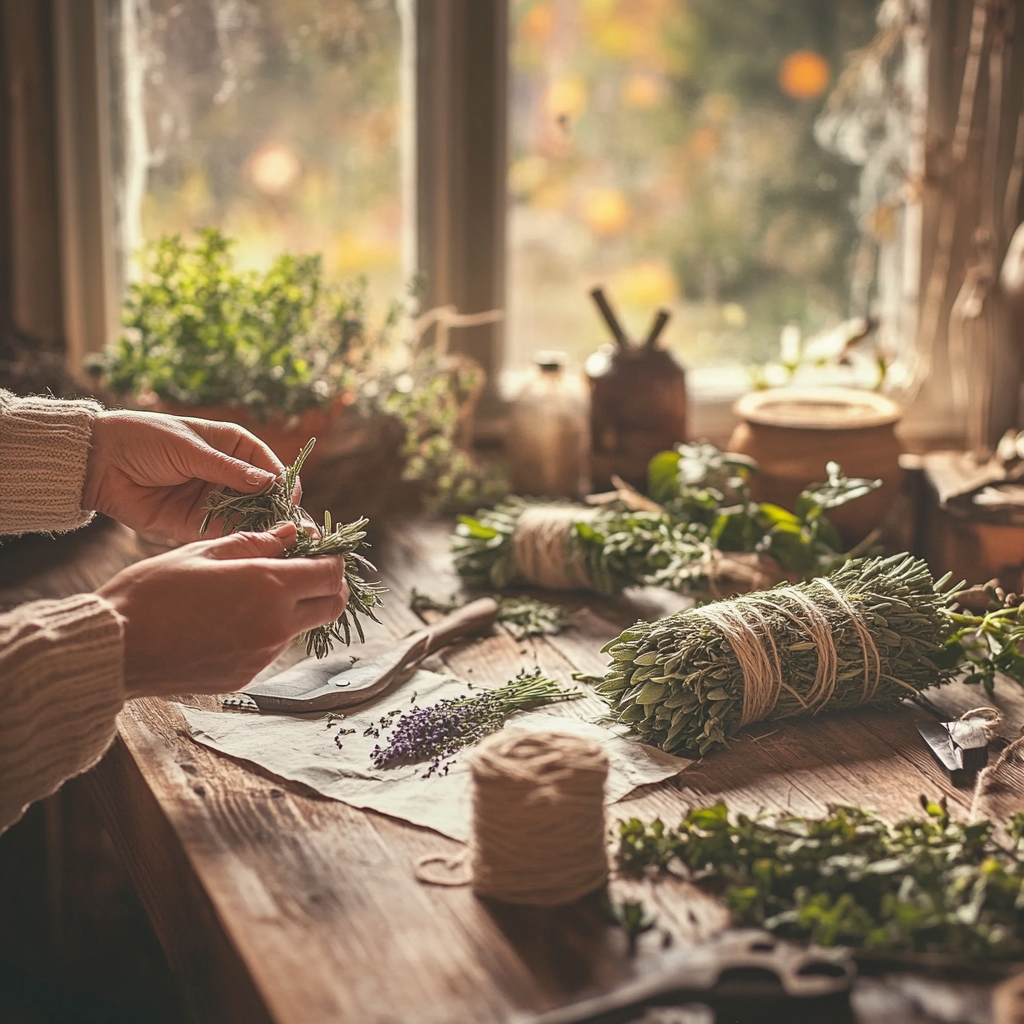
Create small bundles of sage by gathering a handful of leaves and arranging them so the stems align at the bottom. If using additional herbs or flowers, layer them within the sage to distribute evenly.
- Wrap: Starting from the bottom, wrap the twine tightly around the stems several times to secure them.
- Spiral Upward: Continue wrapping the string in a spiral motion up towards the top of the bundle.
- Cinch Up: When you reach the top, tie a knot to secure, then spiral back down, tying a final knot at the base.
4. Dry the Bundles
Proper drying is essential to ensure your sage bundles burn correctly.
- Hang: Hang your bundles in a well-ventilated, shaded area to prevent mold growth.
- Dry Time: Allow them to dry for at least two weeks until they feel dry and brittle to the touch.
Using Your Sage Bundles
Smudging Ritual
Once your bundles are dry, they are ready for use in smudging – the act of burning sage to purify a space.
- Light: Use a match or a lighter to ignite the tip of the sage bundle.
- Waft: Blow out the flame so only smoke remains and waft the smoke around the area you wish to cleanse.
- Safety: Always use a heatproof bowl or abalone shell to catch ash and ensure good ventilation.
Storage
To maintain the potency and fragrance of your sage bundles:
- Store: Keep them in a dry, dark place, preferably in a sealed container to prevent moisture exposure.
- Check: Regularly check for mold, especially in humid climates.
Benefits of Crafting Your Own Sage Bundles
Creating DIY sage bundles offers numerous benefits beyond just cleansing spaces:
- Customization: Tailor the bundles with herbs and flowers that resonate with your personal needs.
- Cost-Effective: Growing and crafting your own sage bundles can be more economical than purchasing pre-made ones.
- Sustainability: Ensure that the sage is harvested sustainably, respecting the environment and plant life.
Conclusion
Crafting your own DIY sage bundles is a rewarding process that allows you to create a unique, personalized tool for your spiritual practices. From harvesting and bundling to drying and storing, each step connects you deeper to the ancient tradition of smudging. Use this guide to explore your creativity and bring a sense of cleansing and renewal to your home.


