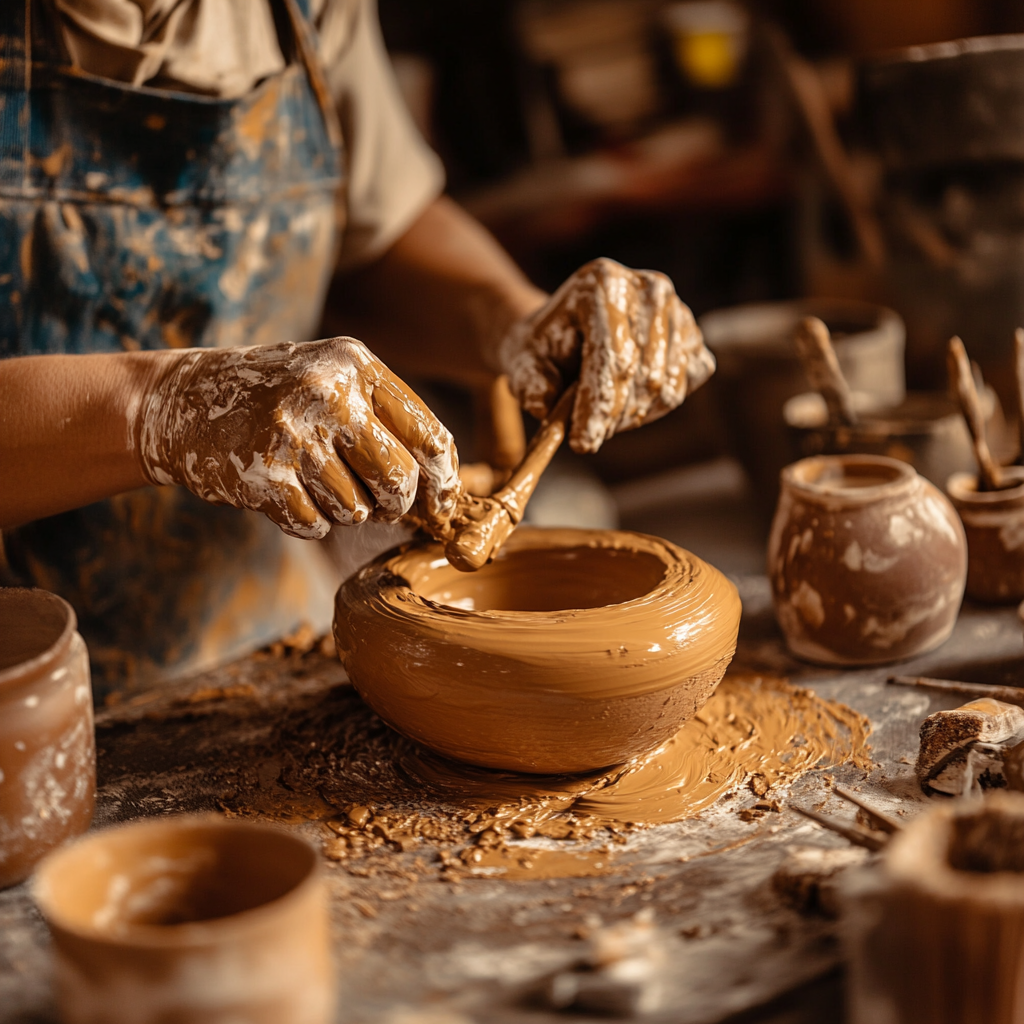
Creating Slip for Pottery: A Step-by-Step Guide
Making slip is an essential skill for any pottery enthusiast, whether you’re a beginner or a seasoned artist. Slip is a liquid mixture of clay and water that is vital for various pottery techniques, including casting, decorating, and joining clay pieces together. In this step-by-step guide, we’ll walk you through the process of creating slip for pottery, ensuring you’ll have a consistent and functional product every time.
What is Slip?
Slip, also known as slurry, is a mixture of clay and water in varying proportions depending on its intended use. It serves multiple purposes, such as:
Decorative Slip: Used for surface decoration through techniques like slip trailing, marbling, and colored slip.
Joining Slip: Acts as a glue to join two pieces of leather-hard clay.
Casting Slip: Used in molds to create intricate ceramic pieces.
Materials You’ll Need
Before you get started, gather the following materials:
Step-by-Step Guide to Creating Slip
Step 1: Preparing the Clay
The first step in making slip is to choose and prepare the clay. If you’re working with dry clay, break it into small pieces to hasten the dissolution process. If using clay scraps, make sure they are free from foreign materials.
Step 2: Mixing with Water
Next, place your clay pieces into the mixing container. Gradually add water to the container. You should aim for a creamy consistency for most slip applications.
Start by adding equal parts clay and water. If you need a thicker or thinner slip, adjust the ratio accordingly.
Step 3: Blending
Use a blender or hand mixer to blend the clay and water until they form a smooth mixture. Blending ensures that all the clay particles are fully integrated into the water, preventing any lumps or uneven texture.
Step 4: Straining the Slip
To achieve a smooth consistency, pour the mixture through a sieve or strainer into another container. This step removes any remaining lumps and foreign materials, ensuring your slip is consistent and easy to work with.
Step 5: Checking the Consistency
Use a spatula or spoon to stir the slip and check its consistency. You’re aiming for a creamy, smooth texture similar to heavy cream. If the slip is too thick, add a little more water and mix again. If it’s too runny, add more clay and blend until you reach the desired consistency.
Storing Your Slip
Once you have the perfect slip, it’s important to store it correctly to prevent drying out or contamination. Pour the slip into an airtight container or cover it with plastic wrap to maintain its moisture level. Label the container with the type of clay and the date to keep track.
Tips for Using Slip in Pottery
Now that your slip is ready, here are some useful tips to make the most out of it in your pottery projects:
Tip 1: Consistency is Key
Always check the consistency of your slip before using it. Different pottery techniques might require different consistency levels.
Tip 2: Experiment with Colors
Add oxides or stains to your slip for custom colors. This is perfect for decorating techniques like slip trailing.
Tip 3: Keep Tools Clean
Using clean tools prevents contamination and ensures your slip remains pure and functional.
Common Issues and Troubleshooting
Despite best efforts, you might encounter some issues when creating or using slip. Here are common problems and how to solve them:
Issue 1: Lumpy Slip
If your slip ends up lumpy despite straining, try blending it again or passing it through a finer sieve.
Issue 2: Drying Too Quickly
Keep your slip in an airtight container to prevent it from drying out. If it does dry too much, add a little water and remix.
Issue 3: Improper Adherence
If your slip isn’t adhering well, check the moisture levels of the clay pieces. Slip works best with leather-hard clay rather than bone-dry or excessively moist clay.
Conclusion
Creating slip for pottery is a fundamental but simple process that can greatly enhance your ceramics projects. With this step-by-step guide, you’re now equipped with the knowledge to make high-quality slip that can be used for decoration, joining, and casting. Remember to experiment with different types of clay and consistency levels to find what works best for your needs. Happy potting!


