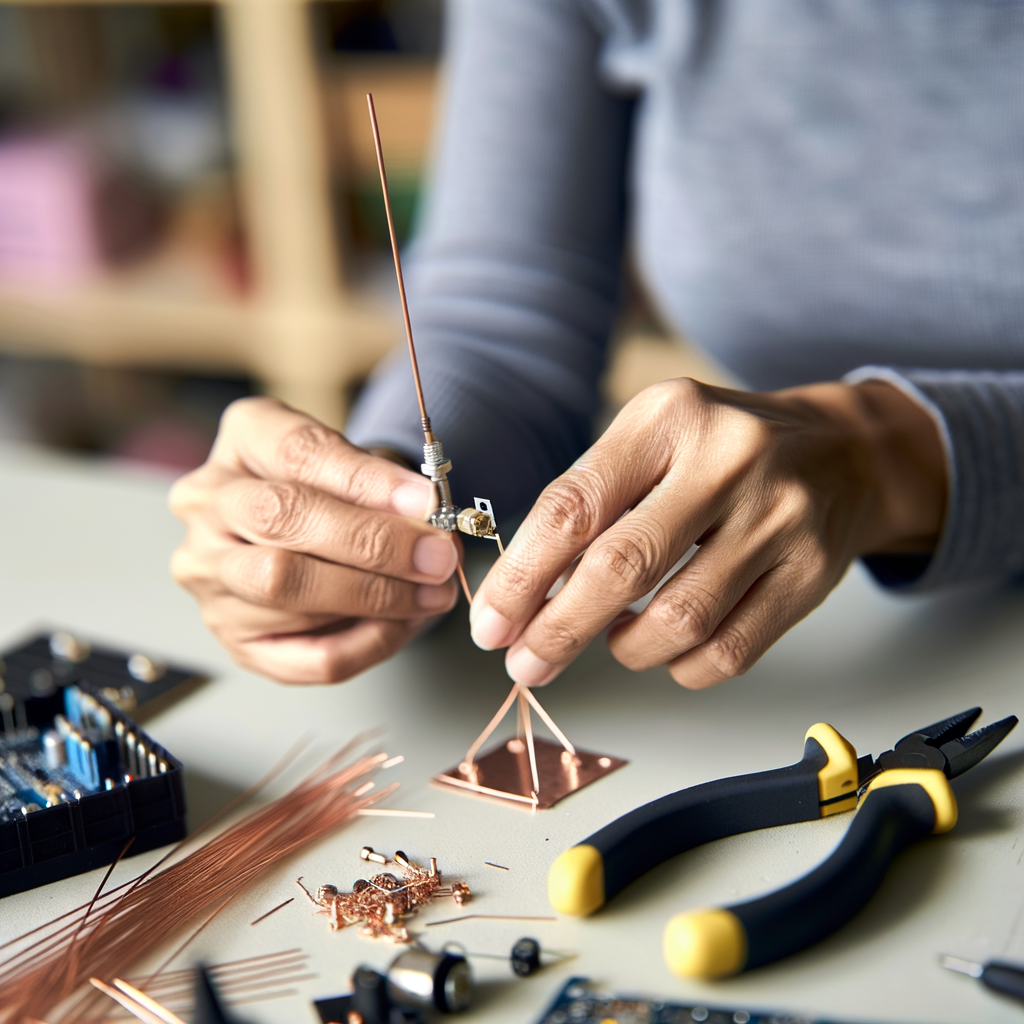
DIY Guide: Crafting a 315 MHz RF Antenna for Optimal Performance
If you’re diving into the world of radio frequency (RF) and want to build a 315 MHz antenna, you’ve come to the right place. Creating your RF antenna can be both rewarding and cost-effective. This guide will walk you through everything you need to know in order to optimize your antenna for peak performance.
Understanding the Basics
Before you start building your antenna, it’s crucial to understand some key basic terms and principles.
What is 315 MHz?
315 MHz (Megahertz) refers to a specific frequency within the UHF (Ultra High Frequency) range. It’s commonly used in remote controls, wireless sensors, and various other RF communication modules.
Importance of a Well-Designed Antenna
A well-designed RF antenna ensures:
- Maximum signal strength
- Reduced interference
- Stable communication
Materials You’ll Need
To create your own 315 MHz RF antenna, gather the following materials:
- Coaxial cable (50-ohm)
- Copper wire or brass rod
- Soldering iron and solder
- Heat shrink tubing
- Measuring tape
- Wire cutters/strippers
Additional Tools
Having these tools on hand will make the process smoother:
- Multimeter
- Oscilloscope (optional)
- RF Analyzer (optional)
Step-by-Step Guide to Crafting Your 315 MHz RF Antenna
Let’s break down the construction process into manageable steps.
Step 1: Calculate the Wavelength
The general formula to determine the wavelength (λ) of a particular frequency is:
λ = c/f
Where:
- c = Speed of light (approximately 300,000,000 meters/second)
- f = Frequency in Hz (315,000,000 Hz for 315 MHz)
So for a 315 MHz signal, the wavelength is approximately 0.953 meters.
Step 2: Determine the Antenna Length
For optimal performance, the ideal antenna length is *¼ wavelength* of the frequency. For 315 MHz:
Ideal Antenna Length = 0.953 meters / 4 ≈ 23.8 cm
This length will be used to cut your copper wire or brass rod.
Step 3: Prepare the Coaxial Cable
- Strip about 2 cm of the outer insulation of the coaxial cable.
- Carefully separate the braided shield and twist it together.
- Strip 1 cm of inner insulation to expose the central conductor.
Step 4: Attach the Copper Wire
- Cut a 23.8 cm long piece of copper wire or brass rod.
- Solder one end of the copper wire to the coaxial cable’s central conductor.
- Solder the twisted braided shield to a shorter piece of copper wire (approx. 5 cm) to act as a ground plane.
- Use the heat shrink tubing to securely insulate the joint.
Step 5: Fine-Tuning
To further enhance performance:
- Use a multimeter to check the continuity of the antenna.
- If available, use an RF Analyzer to measure SWR (Standing Wave Ratio). A good SWR value should be as low as possible, ideally below 1.5:1.
Installation and Placement Tips
Optimal Placement
For best results, place your 315 MHz antenna:
- High and clear of obstructions: Avoid walls, metal objects, and dense materials.
- Vertically aligned: Ensure the antenna’s primary length is vertical.
Avoid Interference
Common sources of interference include:
- Electrical Equipment: Keep away from motors, transformers, and other large power sources.
- Other RF Devices: Ensure there’s adequate spacing between multiple RF devices to avoid cross-talk.
Testing and Adjustments
Once installed, it’s crucial to test the effectiveness of your antenna.
- **Signal Strength:** Check the reception quality across different distances and adjust the antenna orientation as needed.
- **Interference:** Move potential sources of interference if you experience signal degradation.
- **SWR Measurements:** Re-test with an RF analyzer and make fine adjustments to the antenna length or placement if necessary.
Common Issues and Troubleshooting
Poor Signal Strength:
- Check for loose connections.
- Ensure the antenna length is accurate.
- Re-assess the installation location for obstructions.
High SWR:
- Double-check solder joints for quality and consistency.
- Verify that the ground plane is adequately connected.
Conclusion
Building a 315 MHz RF antenna may seem daunting at first, but with the right materials and a bit of patience, you can craft an efficient, high-performing antenna. This guide provided the essential steps and tips needed to achieve optimal results. Remember, the key to success lies in careful measurements, quality materials, and thorough testing. Happy crafting!


