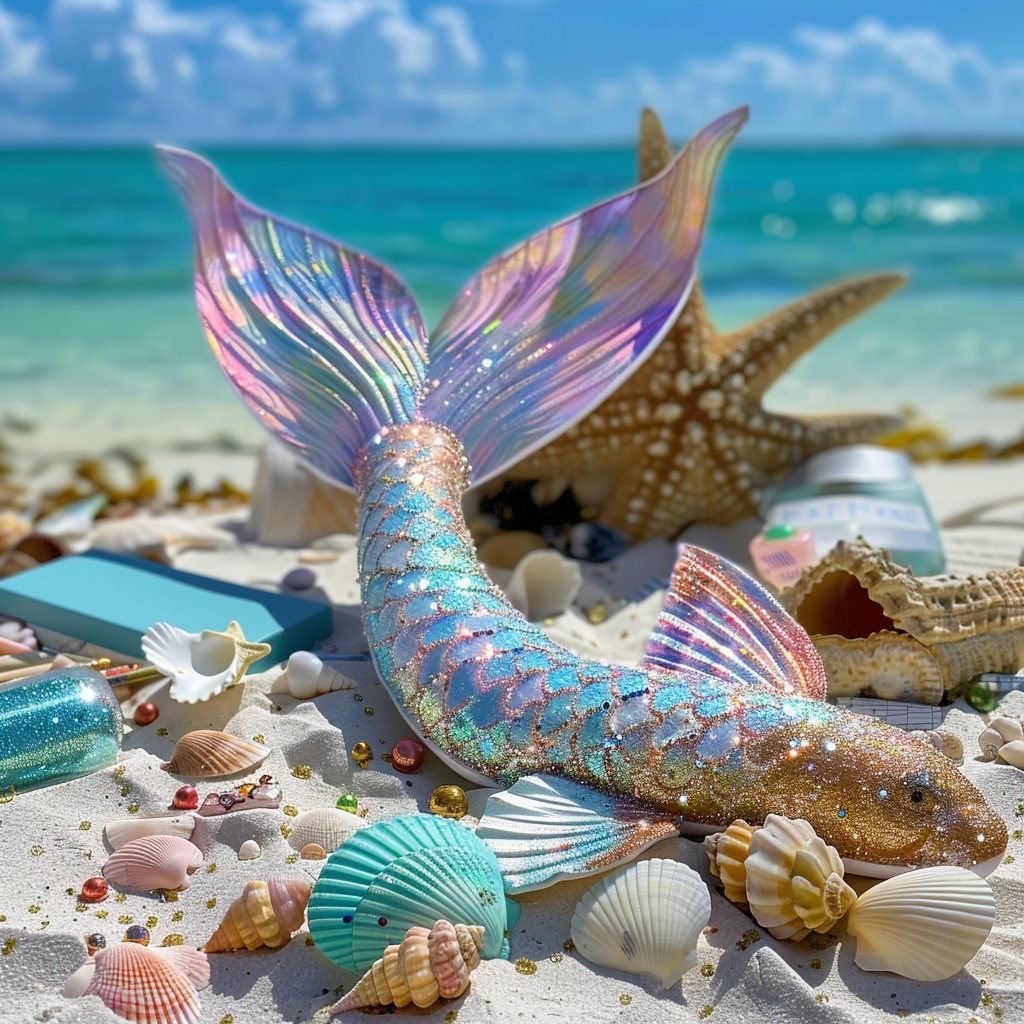
DIY Guide: How to Make an Enchanting Mermaid Tail
Are you fascinated by the allure of mermaids and eager to create your own enchanting mermaid tail? Whether for a costume party, cosplay event, or just for fun, designing your own mermaid tail can be an exciting and rewarding DIY project. This guide will walk you through each step, providing detailed instructions to help you bring your mermaid fantasy to life.
Materials You’ll Need
Before you start, gather all the necessary materials. Here’s a checklist to help ensure you have everything you need:
- Fabric: Stretchable fabric like spandex or swimsuit material is ideal. Opt for shimmery or metallic colors to mimic a mermaid’s scales.
- Scissors: Sharp fabric scissors will make cutting easier and more precise.
- Sewing Machine: While you can hand-stitch, a sewing machine will help create more durable seams.
- Measuring Tape: For accurate measurements of your waist, hips, and legs.
- Elastic Band: To secure the mermaid tail around your waist.
- Moldable Plastic: For creating the fin structure.
- Thread: Color coordinating with your chosen fabric.
Step-by-Step Instructions
1. Measure and Cut Your Fabric
Start by taking your measurements to ensure a comfortable fit:
- Waist Measurement: Measure around the narrowest part of your waist.
- Hip Measurement: Measure around the widest part of your hips.
- Length Measurement: Measure from your waist to the floor, adding a few extra inches for the fin.
Lay your fabric on a flat surface and cut it into a trapezoid shape. The top should match your waist measurement, and the bottom should be wide enough for comfortable leg movement. Remember to leave seam allowances.
2. Sew the Tail
Fold your fabric in half lengthwise with the right sides facing each other. Pin along the edges to keep it in place, ensuring the pins are perpendicular to the edges.
Using a sewing machine, sew along the pinned edges, leaving the top open. Be sure to backstitch at the beginning and end of each seam for added strength.
3. Create the Fin
To craft the fin, you’ll need moldable plastic:
- Draw Your Fin Shape: On a piece of paper, sketch the desired shape of your fin and cut it out.
- Transfer to Plastic: Lay the paper template on the plastic and trace around it. Cut out the shape.
- Attach the Fin: Slide the plastic fin into the bottom of your tail. Pin it in place and sew around the perimeter to secure it.
4. Add the Elastic Band
To ensure your tail stays on securely while swimming or walking, add an elastic band at the waist:
- Measure the Elastic: Wrap the elastic around your waist, pulling it snug but not tight. Cut the elastic with an extra inch for overlap.
- Attach the Elastic: Fold the top edge of the tail down over the elastic and sew it in place, stretching the elastic slightly as you go to ensure it will fit properly when worn.
5. Customize Your Tail
Personalize your mermaid tail to make it truly enchanting:
- Add Scales: Cut small scale shapes from leftover fabric and sew them onto the tail in overlapping rows for a realistic look.
- Decorate with Sequins: Add a touch of sparkle by sewing sequins onto your tail in a pattern or randomly.
- Embellish with Rhinestones: Glue rhinestones along the waistline or fin tips for added shimmer.
Safety Tips
When crafting and using your mermaid tail, keep these safety tips in mind:
- Test Swim: Practice using your mermaid tail in a safe environment, such as a shallow pool.
- Supervision: Always have someone with you while swimming in your tail to assist if needed.
- Comfort: Ensure the tail is comfortable and does not restrict your movement or breathing.
Conclusion
Creating an enchanting mermaid tail is a fun and fulfilling project that allows you to express your creativity. By following this step-by-step guide, you’ll be able to make a stunning mermaid tail that’s both beautiful and functional. Dive into your next adventure with the perfect mermaid ensemble and let your imagination swim free!


