“`html
DIY Sage Smudge Stick: Step-by-Step Guide to Crafting Your Own
Smudging, the ritual burning of sage, has been utilized for centuries as a way to cleanse spaces, promote healing, and establish a sense of peace and balance. While you can find ready-made smudge sticks in stores, there’s something uniquely satisfying about creating your own. This guide will walk you through the process step-by-step so you can enjoy the benefits of this ancient practice from materials gathered and crafted by your own hands.
What is a Sage Smudge Stick?
A sage smudge stick is a bundle of sage leaves that are bound together with string or twine. When lit, the smoke from the bundle is believed to purify spaces, remove negative energies, and promote a sense of well-being. The practice originates from indigenous cultures but has found a place in various spiritual and self-care routines today.
Materials Needed
Before you start, make sure you have the following materials:
- Fresh Sage: Whether you grow it in your garden or purchase it from a market, fresh sage is essential.
- Twine or Cotton String: Choose natural fibers so they burn cleanly.
- Scissors: To cut the twine.
- Optional: Other Intention Herbs: You can add other herbs like lavender, rosemary, or cedar for added benefits and scents.
Step-by-Step Instructions
Step 1: Harvesting the Sage
Begin by gathering fresh sage. The best time to harvest sage is early in the morning, after dew has dried but before the full heat of the day. Trim sprigs that are at least 8 inches long. If you’re also using other herbs, harvest them at the same time.
Step 2: Preparing the Bundle
Lay out your sage and any additional herbs flat on a clean, dry surface. Make sure the leaves and stems are relatively dry to prevent mold during the drying process. Pick a small bundle; a thick bundle will be harder to burn evenly.
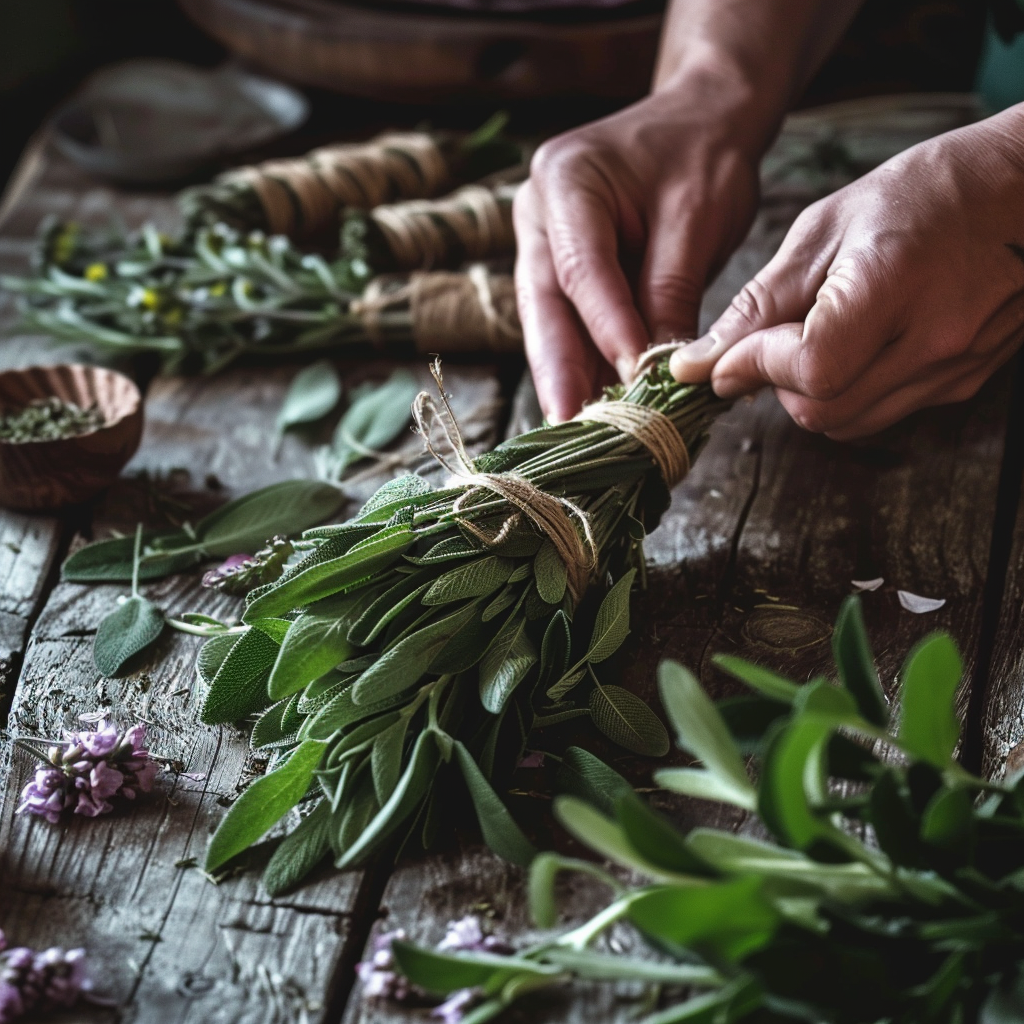
Step 3: Bundling the Sage
Gather the sage and additional herbs together in a tight bundle. Use one end of the twine to tie a knot at the base of the stems, leaving a tail of about 3 inches. Start wrapping the twine around the bundle:
- Wrap tightly but not so tightly that the bundle is crushed.
- Continue wrapping the twine in a crisscross pattern as you move up the bundle.
- When you reach the top, loop back down and secure the end with a knot at the base.
Step 4: Drying the Smudge Stick
Hang the smudge stick in a cool, dry place out of direct sunlight. Depending on the humidity in your area, it can take a couple of weeks to a month for the smudge stick to dry completely.
How to Use Your Sage Smudge Stick
Once your sage smudge stick is dry, it’s ready to use. Here’s how to get started:
Preparing for the Smudging
- Find a fireproof bowl to catch ashes and embers.
- Open windows or doors to allow negative energy to escape.
Lighting the Smudge Stick
- Light the end of the smudge stick with a match or lighter.
- Allow it to catch fire, then gently blow out the flame, letting it smolder and produce smoke.
- If the smudge stick stops producing smoke, gently blow on the embers to keep it smoldering.
Smudging Your Space
Move to the area you wish to cleanse and gently wave the smudge stick around:
- Start at your front door and move clockwise around your home.
- Pay special attention to corners, as they tend to collect stagnant energy.
- As you smudge, say a prayer, affirmation, or intention aloud or in your mind.
Benefits of Making Your Own Sage Smudge Stick
Creating your own sage smudge stick offers several advantages:
- Cost-Effective: Homemade smudge sticks are cheaper than store-bought options.
- Customization: You can tailor the herb mixture to your specific needs and preferences.
- Sustainable: Using locally sourced herbs reduces your carbon footprint.
- Mindfulness and Intention: The act of making your smudge stick adds a layer of mindfulness and intention to your spiritual practice.
Tips for Safe Smudging
Always prioritize safety when dealing with fire and smoke:
- Never leave a burning smudge stick unattended.
- Keep windows open to ensure proper ventilation.
- Dispose of ashes in a safe place once they have fully cooled.
Conclusion
Crafting your own sage smudge stick is a fulfilling and empowering experience. Not only does it allow you to connect more deeply with the cleansing ritual, but it also provides a customizable and sustainable option for your spiritual and self-care practices. With this step-by-step guide, you’re well on your way to making a smudge stick that is uniquely yours.
Happy crafting and cleansing!
“`


