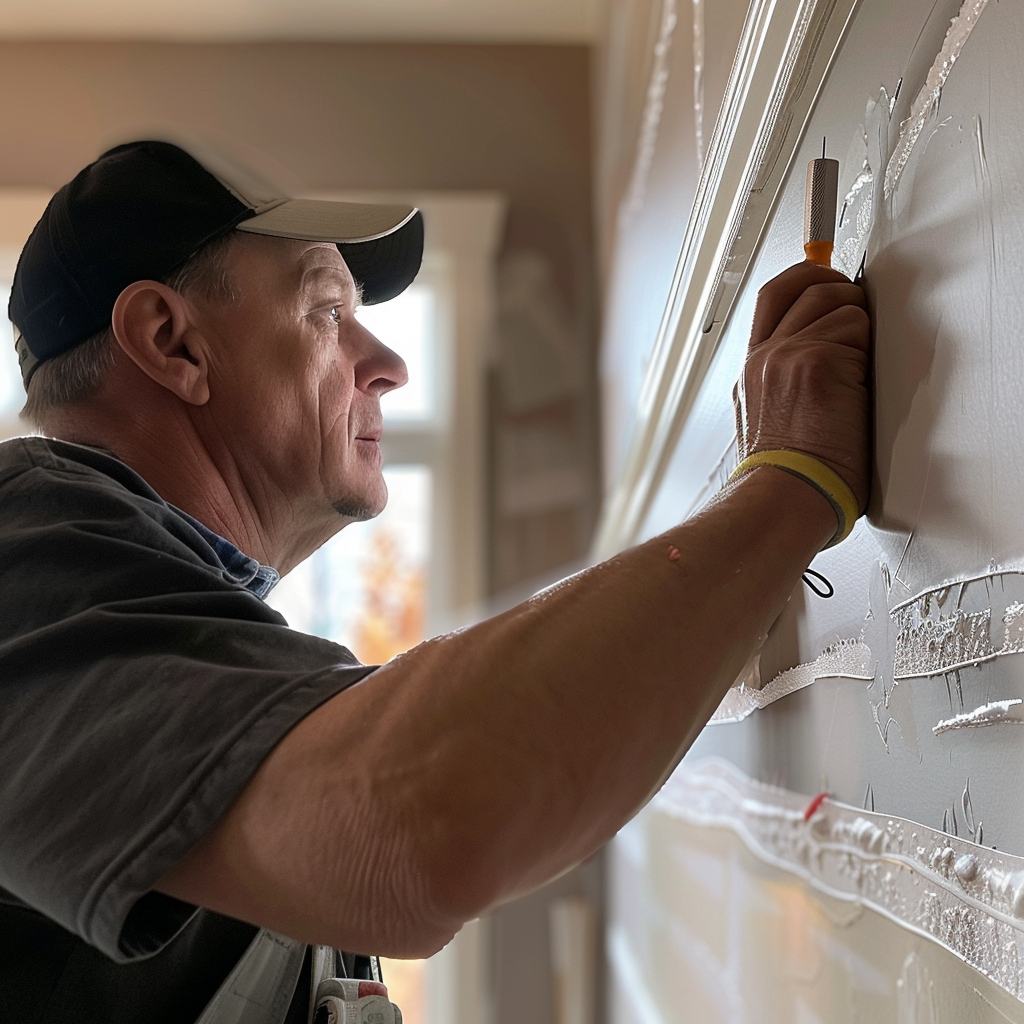
Fix Bubbles in Drywall Tape: Step-by-Step Guide
Understanding the Problem
Drywall tape bubbles can compromise the smooth, professional look of your walls. Not only are they an eyesore, but they can also eventually peel off, leading to more extensive repairs down the line. The good news is that you can fix these bubbles yourself with the right tools and techniques.
Tools and Materials You’ll Need
- Utility knife
- Drywall compound
- Drywall tape
- Putty knife
- Sanding block or sponge
- Primer and paint
Step-by-Step Guide
Step 1: Identify the Bubbling Area
First, thoroughly inspect your walls to identify all the areas where the drywall tape is bubbling. Take your time to ensure you don’t miss any trouble spots. Use a gentle touch so as not to create more damage in the process.
Step 2: Cut Out the Bubble
Using your utility knife, carefully cut around the bubble. Remove the affected tape, being cautious not to damage the surrounding drywall. Make sure your cuts are clean and precise to avoid frayed edges, which can make the repair more difficult.
Step 3: Prepare the Area
Once the bubble is removed, scrape away any residual drywall compound. Use your putty knife for this task. The goal is to create a smooth, clean surface for the new tape and compound to adhere to. If there are any loose pieces of drywall, remove them as well.
Step 4: Apply New Drywall Compound
With your putty knife, spread a thin layer of drywall compound over the area where the bubble was removed. Ensure the compound is evenly distributed and extends slightly beyond the edges of the cut, so the new tape adheres seamlessly.
Step 5: Lay New Drywall Tape
Cut a new piece of drywall tape to fit the area. Lay it over the wet compound, pressing it down with your putty knife to ensure it adheres properly. Smooth out any wrinkles or bubbles that form as you press the tape into place.
Step 6: Apply More Compound
After positioning the new tape, apply another thin layer of drywall compound over it. Make sure this layer is smooth and level with the surrounding wall surface. Feather the edges to ensure the compound blends seamlessly, reducing the need for excessive sanding later.
Step 7: Let It Dry
This step requires patience. Allow the compound to dry completely. The drying time can vary based on the compound used and the ambient humidity, but typically, it takes about 24 hours.
Step 8: Sand the Area
Once the compound is fully dry, use a sanding block or sponge to smooth out any imperfections. Sand lightly to avoid gouging the wall. Aim for a smooth finish that matches the texture of the surrounding areas.
Step 9: Prime and Paint
Finally, apply a coat of primer over the repaired area to prepare it for painting. Once the primer is dry, paint the area to match the rest of the wall. Applying multiple thin coats will provide a more even finish than one thick coat.
Preventing Future Bubbles
To prevent future bubbles in drywall tape, follow these tips:
- Use the right materials: High-quality drywall tape and compound are less likely to bubble.
- Apply evenly: Ensuring the compound is spread evenly under the tape can prevent air pockets from forming.
- Press the tape firmly: Properly pressing the tape into the compound helps avoid future bubbles.
- Allow proper drying time: Rushing the drying process can lead to imperfections, including bubbles.
Conclusion
Fixing bubbles in drywall tape might seem daunting, but following these steps can help even a novice achieve professional-looking results. By carefully cutting out the bubble, preparing the area, applying new tape, and ensuring a smooth finish, you can restore your walls to their pristine condition.


