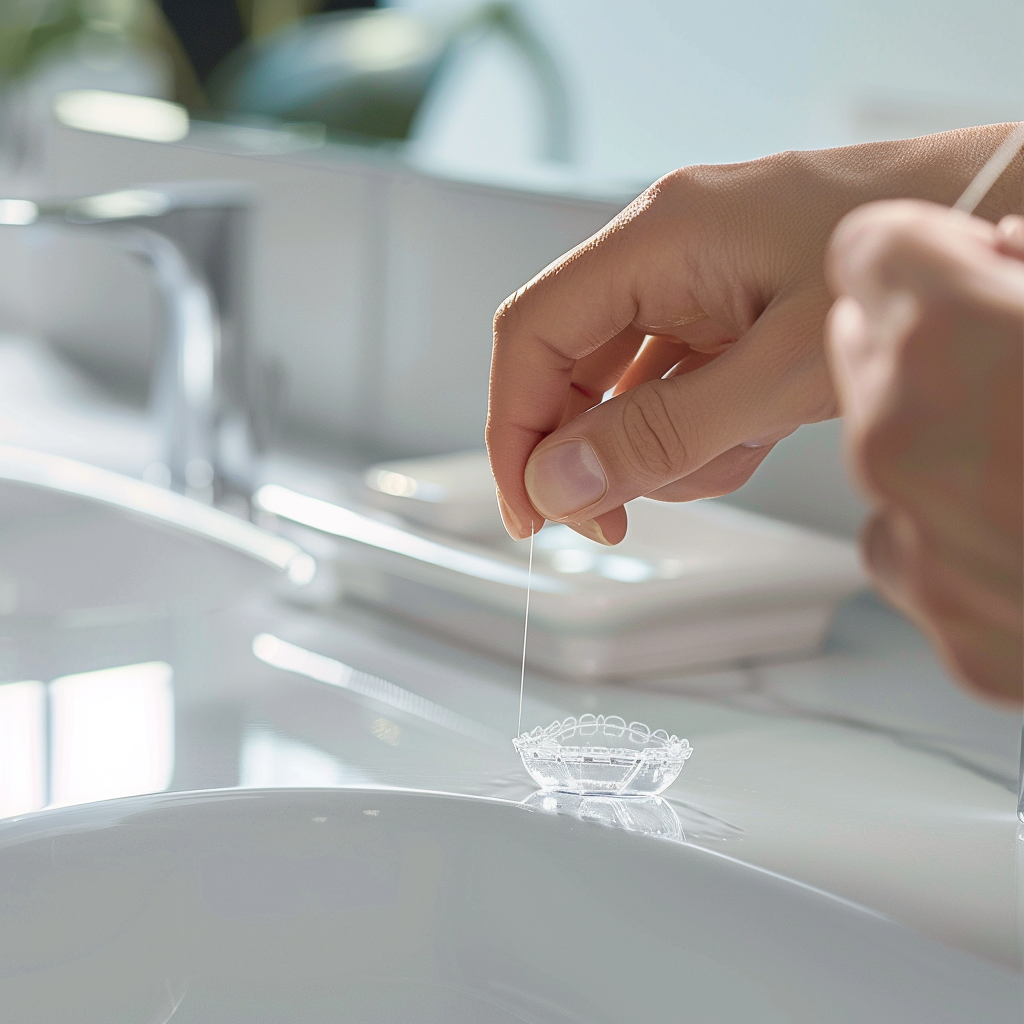
Flossing Tips for Permanent Retainers: Step-by-Step Guide
Maintaining your dental hygiene is crucial, especially when you have a permanent retainer. Permanent retainers—commonly used after braces—can make flossing slightly more challenging. However, with the right techniques and tools, you can keep your teeth sparkling clean and free from plaque buildup. This guide will walk you through the steps to effectively floss around permanent retainers.
Why Flossing is Essential with Permanent Retainers
Permanent retainers are bonded to the back of your teeth, making them nearly invisible but also creating a new set of challenges for flossing. Flossing is essential for removing food particles, preventing plaque buildup, and avoiding gum disease. With a permanent retainer, the wires can trap food and plaque, leading to a greater risk of decay and periodontal issues if not properly cared for.
Tools You’ll Need for Effective Flossing
Before diving into the step-by-step guide, it’s important to gather the essential tools for flossing with a permanent retainer:
- Dental Floss: Waxed floss is usually more comfortable to maneuver around the retainer wire.
- Floss Threader: This is crucial for guiding the floss under the retainer wire.
- Interdental Brushes: Useful for cleaning between teeth and around the retainer wire.
- Water Flosser (Optional): An excellent alternative for those who find traditional flossing challenging.
Step-by-Step Guide to Flossing with a Permanent Retainer
Step 1: Prepare Your Floss
Cut a piece of floss about 18 to 24 inches long. This length gives you plenty of floss to work with and ensures that you can use a fresh section of floss for each tooth.
Step 2: Use a Floss Threader
Thread the floss through a floss threader. Insert the floss threader under the retainer wire, then grab the floss on the other side. Pull the floss gently so it is now under the wire and between your teeth.
Step 3: Floss Each Tooth
Hold the floss tightly and curve it around the base of each tooth in a “C” shape. Gently slide the floss up and down, cleaning the sides of the tooth and under the gumline. Avoid snapping the floss into your gums as this can cause irritation.
Step 4: Move to the Next Tooth
Pull the floss out from under the retainer wire and thread it again for the next tooth. Use a new section of the floss to ensure hygiene. Repeat the process for each tooth, ensuring you clean all areas effectively.
Step 5: Use Interdental Brushes
Interdental brushes are particularly useful for cleaning around the wire and between teeth where floss may not reach effectively. Choose a brush size that fits comfortably between your teeth and gently insert it to remove any remaining plaque or food particles.
Step 6: Optional – Water Flosser
A water flosser can be a great addition to your cleaning routine. Aim the water jet at the gumline and around the retainer wire to help remove any remaining debris. This option is especially beneficial for those who have difficulty using traditional floss.
Additional Tips for Flossing with Permanent Retainers
Be Gentle but Thorough
When flossing with a permanent retainer, it’s essential to be gentle to avoid damaging the retainer or causing gum irritation. Take your time to ensure you’re cleaning effectively without hurting your gums.
Floss Daily
Consistency is key to maintaining oral health. Make flossing a part of your daily routine to keep your teeth and gums healthy. Neglecting to floss regularly can lead to plaque buildup, bad breath, and gum disease.
Regular Dental Check-ups
Visit your dentist regularly for professional cleanings and check-ups. Your dentist can ensure that your permanent retainer is in good condition and provide any additional advice for maintaining your oral health.
Conclusion
Flossing with a permanent retainer may seem daunting at first, but with the right tools and techniques, it becomes manageable and effective. By following this step-by-step guide and incorporating regular flossing into your daily routine, you can maintain excellent oral hygiene and keep your smile healthy and bright. Don’t forget to consult with your dentist for personalized recommendations and tips tailored to your specific needs.


