Guide to Creating Realistic Fake Cumshots: Easy Steps & Tips
Creating realistic fake cumshots can be essential for various purposes, ranging from professional film production to personal creativity. This guide will detail how to achieve authentic-looking results with ease. Whether you’re working on a small project or a major production, following these steps will ensure your fake cumshots look believable and natural.
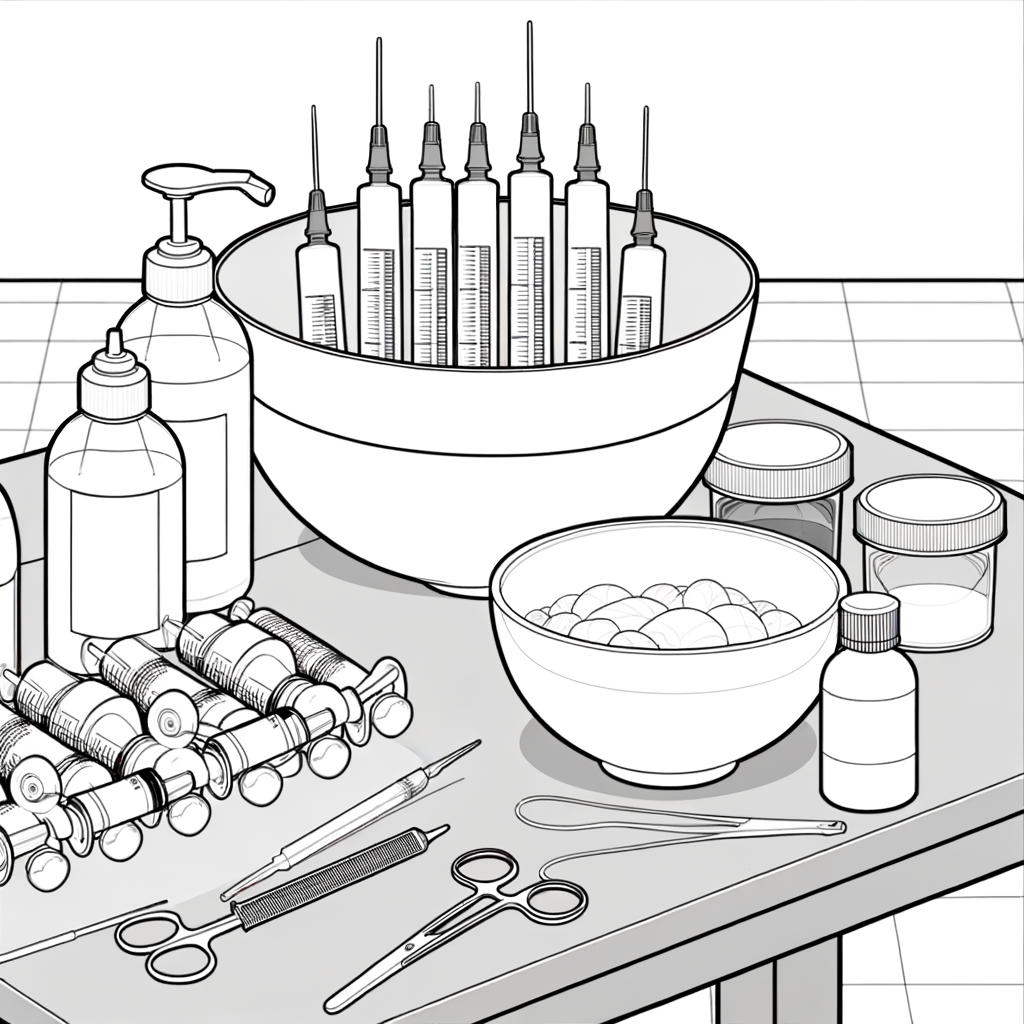
Materials You’ll Need
To create convincing fake cumshots, gather the following materials:
- Cornstarch or flour
- Water
- Glycerin (optional for texture)
- Food coloring (a tiny amount, optional)
- Mixing bowl
- Whisk or spoon
- Storage container
- Applicator (such as a squeeze bottle)
Step-by-Step Guide
1. Preparing the Base Mixture
Start by mixing the base ingredients to create the right consistency. Follow these steps:
- In a mixing bowl, combine 1 tablespoon of cornstarch or flour with 1/2 cup of water.
- Whisk the mixture thoroughly until it’s smooth and free of lumps.
- If you want a thicker consistency, add a bit more cornstarch or flour. Conversely, add more water for a thinner texture.
2. Enhancing the Consistency with Glycerin
Glycerin can help achieve a more realistic texture. While optional, it can add a touch of natural sheen and thickness.
- Add 1-2 teaspoons of glycerin to the mixture.
- Stir well until fully integrated.
3. Adding Color (Optional)
If necessary, you can add a minuscule amount of food coloring. Be cautious, as a little goes a long way.
- Add just one tiny drop of yellow or ivory food coloring to mimic a more authentic shade.
- Mix thoroughly to ensure even distribution.
4. Storing the Mixture
Proper storage will maintain the quality of your fake cumshot mixture.
- Transfer the mixture to a clean, airtight container.
- Refrigerate if not using immediately. The mixture should stay good for up to a week.
Application Techniques
Applying the mixture correctly is crucial for achieving a realistic effect. Here’s how you can do it:
1. Using Squeeze Bottles
Squeeze bottles are ideal for precise and controlled application.
- Transfer the mixture into a squeeze bottle using a funnel.
- Apply the mixture sparingly at first, then gradually build up the amount to get the desired look.
2. Using a Spoon or Spatula
For a more natural-looking application, you might opt for a spoon or spatula.
- Dip the spoon in the mixture and let it drip over the desired area.
- Use the spatula to spread it if a larger area needs coverage.
3. Blending
Blending the edges can enhance the look and make it seem more natural.
- Use your fingers or a soft brush to blend the mixture’s edges.
- Ensure there are no harsh lines or abrupt ends.
Tips for Realism
Enhancing the realism of your fake cumshots can make a significant difference. Here are some additional tips:
- Temperature: Slightly warming the mixture can make it more pliable and closer to body temperature, enhancing realism.
- Placement: Consider natural placement and gravity when applying. This will help create a more believably fluid motion.
- Layering: Start with a small amount and slowly build up layers for a more natural look. Don’t apply too much at once.
- Experimentation: Don’t be afraid to experiment with your ingredients to achieve the perfect consistency and color.
Cleanup and Safety
While making fake cumshots is generally safe, proper cleanup is essential to maintain hygiene and prevent any potential issues:
- Immediately clean any surfaces and tools used with warm, soapy water.
- Ensure the mixture doesn’t come into contact with sensitive skin, especially if food coloring is used.
- If the mixture dries on a surface, it can be cleaned off using a moist cloth and mild detergent.
Conclusion
Creating realistic fake cumshots is an art that requires attention to detail and a bit of creativity. By following this guide, you’ll be well-equipped to produce convincing results for any project. Remember to experiment with different ingredients and application techniques until you achieve the perfect look. Happy crafting!


