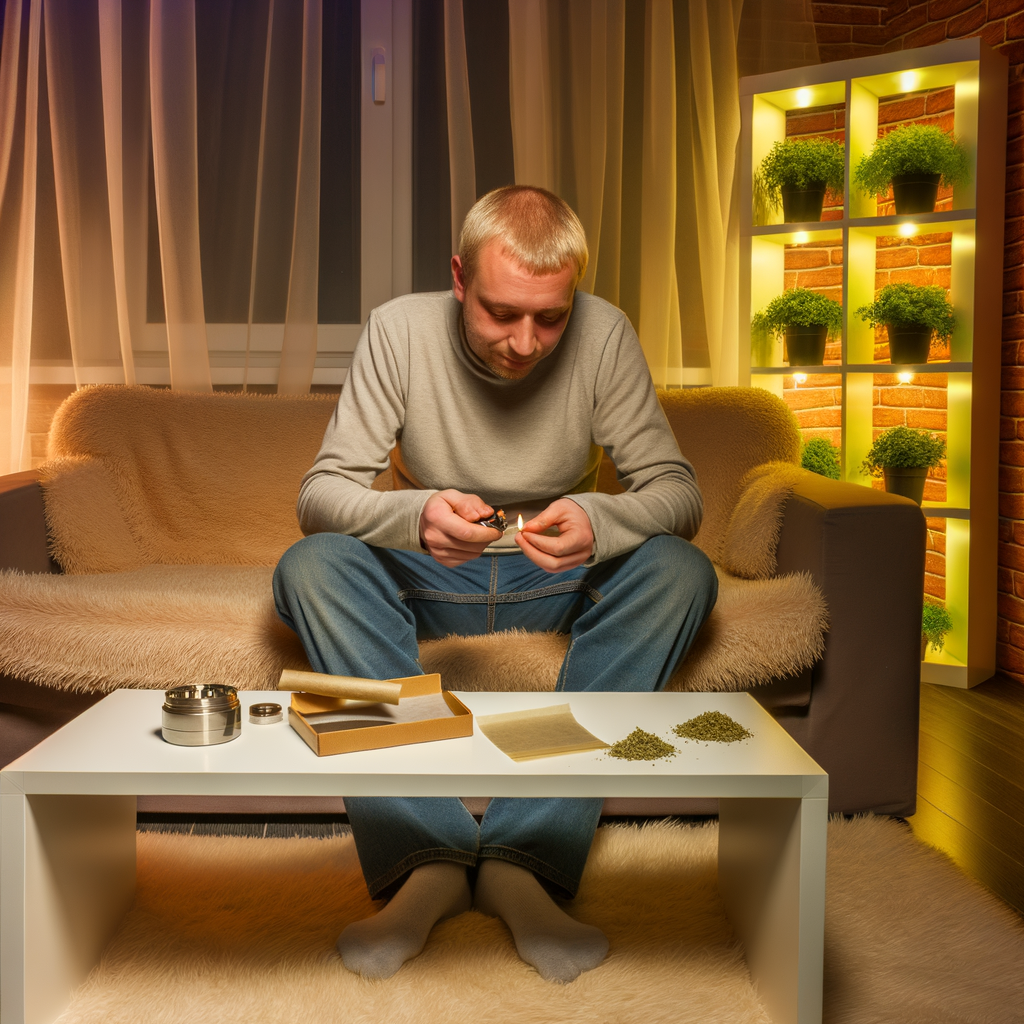
Step-by-Step Guide to Mastering the Art of Lighting a Joint
Lighting a joint might seem like a straightforward task, but there’s a blend of skill, technique, and finesse that goes into achieving the perfect burn. Whether you’re a novice or a seasoned enthusiast, understanding how to properly light a joint can enhance your smoking experience.
Why Proper Lighting Matters
Proper lighting ensures an even burn, which significantly impacts the quality of your smoking session. When done correctly, it:
- Prevents canoeing: Uneven burning on one side of the joint, leading to wasted material.
- Enhances flavor: By lighting evenly, you allow for a consistent flavor profile throughout the session.
- Maximizes efficiency: Ensures every bit of the joint is used optimally.
Materials You Will Need
Before diving into the lighting process, gather these essential materials to ensure a smooth experience:
- Joints: Pre-rolled or self-rolled, ensure they’re well-packed and not too loose.
- Lighter or Hemp Wick: Butane lighters are common, but hemp wicks offer a chemical-free alternative.
- Optional: Roach Clip: Useful for holding the joint once it burns down to a smaller size.
Step-by-Step Lighting Process
Step 1: Inspect and Prepare Your Joint
Before lighting, take a moment to inspect your joint. Ensure it is packed evenly and without holes or gaps. Holding the joint between your fingers, gently tap the end to distribute the material evenly.
Step 2: Light Your Chosen Ignition Source
If using a lighter:
- Flick your lighter: Hold it steady and keep the flame away from your face.
If using a hemp wick:
- Light the wick: Ignite one end and let the flame steady itself before bringing it towards the joint.
Step 3: Toast the Tip
Before taking your first inhale, it’s essential to toast the tip of your joint to create an even cherry (the burning part of a joint). This helps in achieving a balanced burn right from the start.
- Hold the flame slightly under the tip: Rotate the joint slowly to ensure all edges are exposed to the flame.
- Avoid direct contact: Keep the flame about half an inch away to prevent burning the paper too quickly.
Step 4: First Inhale – The Draw
Once the tip is evenly toasted, it’s time to take your first inhale. This step requires practice to perfect, but following these guidelines will help:
- Place the joint in your mouth: Ensure it’s secure but not too tight.
- Inhale gently: Draw the smoke into your mouth without inhaling it into your lungs right away.
- Rotate: As you inhale, rotate the joint to maintain an even burn.
Step 5: Observe and Adjust
After your initial draw, take a moment to observe how the joint is burning. An even burn means you’re ready to continue enjoying your joint without further adjustments. However, if one side is burning faster:
- Lightly tap or rotate: Tapping the faster-burning side can help slow it down, and rotating while inhaling can promote even burning.
- Re-toast if necessary: If the burn issue persists, briefly re-toast the poorly burning side.
Extra Tips for a Perfect Burn
Achieving mastery in lighting a joint goes beyond basic steps. Consider these additional tips:
Avoid Windy Conditions
Lighting a joint in windy environments can lead to uneven burns. If you must light up outdoors, seek a sheltered area or use a windproof lighter.
Slow and Steady
Rushing the lighting process can result in poor combustion. Take your time, and remember that a slow, steady approach will typically yield the best results.
Maintain Hygiene
Regularly clean your smoking tools, including grinders, filters, and storage containers. Residue and buildup can affect the quality of your joint, making it harder to light evenly.
Alternative Lighting Methods
While traditional lighters and hemp wicks are common, there are alternative methods worth exploring for different experiences and preferences:
Matches
Using matches can be a great option provided you let the sulfur burn off first, ensuring a cleaner smoke. Strike the match, let it burn for a second, then light your joint.
Electric Lighters
Electric lighters use a small plasma arc, providing a windproof and often more environmentally friendly alternative. These are especially useful for on-the-go lighting without the risk of an extinguished flame.
Solar Hit
For the environmentally conscious, using a magnifying glass to focus sunlight onto the tip of your joint can be an innovative and fun way to light up.
Conclusion
Mastering the art of lighting a joint involves more than just igniting the end and inhaling. With attention to detail, patience, and the right techniques, your smoking experience can become significantly more enjoyable. Whether you’re using a traditional lighter or exploring alternative methods, the key lies in achieving an even burn and savoring each puff. By following this step-by-step guide, you’ll be well on your way to mastering the perfect light every time. Enjoy responsibly!


