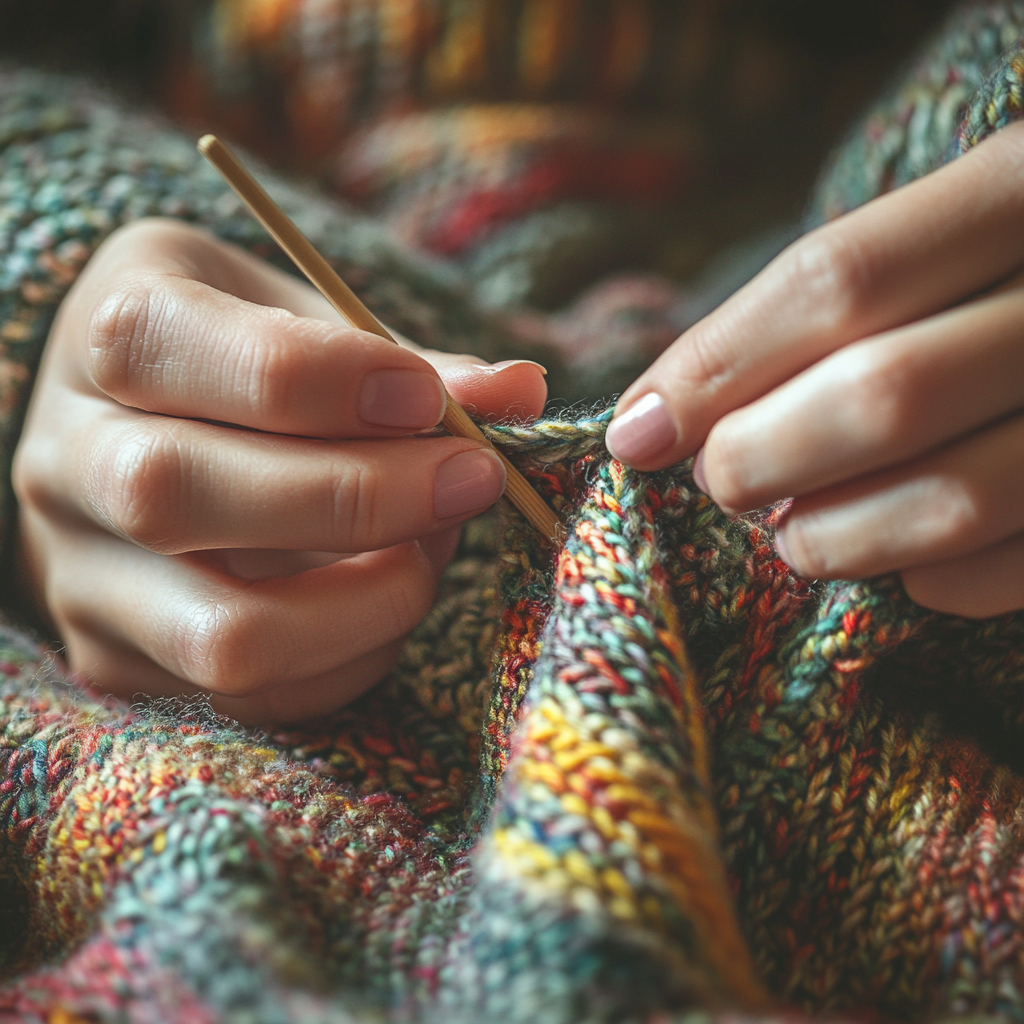
Master the Art of Picking Up Knit Stitches Easily
Knitting aficionados know that picking up stitches can be a game-changer in their projects. Mastering this technique lets you add necklines, sleeves, button bands, and decorative edges with ease. However, it can be a bit daunting if you’re new to it. Worry not; with some practice and these expert tips, you’ll be picking up knit stitches like a pro.
Understanding the Basics of Picking Up Knit Stitches
Picking up knit stitches involves creating new loops on your knitting needle by pulling yarn through the fabric of your project. This technique is essential for various aspects of knitting but is most commonly used when you’re ready to knit edges or add new sections.
Materials You Need
Before diving in, ensure you have the following materials:
- Knitting needles: Appropriate size for your project.
- Yarn: The same yarn used in your main project or a complementary one.
- Crochet hook: Optional but can be very useful.
- Stitch markers: To help you keep track of your progress.
Step-by-Step Guide to Picking Up Knit Stitches
Let’s break down the process of picking up knit stitches into manageable steps:
Step 1: Prepare Your Work
– Lay your project flat on a table.
– Find the edge where you need to pick up stitches. It could be along a neckline, armhole, or another edge.
– If it’s your first time, consider practicing on a scrap piece of knitted fabric.
Step 2: Identify Each Stitch or Row
Begin by identifying each stitch or row along the edge where you will pick up stitches. It’s crucial to be clear on this to ensure an even and professional finish.
- Horizontal edges: Pick up one stitch in each stitch across.
- Vertical edges: Pick up stitches in a 2:3 ratio – for every 2 stitches picked up, skip the next one stitch along that row.
- Diagonal edges: Try picking up stitches at the same angle as the fabric for a smooth look.
Step 3: Insert Your Needle
– Using your knitting needle or a crochet hook, insert into the first stitch or row identified.
– If using a crochet hook, simply yarn over and pull through to create a loop that you will later transfer onto your knitting needle.
Step 4: Pull Yarn Through
– Yarn over your knitting needle and pull through the fabric.
– Make sure you pull the yarn through consistently to maintain even tension. Uneven stitches can cause puckering or loose sections in your work.
Step 5: Continue Along the Row
– Repeat the process of inserting your needle, yarning over, and pulling the yarn through along the entire edge.
– Remember to count your stitches as you go and use stitch markers for longer sections to keep track of your progress.
Step 6: Adjust Your Stitches
– Once you’ve picked up the required number of stitches, knit one row to secure them and check your tension.
– If your edge looks too tight or too loose, you can adjust accordingly on the next row.
Common Mistakes to Avoid
Picking up stitches requires practice, but avoiding these common pitfalls will ease your learning curve:
- Skipping stitches: Ensure you don’t miss any stitches or rows, particularly at the corners.
- Incorrect ratio: Picking up stitches in the wrong ratio can lead to puckering or stretching. Always follow your pattern’s recommendations.
- Uneven tension: Maintain consistent tension while pulling yarn through to avoid lumps or holes.
Pro Tips for Perfect Stitches
Experienced knitters have some handy tips to make picking up stitches even smoother:
- Use a lifeline: Place a lifeline in your work before picking up stitches. If you make a mistake, you can easily undo it without losing your work.
- Smooth edges: Knit the edge you’ll be picking stitches from in a smooth yarn sample first. This helps you better see where to insert your needle.
- Practice swatches: Before diving into your main project, practice on smaller swatches to build confidence.
- Mark with a ruler: Mark your stitch points with a ruler to ensure even spacing.
Maintaining Your Knitting Tools
Keeping your knitting tools in excellent condition ensures flawless stitches:
- Sharp tips: Use sharp-tipped needles for easy insertion.
- Smooth hooks: Sand any rough edges on crochet hooks to prevent yarn splitting.
- Clean space: Work in a clean area to avoid snagging delicate yarns.
Practicing for Perfection
Remember, the key to mastering the art of picking up knit stitches is practice. Don’t be discouraged by initial mistakes. With time and patience, you’ll become adept at creating beautifully finished edges and seamless additions to your projects.
Practice these steps regularly, and soon, picking up knit stitches will become second nature. Happy knitting!


