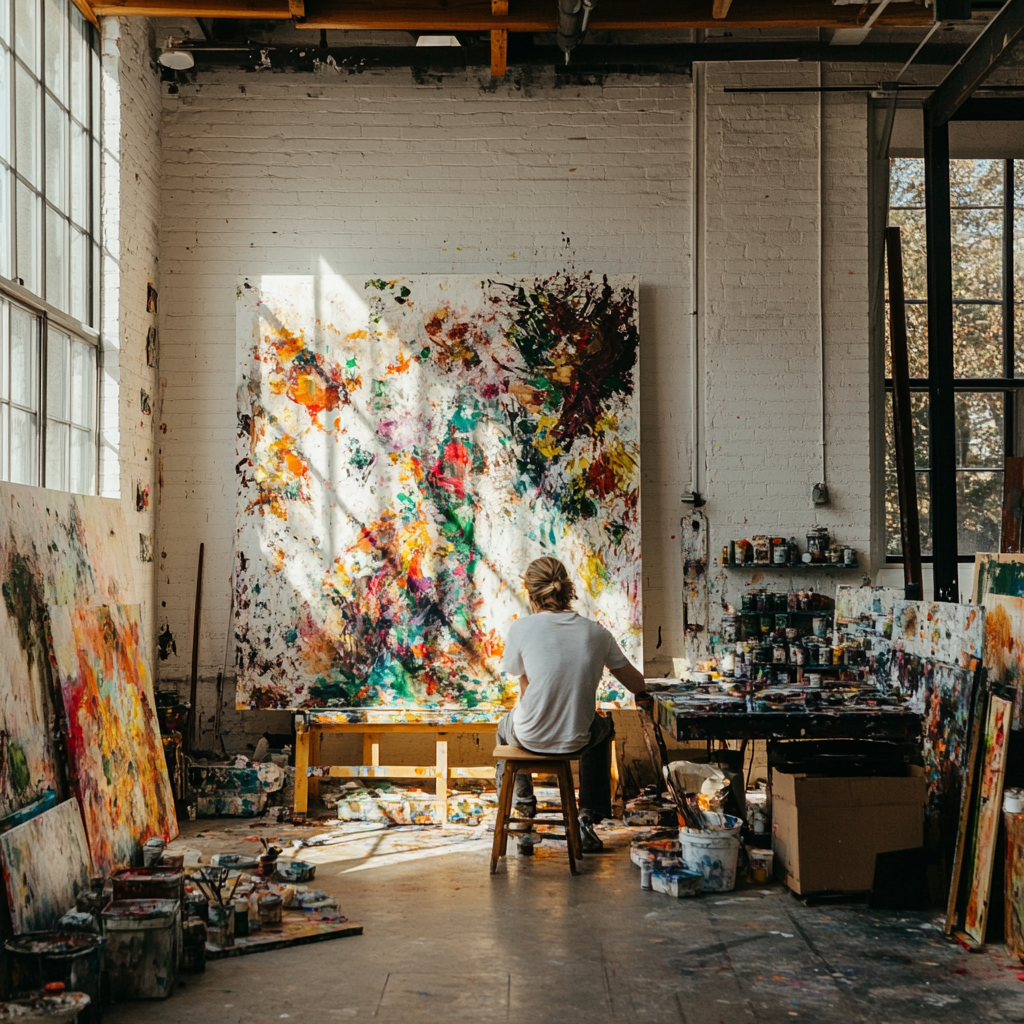
Master the Basics: How to Create Stunning Textured Art
Creating textured art can elevate your artwork to a new level, adding depth, interest, and personality. Whether you’re a beginner or looking to refine your skills, mastering the basics of textured art is essential. In this blog post, we’ll explore techniques, tools, and tips on how to create stunning textured art.
Understanding Textured Art
Textured art involves creating a surface that is not flat or smooth. By manipulating the surface, it brings a tactile and visual dimension that can make your art stand out. To begin, it’s important to understand the different types of textures you can incorporate:
- Actual texture: The physical feel of the artwork’s surface (e.g., rough, smooth).
- Visual texture: The illusion of texture created through artistic techniques.
Knowing these concepts can help you distinguish and choose the appropriate techniques for your project.
Essential Tools and Materials
Before diving into textured techniques, gather the necessary tools and materials. Here are some essentials:
- Canvas or paper: Your primary surface for creating textured art.
- Texture paste: A thick, malleable substance used to build texture.
- Palette knives: Useful for applying and shaping texture paste.
- Brushes: Different shapes and sizes for applying paint and texture.
- Sponges: Great for creating soft and irregular textures.
- Found objects: Items like leaves, fabric, or sandpaper can be used for unconventional textures.
Having a well-stocked toolkit will allow you to experiment and find the best ways to bring your textural visions to life.
Basic Techniques for Creating Texture
1. Brush Techniques
Using brushes is one of the most straightforward methods to add texture. Here’s how:
- Dry brushing: Load your brush with a minimal amount of paint and lightly drag it across the surface to create a rough, textured effect.
- Stippling: Use the tip of your brush to dot the surface, creating a bumpy texture.
- Impasto: Apply thick layers of paint with a brush, creating deliberate brushstrokes that add depth.
Experimenting with different brush techniques can yield diverse textural effects.
2. Using Texture Paste
Texture paste offers a flexible way to create robust textures. Here are some methods to try:
- Direct application: Spread texture paste onto the canvas with a palette knife. You can leave it as it is or manipulate it to create shapes and patterns.
- Impression techniques: Press objects like stencils, fabric, or even your fingers into the wet texture paste to leave an imprint.
- Layering: Build multiple layers of paste, allowing each to dry before adding the next. This can create significantly raised areas and add depth.
Texture paste can be tinted with paint or left white and painted over once dry.
3. Collage Elements
Incorporating different materials into your artwork can provide unique textures. Some ideas include:
- Paper pieces: Torn or cut paper can add dimension when glued onto your surface.
- Fabric: Pieces of fabric can add a tactile element and varied texture.
- Sands and beads: Sprinkle these onto wet texture paste or paint for an added gritty feel.
Collage elements can be painted over or left as-is, depending on the desired effect.
4. Sponging
Sponges can create soft, irregular textures that brushes can’t achieve. Try these methods:
- Dabbing: Dip the sponge in paint and dab it onto the canvas for a speckled, porous texture.
- Dragging: Drag the sponge across the surface to blend colors and create a smooth, textured background.
Natural sea sponges offer more varied textures compared to synthetic sponges.
Combining Techniques for Maximum Impact
Once you’re comfortable with basic techniques, combining them can result in more complex and visually striking artworks. Some combinations to try:
- Brush techniques with texture paste: Use dry brushing over dried texture paste to highlight raised areas.
- Sponging with collage elements: Dab paint with a sponge over a collage to integrate the elements seamlessly.
- Impression techniques and layering: Create imprints in wet texture paste and build layers for a multi-dimensional effect.
Experiment with different mediums and tools to discover your unique textural style.
Tips for Success
Here are some additional tips to ensure your textured art turns out just as you envision:
- Plan your composition: Sketch or visualize your design before beginning, ensuring balanced use of textures.
- Work in layers: Allow each layer to dry before adding more to avoid muddling your textures.
- Mix and match materials: Don’t be afraid to experiment with unconventional materials to achieve unique textures.
- Use a light touch: Overworking areas can flatten textures, so work gently and deliberately.
By keeping these tips in mind, you can navigate any challenges and achieve stunning results.
Conclusion
Mastering the basics of creating textured art opens up a world of possibilities for your artistic journey. With the right tools, techniques, and a willingness to experiment, you can add incredible depth and interest to your work. Start small, practice often, and watch your art transform from flat and simple to dynamic and textured masterpieces.


