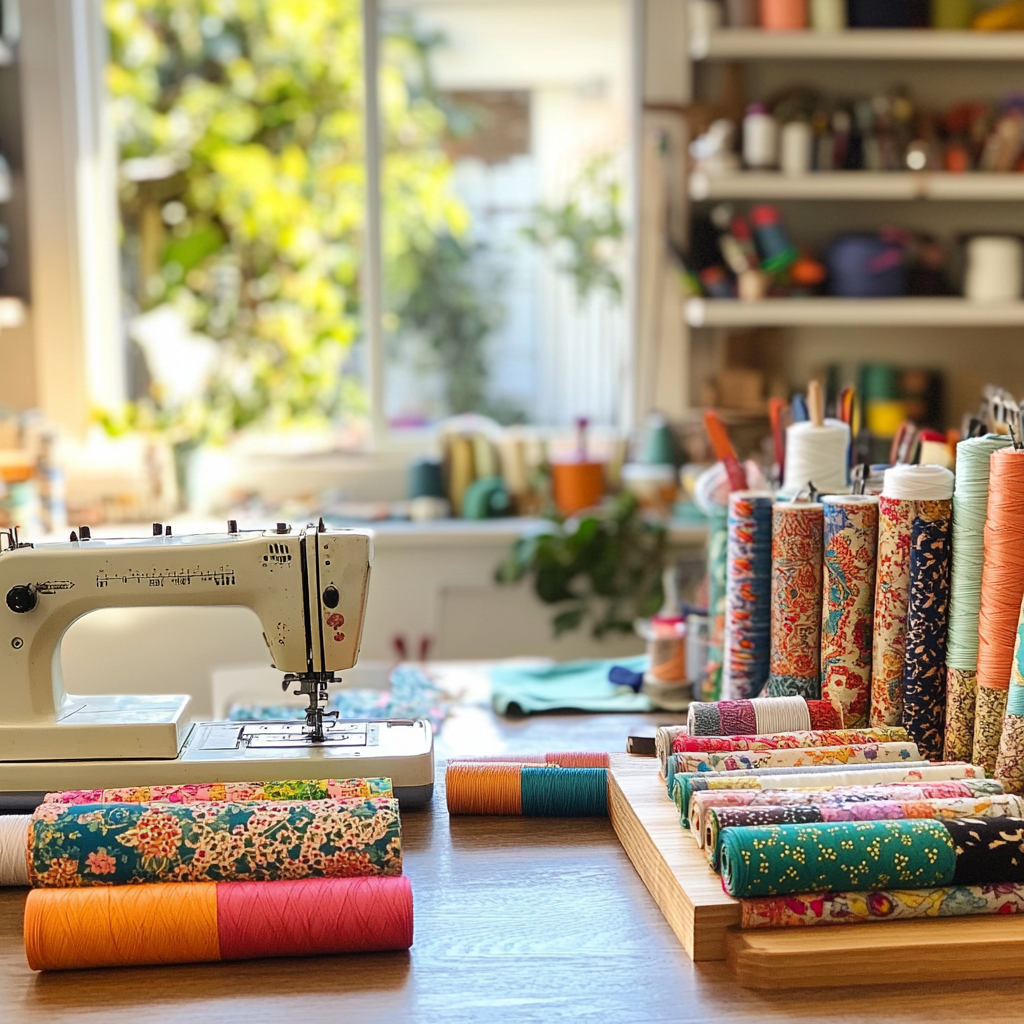
Mastering Bias Tape: Simple Guide on How to Sew with Ease
When it comes to finishing edges, adding decorative trims, or creating quilt bindings, bias tape is a versatile and essential sewing tool. Mastering the art of sewing with bias tape can significantly elevate your sewing projects, giving them a polished and professional look. In this guide, we’ll walk you through everything you need to know about using bias tape effortlessly.
What is Bias Tape?
Bias tape is a strip of fabric that is cut on the bias, or diagonal, of the fabric. This cutting method allows the tape to have a good amount of stretch and flexibility, making it ideal for binding curves and edges. Bias tape can be purchased pre-made or created at home using any fabric of your choice.
Key Characteristics of Bias Tape:
- Flexibility: Perfect for curvy edges.
- Versatility: Can be used for binding seams, edges, and as a decorative element.
- Diverse options: Available in single-fold and double-fold styles.
Materials You’ll Need
Before diving into the sewing process, gather the following materials:
- Bias Tape (pre-made or homemade)
- Scissors or Rotary Cutter
- Fabric
- Iron and Ironing Board
- Sewing Machine
- Pins or Wonder Clips
- Thread that matches your fabric and bias tape
Preparing Your Fabric
Proper preparation of your fabric is crucial for a seamless sewing experience. Follow these steps:
1. Pre-wash your fabric: This helps avoid shrinking after sewing.
2. Iron the fabric: Ensure a wrinkle-free surface to make cutting and sewing easier.
3. Cut your bias strips: If making your own bias tape, cut strips on the diagonal of the fabric. Use a rotary cutter for a precise edge.
Single-Fold and Double-Fold Bias Tape: What’s the Difference?
Understanding the difference between single-fold and double-fold bias tape is essential for choosing the right type for your project:
- Single-Fold Bias Tape: This type is folded lengthwise without bringing both edges to the center. It’s often used for facing armholes or necklines.
- Double-Fold Bias Tape: This tape is first folded in half lengthwise and then both edges are brought to the center, making it thicker and more durable. It’s excellent for binding edges and quilts.
How to Sew Bias Tape
Once your materials are ready and you’ve chosen the appropriate bias tape, follow these steps:
Attaching Bias Tape
1. Open up one fold: Start by opening up one edge of the bias tape.
2. Align with raw edge: Place the opened edge of the bias tape against the raw edge of your fabric, right sides together.
3. Pin or clip: Secure the bias tape in place using pins or clips.
4. Sew along the fold: Using a straight stitch, sew along the fold line, maintaining an even seam allowance.
5. Fold and press: Fold the bias tape over the raw edge to the other side of the fabric. Press with an iron to keep it in place.
6. Topstitch: Using a matching thread, topstitch close to the edge of the bias tape to secure it.
Applying Bias Tape Around Curves
Sewing bias tape around curved edges requires a bit more finesse:
1. Ease the tape: Gently ease the bias tape around the curve, being careful not to stretch it.
2. Clip the curves: Make small clips along the inner curve of the tape to help it lay flat.
3. Sew and press: Follow the same sewing steps as mentioned above, being gentle around the curves.
Troubleshooting Common Issues
Here are some common issues and tips to overcome them:
- Twisting and bunching: Go slowly and ensure the tape is evenly tensioned.
- Uneven stitching: Use a walking foot for smoother feeding, particularly on thick fabrics.
- Puckering: Reduce your stitch length and stitch gently around curves.
Creative Uses for Bias Tape
Bias tape isn’t just for binding edges. Here are some creative ways to use it in your projects:
- Decorative Trim: Add a contrasting bias tape to create eye-catching decorative trims on garments or home decor.
- Straps and Ties: Use bias tape as durable and flexible straps for bags or ties for aprons.
- Quilt binding: Finish your quilts with a neat, professional bias-bound edge.
Wrapping It Up
Mastering bias tape can elevate your sewing projects, giving them a polished and professional finish. By understanding the differences between single-fold and double-fold bias tape, preparing your materials adequately, and practicing the techniques provided, you can sew bias tape with ease and confidence. Embrace the versatility of bias tape and let your creativity shine through in your next sewing endeavor.


