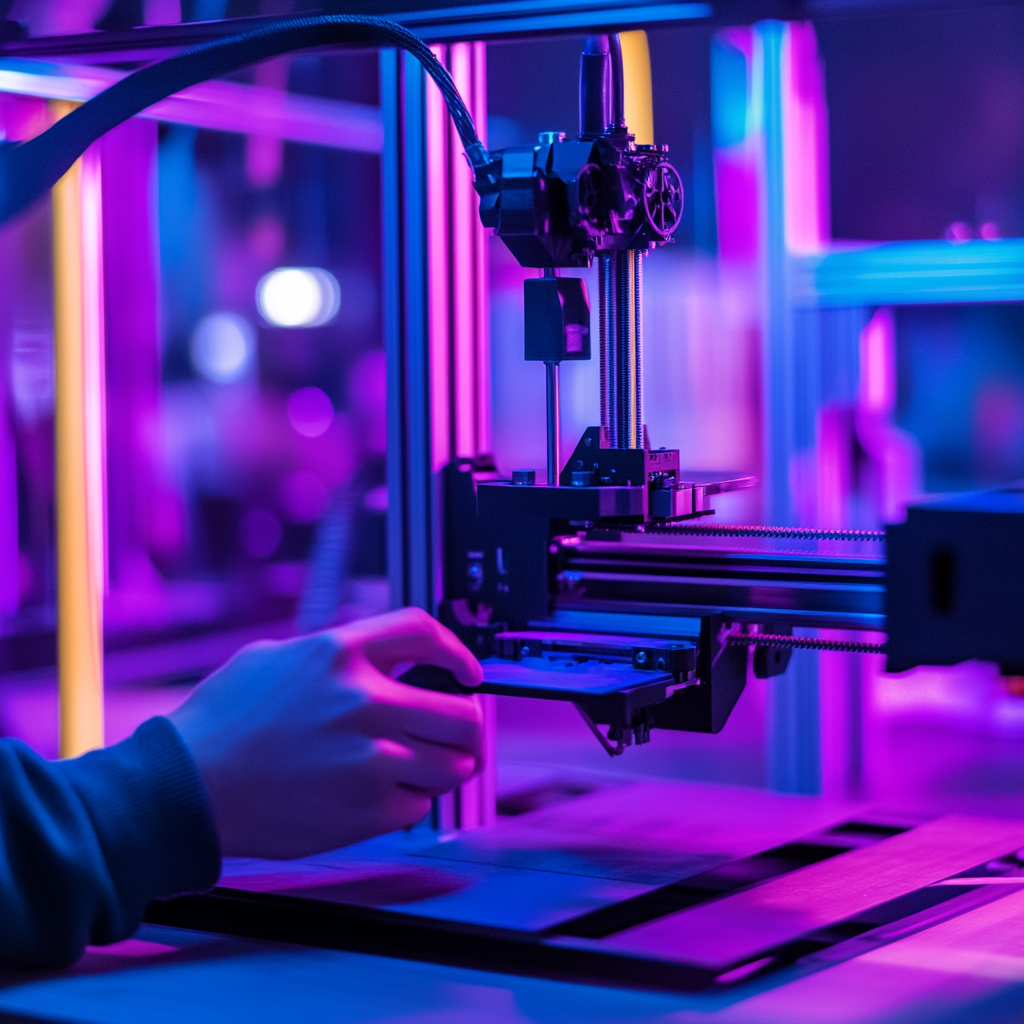
Step-by-Step Guide: Changing Filament on Ender 3 3D Printer
Changing the filament on an Ender 3 3D Printer is a fundamental skill for any 3D printing enthusiast. Whether it’s because your filament has run out, you want to switch colors, or you need a material change, the process is straightforward. In this guide, we’ll walk you through the entire process to ensure a smooth and successful filament change.
Preparation for Filament Change
Before diving into the process, it’s critical to gather all necessary tools and ensure your printer is ready.
Gather Your Supplies
- New Filament Roll
- Cutting Tool or Scissors
- Small Needle-Nose Pliers (Optional)
- Cleaning Filament (Optional)
Prepare Your Printer
1. **Start Heating the Nozzle:** Power on your Ender 3 and set the nozzle temperature to the melting point of the current filament (typically around 200°C for PLA).
2. **Unload the Current Filament:** Wait until the nozzle reaches the set temperature. This ensures the filament is soft and won’t break off, causing clogs.
Removing the Old Filament
Step-by-Step Removal Process
1. **Release the Filament Lever:**
– Push the extruder lever to release the tension on the filament.
2. **Pull Out the Filament:**
– Gently pull the filament out of the extruder and the Bowden tube. If it sticks, apply a bit more pressure or slightly increase the temperature before trying again.
3. **Cutting Off the Filament Tip:**
– Cut the filament tip cleanly. A straight cut rather than a jagged cut will prevent jams when loading new filament.
Loading the New Filament
How to Insert New Filament
1. **Prepare the New Filament:**
– Trim the end of the new filament at a 45-degree angle. This makes it easier for the filament to feed through the extruder and the Bowden tube.
2. **Thread the Filament:**
– Begin by manually feeding the filament through the extruder’s input hole. Ensure the filament follows the path up through the Bowden tube.
3. **Feed the Filament Through the Extruder:**
– Push the filament until it starts extruding from the nozzle. This step might need patience, as the filament must seat properly in the heating block. If there are issues, re-cut the filament tip and try again.
Monitoring the Extrusion
1. **Monitor the Nozzle:**
– With the new filament loaded, ensure the nozzle continuously extrudes the new filament smoothly. If the old filament’s color is still coming out, let it continue until the new color starts showing consistently.
2. **Secure the Filament:**
– Once the extrusion is steady, secure the new filament by letting go of the extruder arm.
Final Steps and Tips
Test the New Filament Setup
1. **Run a Small Test Print:**
– Selecting a small test object to confirm that the new filament works without any blockages or issues. It ensures the filament properly adheres to the build plate and extrudes equally.
2. **Tweak Temperature Settings:**
– Make any necessary adjustments to the nozzle temperature if the extrusion isn’t smooth. Different filament materials have varied melting points.
Maintenance Tips
1. **Regularly Clean the Nozzle:**
– To avoid clogs and maintain print quality, clean the nozzle periodically, especially when changing filament types. Using cleaning filament helps in purging any residue.
2. **Store Filament Properly:**
– Filament absorbs moisture from the air, impacting print quality. Store the filament in a dry, cool place and use airtight bags with desiccant packs.
3. **Check Extruder Tension:**
– Ensure the extruder lever’s tension is optimal. Too tight, and it may grind the filament; too loose, and it might not feed properly.
Troubleshooting Common Issues
Filament Won’t Load
1. **Check for Blockages:**
– If the filament won’t load, there might be a blockage. Clean the nozzle and ensure there is no residue from the previous filament.
2. **Inspect the Bowden Tube:**
– The Bowden tube may also require inspection if feeding issues persist. Ensure it’s clear and provides an unobstructed path for the filament.
Extrusion Inconsistencies
1. **Temperature Adjustments:**
– Incorrect temperatures can cause extrusion inconsistencies. Verify you’re using the correct settings for the filament type.
2. **Nozzle Maintenance:**
– Regularly inspect and replace the nozzle if needed. A worn-out nozzle can significantly affect print quality.
Switching filament on your Ender 3 3D Printer shouldn’t be a daunting task with the right steps and preparation. By following this detailed guide, you’ll ensure your 3D prints maintain high quality and your printer runs smoothly. Experimenting with different filaments opens up a new horizon of creative possibilities, enhancing your 3D printing projects.


