Step-by-Step Guide: Crafting a Homemade Bong Easily
Crafting a homemade bong can be a fun, rewarding, and cost-effective way to spice up your smoking experience. Whether you’ve run out of your usual gear or simply enjoy DIY projects, learning how to make a bong from common household items can be quite enlightening. This step-by-step guide will walk you through the process seamlessly.
Required Materials
Before getting started, it’s crucial to gather all necessary materials. Most of the items you need might already be lying around your home.
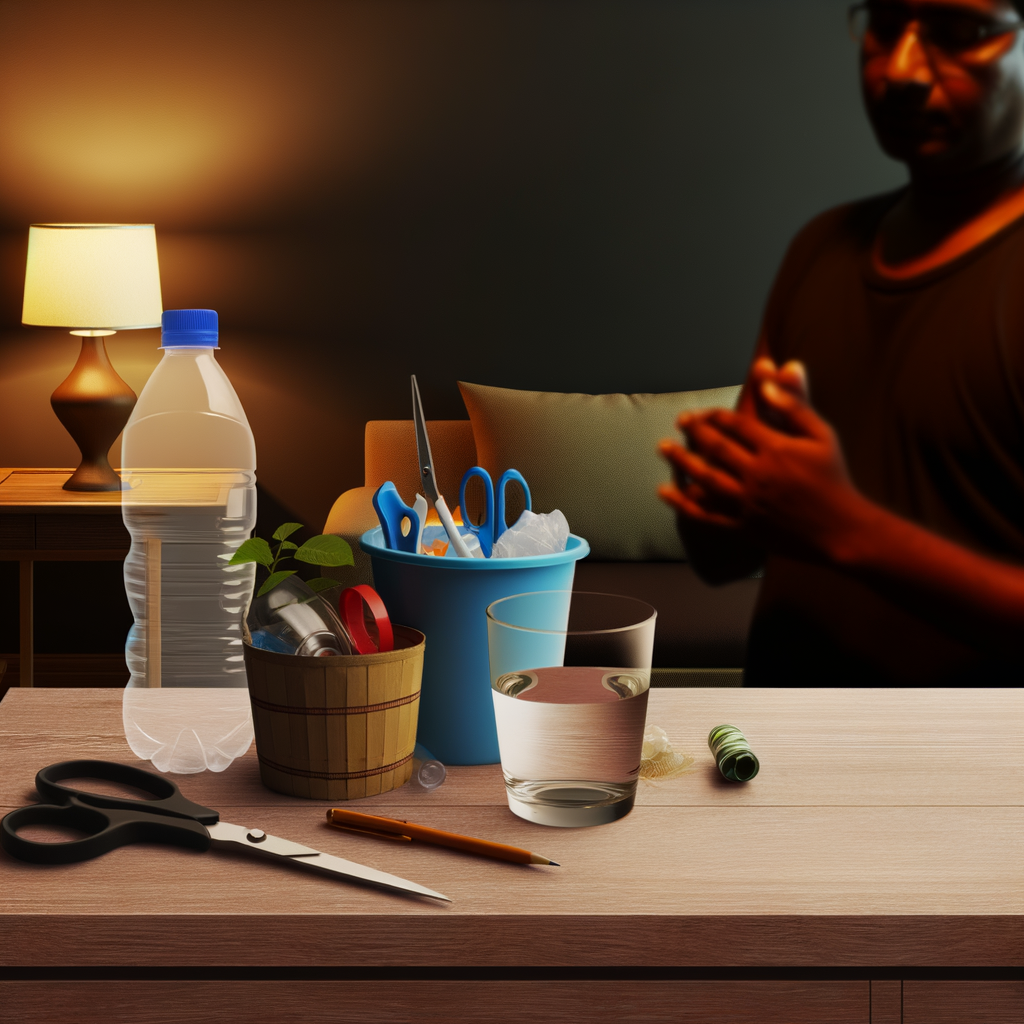
- Plastic Bottle: The primary body of your homemade bong.
- Pen or Marker: To create holes and possibly as part of the downstem.
- Aluminum Foil: To craft the bowl for holding the smoking material.
- Knife or Scissors: For cutting holes into the bottle.
- Water: To fill your bong and filter the smoke.
- Rubber Grommet (optional): Helps create an airtight seal around the downstem, enhancing functionality.
Step 1: Prepare the Plastic Bottle
The first step in making your homemade bong is to prepare the plastic bottle which will act as the main chamber.
Choose the Size
The size of the bottle you choose will affect the airflow and smoking experience. A 16 to 20-ounce bottle is generally recommended for a standard homemade bong, but feel free to experiment with different sizes.
Create the Downstem Hole
Using your knife or scissors, carefully create a hole a few inches from the bottom of the bottle. The hole should be just big enough to snugly fit the downstem, ensuring an airtight seal. If you’re using a rubber grommet, make the hole slightly larger to accommodate it.
Step 2: Craft the Downstem
The downstem is a vital part of your homemade bong that channels the smoke through the water for filtration.
Disassemble the Pen
Take apart your pen, removing the ink cartridge and tip to hollow it out completely. You’re left with a tube that will serve as your downstem.
Fit the Downstem
Insert the pen tube through the hole you made in the bottle. Angle the downstem so that its end reaches down towards the bottom of the bottle but does not touch it entirely.
Step 3: Create the Bowl
The bowl will be where you place and light your smoking material.
Use Aluminum Foil
Cut a small piece of aluminum foil and mold it into a bowl shape. Be sure the bowl fits securely into the open end of the pen tube if you’re using it as your downstem. If the fit isn’t tight, more foil can be used to enhance the seal.
Make Small Holes
Use a pin or a small needle to poke several tiny holes into the foil. These holes will allow the smoke to travel from the bowl into the downstem and then into the water bottle.
Step 4: Final Assembly
Now it’s time to bring all parts together for your homemade bong.
Insert the Downstem and Bowl
Firmly push the pen (downstem) with the attached aluminum foil bowl into the hole you created on the bottle. Ensure it is airtight; any leaks will reduce the efficiency of your bong.
Water Fill
Add water to your plastic bottle, making sure the bottom tip of your downstem is submerged. This is crucial as the water will cool and filter the smoke you inhale.
Step 5: Test Your Homemade Bong
Before filling your bowl and lighting up, test your homemade bong to ensure everything is working correctly.
Check for Air Leaks
Cover the top of the bottle where the smoke will be inhaled and blow into the downstem. If air leaks out from anywhere other than intended openings, seal those leaks with tape or glue.
Water Test
Give it a try by pulling a small amount of air through the top of the bottle. If water bubbles up, congratulations—you’ve crafted a functioning homemade bong!
Step 6: Enjoy Responsibly
Once your homemade bong passes the test, you’re all set to enjoy it.
Load the Bowl
Place your smoking material carefully into the aluminum foil bowl. Remember not to pack it too tightly.
Light and Inhale
Light the bowl using a lighter while simultaneously inhaling through the top of the plastic bottle. Watch as the smoke fills up the chamber and release the carb hole or remove the downstem to take your hit.
Maintenance Tips
Maintaining your homemade bong is crucial to ensure it stays in good working condition.
Regular Cleaning
Empty the water after each use and rinse the bottle thoroughly. Periodically, use a mixture of isopropyl alcohol and salt to clean out any residue blocking airways.
Replace Foil Bowl
Though durable, the aluminum foil bowl can degrade over time. Regularly replace it to ensure optimal performance.
Crafting a homemade bong doesn’t have to be a daunting task. With some basic materials and a bit of ingenuity, you’ll have a fully functional bong in no time. Happy crafting and enjoy responsibly!


