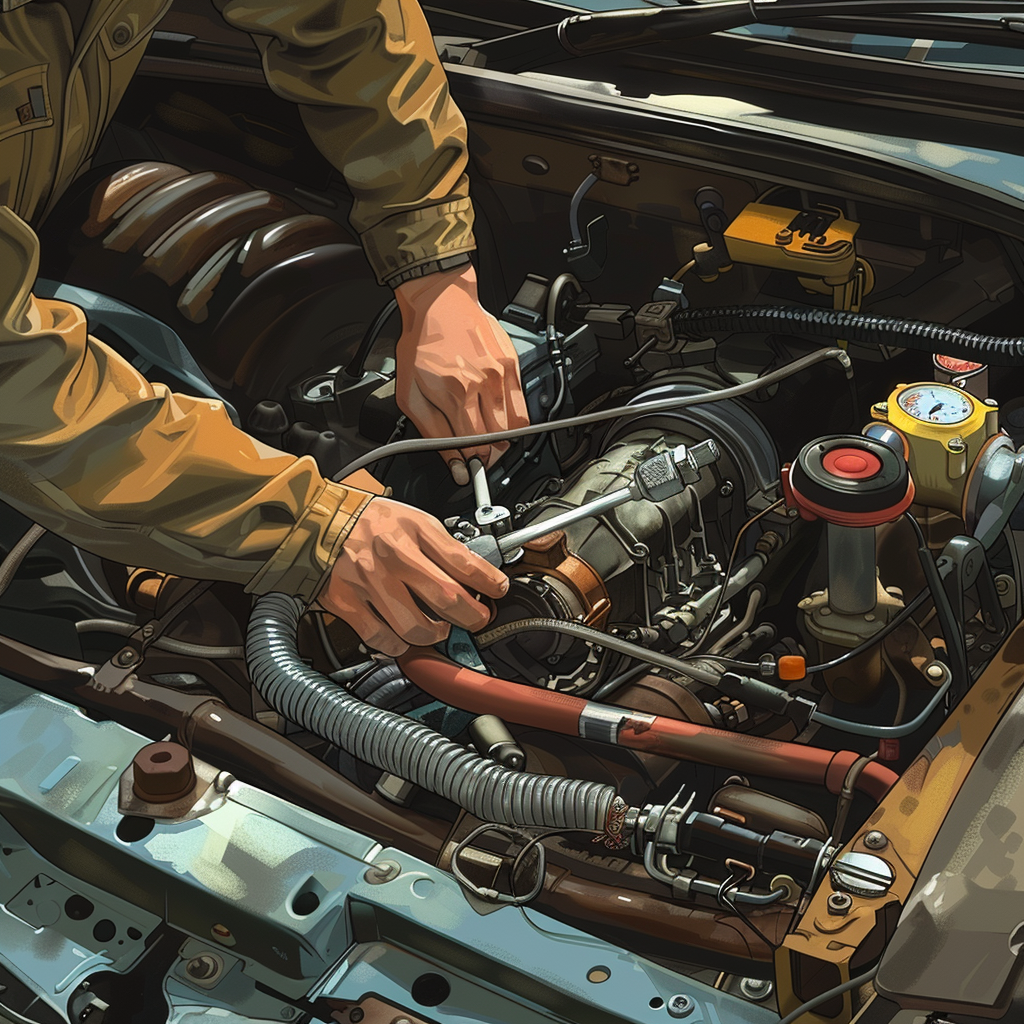
Step-by-Step Guide: How to Bleed Clutch Master Cylinder Easily
Bleeding a clutch master cylinder is an essential task to ensure the smooth operation of your vehicle’s clutch system. Over time, air bubbles can enter the hydraulic clutch system, causing fluctuations or a spongy feeling when pressing the clutch pedal. This guide will take you through the process step-by-step, making it simple and effective.
Why It’s Important to Bleed the Clutch Master Cylinder
Bleeding the clutch master cylinder removes trapped air and ensures that the hydraulic system is functioning at peak performance. Ignoring this maintenance can lead to clutch slippage, difficulty in gear shifting, and even potential damage to other clutch components.
Tools and Materials You’ll Need
To bleed the clutch master cylinder, gather the following tools and materials:
–
–
–
–
–
–
–
Step-by-Step Guide to Bleed Clutch Master Cylinder
Step 1: Prepare Your Vehicle
Begin by ensuring your vehicle is parked on a flat and stable surface. Engage the parking brake and, if necessary, use jack stands to elevate the vehicle for better access to the clutch system.
Step 2: Locate the Bleeder Valve
The bleeder valve is typically found on the slave cylinder or the clutch master cylinder, depending on the vehicle make and model. Consult your vehicle’s manual if you’re unsure.
Step 3: Attach the Clear Tubing
Attach one end of the clear plastic tubing to the bleeder valve nipple and place the other end into a catch container. This will allow you to monitor the brake fluid and capture any expelled air bubbles.
Step 4: Check and Refill the Master Cylinder Reservoir
Before you begin bleeding, check the clutch master cylinder reservoir and refill it with fresh brake fluid as needed. Maintaining the correct fluid level is crucial throughout the process to prevent air from re-entering the system.
Step 5: Open the Bleeder Valve
Using the appropriate wrench, open the bleeder valve slightly. Ensure you’re ready for fluid to begin flowing through the attached clear tubing.
Step 6: Pump the Clutch Pedal
Have a helper sit inside the vehicle and depress the clutch pedal slowly and steadily. This action will force the brake fluid and any trapped air through the system and into the catch container.
Step 7: Close the Bleeder Valve
Once there are no more air bubbles visible in the clear tubing, instruct your helper to hold the clutch pedal down while you tighten the bleeder valve. This prevents air from being drawn back into the system.
Step 8: Repeat if Necessary
Repeat steps 4 through 7 until you are confident there are no air bubbles left in the clutch system. Recheck the fluid level in the reservoir and top it up if needed.
Step 9: Test the Clutch
With the bleeder valve securely closed, instruct your helper to pump the clutch pedal several times to ensure it’s firm and responsive. If there are still fluctuations, additional bleeding might be required.
Tips for Effective Bleeding
–
–
–
–
Common Troubleshooting Tips
If after completing the process, the clutch pedal still feels spongy or there’s difficulty shifting gears, consider the following:
–
–
–
Conclusion
Bleeding a clutch master cylinder is a straightforward yet vital maintenance task that ensures the longevity and efficiency of your vehicle’s clutch system. By following these steps closely, using the right tools, and understanding the importance of this process, you can easily manage it yourself. Regular attention to the clutch system will enhance your driving experience and prolong the clutch’s lifespan.


