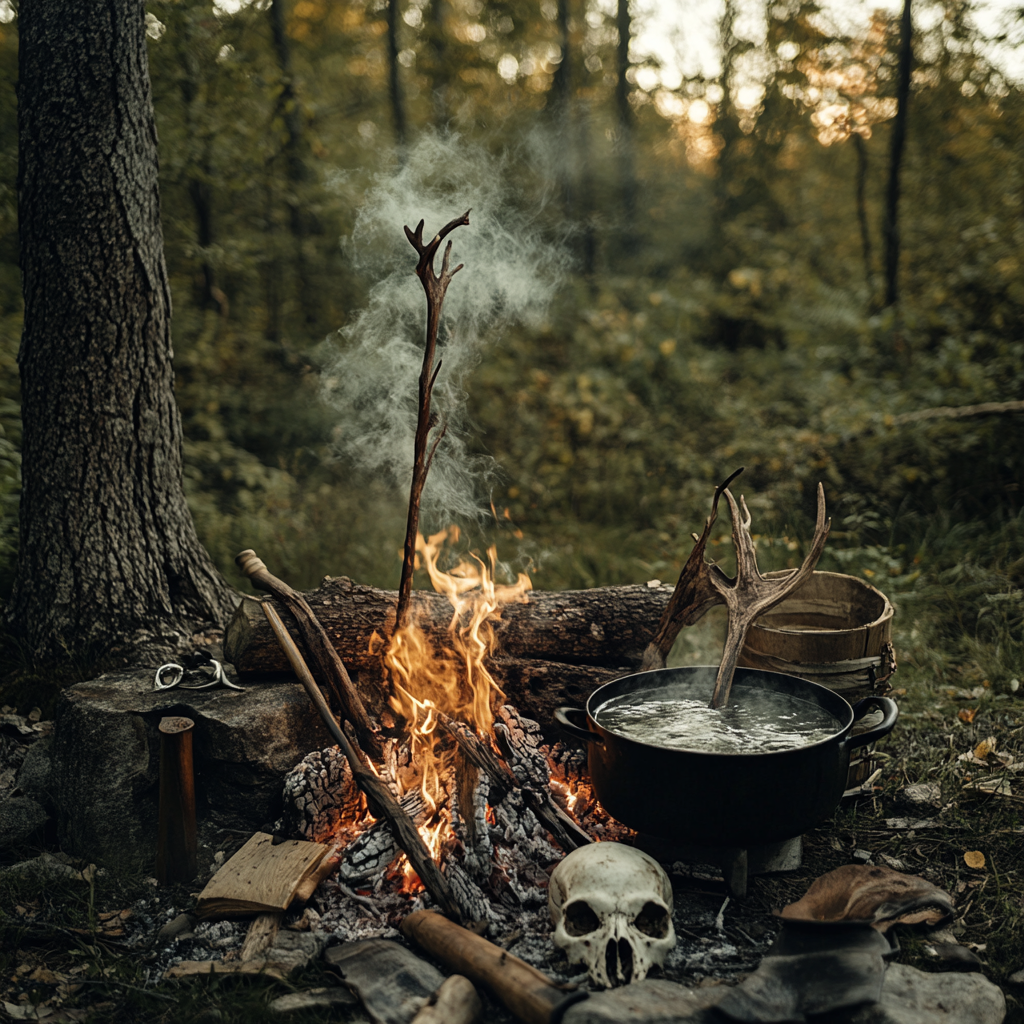
Step-by-Step Guide: How to Boil a Deer Skull Clean
Introduction
Cleaning a deer skull can be a rewarding process for hunters, educators, or hobbyists looking to mount the skull for display. By following these detailed steps, you can effectively boil and clean a deer skull safely and efficiently.
Materials Needed
Before beginning the process, gather the following materials:
- Large pot (big enough to submerge the deer skull)
- Water
- Dish soap or degreaser
- Knife
- Scraper or toothbrush
- Hydrogen peroxide (3%)
- Rubber gloves
- Outdoor burner or stove
- Trash bags
Step-by-Step Instructions
Step 1: Preparation
Start by preparing the deer skull for boiling. This involves removing as much flesh and tissue as possible. Use a knife to carefully cut off large chunks of meat and tissue. Be sure to also remove both the eyes and brain. You can extract the brain by carefully breaking the skull’s base and using a wire or spoon to scoop it out.
Step 2: Initial Boiling
Fill the large pot with water to a level that will completely submerge the deer skull. Place the pot on an outdoor burner or stove to avoid the smell indoors. Bring the water to a boil and then reduce it to a gentle simmer. Add a few tablespoons of dish soap or a degreaser to the pot. Carefully place the skull into the pot, ensuring it is fully submerged.
The simmering process can take several hours, depending on the size of the skull and the amount of remaining tissue. Check the skull periodically, using a scraper or toothbrush to gently remove loosened flesh and tissue.
Step 3: Removing Flesh
Once the skull has boiled for several hours, the remaining flesh and tissue should be soft and easy to remove. Take the skull out of the pot (wearing rubber gloves to protect your hands) and carefully remove any remaining meat and tissue with your scraper or toothbrush. Pay close attention to the nasal cavities and other small areas.
After removing as much tissue as possible, place the skull back into the pot to simmer further if necessary. Repeat the boiling and scraping process until the skull is completely clean.
Step 4: Degreasing the Skull
Grease can cause discoloration and unpleasant odors. To degrease the skull, prepare a solution of warm water and dish soap or degreaser in a separate container. Soak the skull in this solution for 24 hours, then rinse thoroughly with clean water.
Step 5: Whitening the Skull
To achieve a pristine white skull, use hydrogen peroxide. Do not use bleach, as it can damage the bone. Pour the hydrogen peroxide (3%) into a container large enough to hold the skull. Submerge the skull in the hydrogen peroxide solution, ensuring it is fully covered. Allow it to soak for 24 hours.
After soaking, remove the skull from the hydrogen peroxide and rinse it thoroughly with clean water. Let it dry completely in a well-ventilated area.
Step 6: Final Touches
Once the skull is clean and dry, inspect it for any remaining tissue or discoloration. If necessary, perform additional scraping or a brief hydrogen peroxide soak to achieve the desired cleanliness. Allow the skull to dry completely before proceeding to any mounting or display work.
Tips for Success
To ensure a successful and safe skull cleaning process, consider the following tips:
- Always work in a well-ventilated area, preferably outdoors, to avoid odors and potential health risks.
- Use appropriate personal protective equipment (PPE), such as rubber gloves and safety glasses.
- Maintain a gentle simmer during the boiling process to avoid cracking or damaging the skull.
- Regularly check and remove softened flesh to avoid overcooking the skull.
- Keep hydrogen peroxide away from direct sunlight and store it in a cool, dark place.
Conclusion
Boiling and cleaning a deer skull can be a meticulous process, but with patience and careful attention to detail, you can achieve a beautiful, display-worthy result. Follow these steps and tips for a successful outcome, and take pride in your newly cleaned deer skull.


