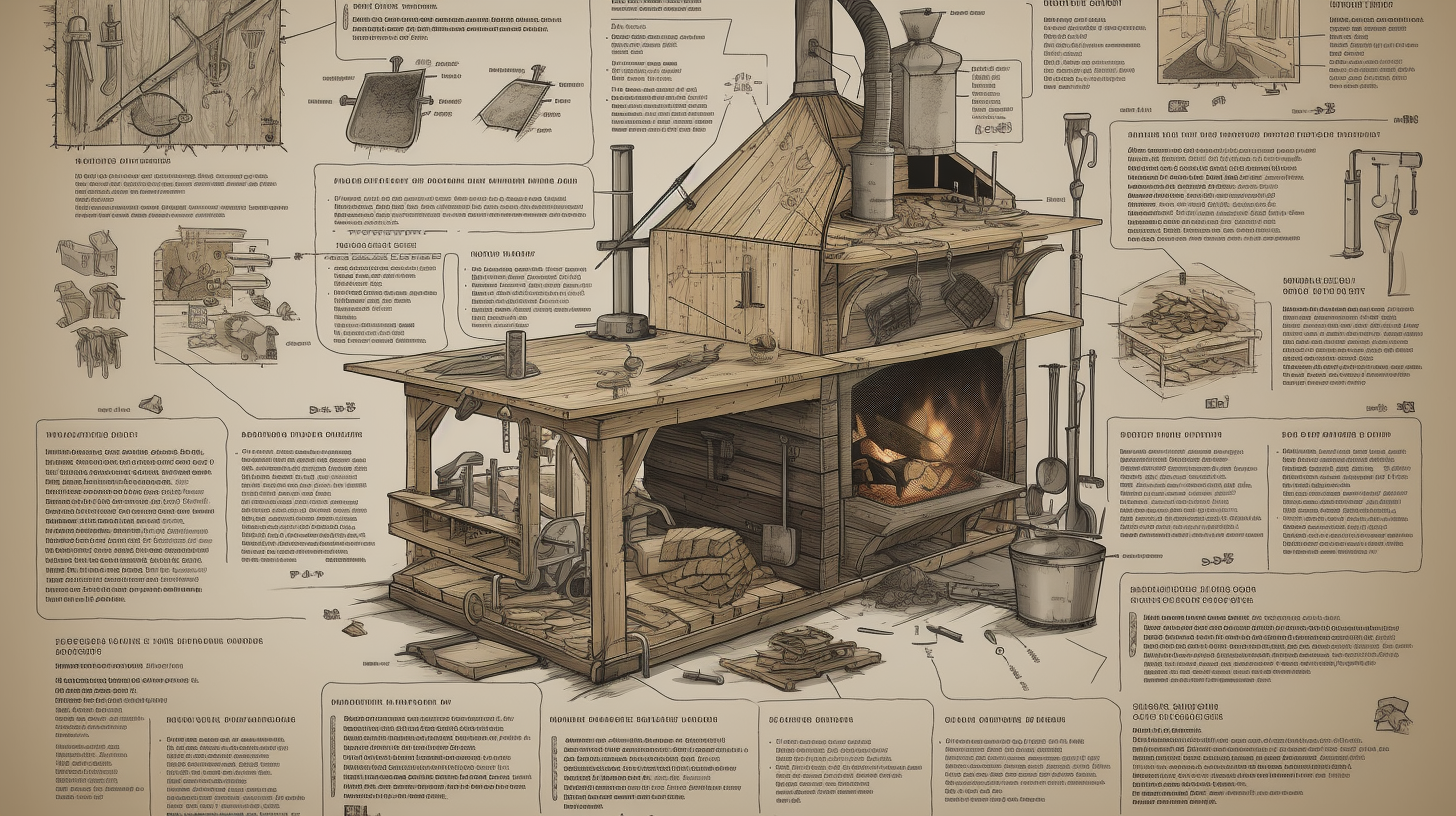
Step-by-Step Guide: How to Build a Wood Burning Stove
Building a wood-burning stove can be a rewarding and cost-effective way to heat your space. It allows you to repurpose materials and create a customized design that suits your specific needs. Follow this detailed guide to construct your wood-burning stove.
Materials Needed
Before you begin, gather the necessary materials and tools. This can save time and ensure that you have everything within reach.
Materials:
- Steel drums (preferably 55-gallon drums)
- Sheet metal
- Fire bricks
- Heat-resistant paint
- Stove door kit (includes hinges, latch, and door)
- Flue pipe and connector
Tools:
- Angle grinder or metal saw
- Drill and metal drill bits
- Welding machine
- Measuring tape
- Marker
- Safety gear (gloves, goggles, and ear protection)
Step-by-Step Instructions
Step 1: Preparing the Steel Drum
Begin by thoroughly cleaning the steel drum to remove any residues or contaminants. This ensures that your stove operates efficiently and safely.
1. Mark the cutting lines for the door and flue on the drum using a marker.
2. Use an angle grinder or metal saw to cut out the marked sections.
3. Smooth the edges using the angle grinder.
Step 2: Installing the Door
Installing the door is crucial for controlling the airflow and heat inside the stove.
1. Take the pre-made stove door kit and place it over the cut-out section.
2. Mark the positions for the hinges and latch.
3. Drill holes and attach the door using bolts and screws.
4. Ensure the door closes tightly to maintain efficient combustion.
Step 3: Creating the Fire Chamber
The fire chamber holds the fuel and maintains the burn.
1. Line the bottom of the drum with fire bricks. This will protect the metal from intense heat and ensure longevity.
2. Stack the bricks to create a solid base and walls inside the drum.
3. Leave a gap at the front for the ash drawer, if desired.
Step 4: Attaching the Flue Pipe
The flue pipe vents smoke and gases out of the stove.
1. Position the flue pipe over the designated hole.
2. Mark and drill corresponding holes around the pipe’s base.
3. Attach the flue pipe securely using bolts and create a tight seal with metal tape or high-temperature sealant.
Step 5: Sealing and Painting
Sealing the stove prevents smoke leaks, and painting gives it a finished look.
1. Inspect all joints and seams for gaps or leaks. Seal them with high-temperature sealant.
2. Once the sealant is dry, apply heat-resistant paint. This not only improves the stove’s appearance but also provides added protection against rust and heat damage.
3. Allow the paint to cure according to the manufacturer’s instructions.
Step 6: Safety Measures
Before lighting your new wood-burning stove, ensure you have taken the necessary safety measures.
1. Install a carbon monoxide detector in the room where the stove is located.
2. Ensure that the stove is placed on a non-flammable surface, such as a tile or concrete base.
3. Keep flammable objects away from the stove.
4. Check for proper ventilation to prevent smoke buildup inside the room.
Maintenance and Tips
Maintaining your wood-burning stove is essential for its efficient operation and longevity.
Regular Maintenance:
- Clean the ash regularly to prevent buildup, which can impede airflow.
- Inspect the flue pipe periodically for blockages or creosote accumulation.
- Check seals and gaskets, replacing them as necessary to maintain airtightness.
Operational Tips:
- Use seasoned wood to reduce smoke and improve efficiency.
- Start with small kindling and gradually add larger logs once a good fire is established.
- Adjust the air intake for optimal burn—too much air can lead to a fast, inefficient burn, whereas too little can cause smoke and smoldering.
Conclusion
Building a wood-burning stove is a practical project that offers both functionality and a sense of accomplishment. By following this step-by-step guide, you can construct a durable and efficient stove tailored to your heating needs. Remember to prioritize safety and regular maintenance to ensure that your wood-burning stove functions effectively for years to come.


