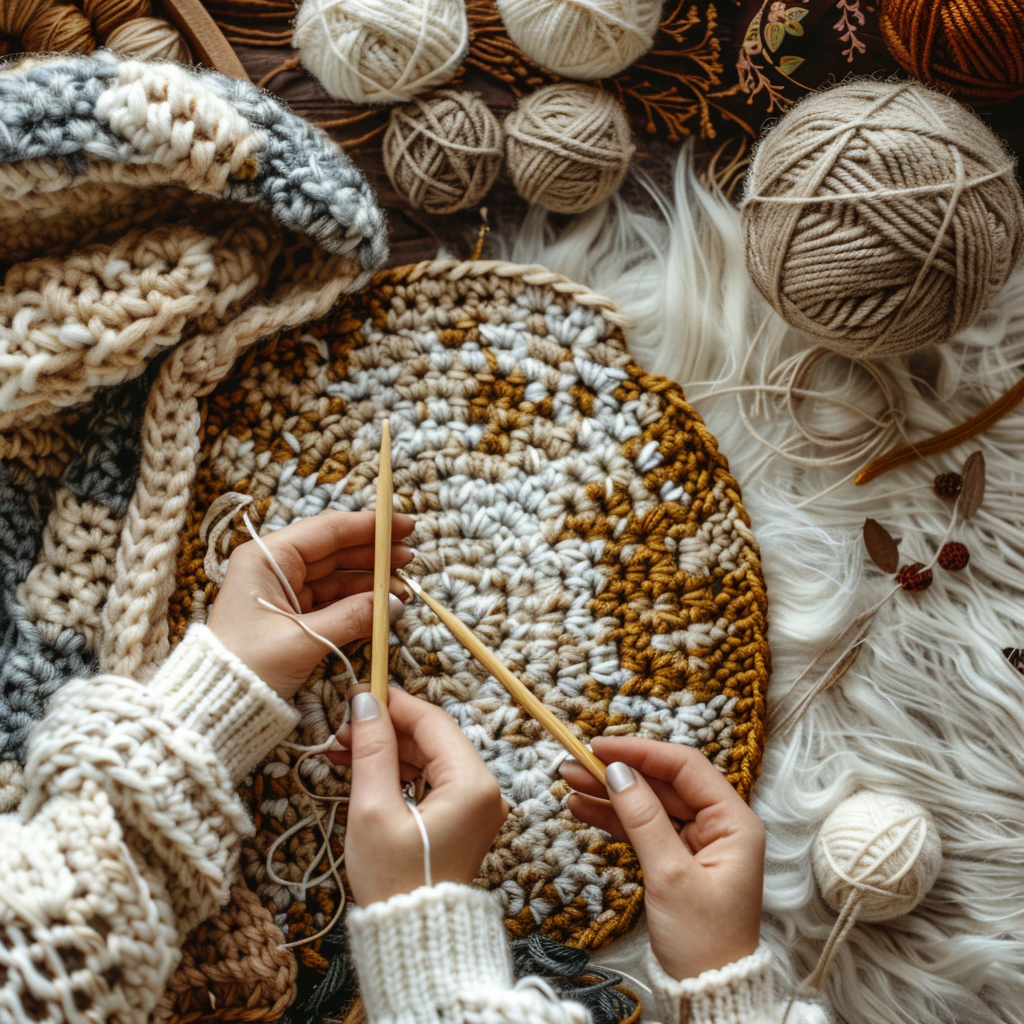
Step-by-Step Guide: How to Crochet an Oval Easily
Crocheting an oval can be a bit daunting for beginners, but with the right guidance, it becomes an enjoyable and straightforward task. In this comprehensive guide, we’ll walk you through the process step-by-step, ensuring that you can create perfect ovals for any project.
Materials Needed
Before diving into the steps, make sure you have the following materials at hand:
- Crochet Hook: Select a hook that matches the yarn’s weight.
- Yarn: Choose the color and type of yarn you prefer.
- Scissors: For cutting the yarn once your project is complete.
- Tapestry Needle: Used for weaving in ends and finishing your project.
Foundation Chain
The first step in crocheting an oval is to create a foundation chain, which will determine the length of your oval.
Step 1: Chain the Foundation
To start, create a slip knot on your hook.
- Chain an even number of stitches. For example, you might chain 10 stitches depending on the size of the oval you want.
Creating the First Round
The first round is crucial for setting the oval shape.
Step 2: Single Crochet Along the Foundation Chain
- Start by single crocheting into the second chain from the hook.
- Continue to single crochet into each chain until you reach the last chain.
Step 3: Work Multiple Stitches into the End Chain
- In the last chain, work three single crochets to turn the corner.
- This will allow you to start crocheting on the opposite side of the foundation chain.
Step 4: Single Crochet Along the Other Side
- Single crochet along the other side of the foundation chain, mirroring the stitches on the first side.
- When you reach the first single crochet (which is the base of the first stitch of the chain), work two single crochets into it to turn the corner.
Step 5: Join with a Slip Stitch
- Join with a slip stitch to the first single crochet you made. This completes your first round.
Building the Oval
To build the body of the oval, you will need to add rounds in a consistent manner.
Step 6: Chain One and Single Crochet
- Chain one to start the next round.
- Single crochet in the same stitch as the join.
Step 7: Increase at the Ends
- Continue to single crochet in each stitch along the side until you reach the end.
- At the rounded ends, work two single crochets into each of the three stitches to maintain the oval shape.
Step 8: Continue Around
- Single crochet along the other side. Again, work two single crochets into the stitches at the other rounded end to keep the oval shape balanced.
- Join with a slip stitch to the first single crochet of the round.
Step 9: Repeat for Desired Size
Repeat steps 6-8, increasing stitches at the ends and joining with a slip stitch until you achieve the desired size of your oval.
Finishing Touches
Finally, you need to tidy up your work.
Step 10: Cut and Weave
- Once your oval reaches the desired size, cut the yarn, leaving a long tail.
- Thread the tail onto a tapestry needle and weave it through several stitches to secure it.
Step 11: Block the Oval
Blocking helps to shape your crochet piece perfectly.
- Soak the finished oval in water, gently squeeze out excess water, and lay it flat on a towel.
- Shape it into a perfect oval and pin it down if necessary. Let it dry completely.
Common Mistakes to Avoid
- Tight Stitches: Ensure your stitches are not too tight; this can distort the oval’s shape.
- Inconsistent Increases: Make sure to consistently increase the stitches at the ends. Missing an increase can make the oval look uneven.
- Ignoring Gauge: If the gauge is off, the oval may not turn out the size you expected. Check your gauge before starting.
Crocheting an oval is a versatile skill that can be applied to various projects from rugs to coasters. With this guide, you should be well on your way to mastering the art of crocheting ovals. Happy crocheting!


