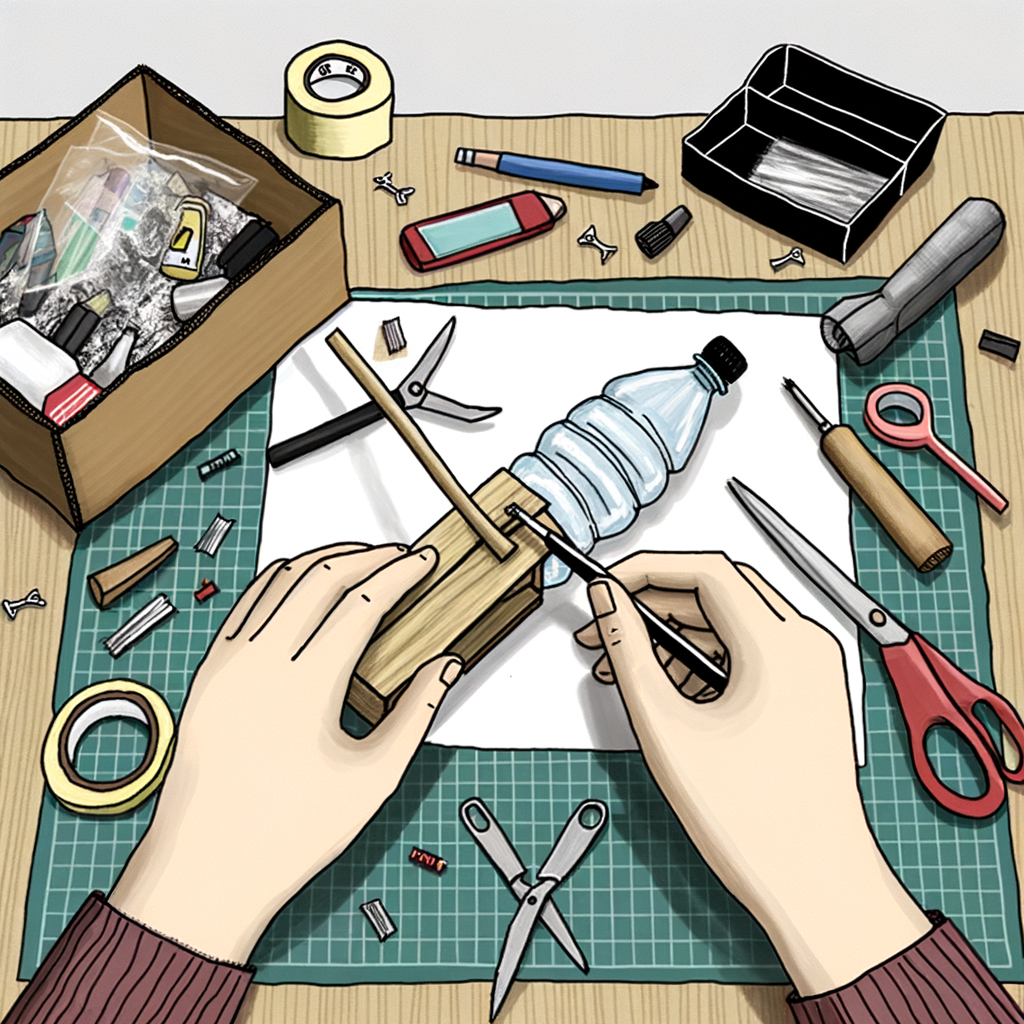
Step-by-Step Guide: How to Make a DIY Water Bong
Creating your own water bong at home can be an interesting project and a practical alternative to purchasing one. Whether you’re looking to get crafty or simply need a quick solution, this guide will walk you through the steps to making a DIY water bong using common household items.
Materials Needed
Before diving into the construction, gather the following materials:
- Plastic bottle (16-20 oz)
- Pen tube (or any hollow tube)
- Aluminum foil
- Scissors or a knife
- Rubber grommet (optional but recommended)
- Water
- Adhesive Tape (optional)
Step 1: Prepare the Bottle
Cleaning and Drying the Bottle
The first step is preparing your plastic bottle:
- Clean the bottle thoroughly to remove any residue or contaminants.
- Dry the bottle completely, making it easier to handle during the construction process.
Step 2: Make the Downstem
Creating the Downstem Hole
With your bottle ready:
- Use scissors or a knife to make a small hole on the side of the bottle. Aim for a spot slightly above the bottom.
- If available, insert a rubber grommet into the hole. This ensures a snug fit and better seal for the downstem.
Inserting the Pen Tube
Next, prepare the pen tube:
- Remove the ink cartridge and other internal components, leaving a hollow tube.
- Insert the hollow pen tube at an angle through the hole. The tube should be long enough to reach into the water when filled.
- If the tube does not fit securely, use adhesive tape to create a better seal.
Step 3: Make the Bowl
Forming the Bowl
Aluminum foil will serve as the bowl:
- Take a small piece of aluminum foil and mold it into a bowl shape.
- Ensure the bowl is large enough to hold your material but not too large to fall apart.
Attaching the Bowl to the Downstem
Secure the bowl:
- Place the aluminum foil bowl at the top of the pen tube.
- Wrap the edges of the foil around the tip of the tube to ensure it’s tightly affixed and stable.
- Poke a few small holes at the bottom of the foil bowl. This allows smoke to pass through into the bottle.
Step 4: Fill the Bottle with Water
Optimal Water Level
Fill the bottle with water:
- Pour water into the bottle until it covers the end of the pen tube inside the bottle. A good water level ensures maximum filtration and optimal smoking experience.
Step 5: Test for Leaks
Leak Test
Before using your DIY water bong, it’s crucial to check for leaks:
- Without placing any material in the bowl, inhale through the bottle’s mouthpiece and watch for any air or water escaping from unwanted holes.
- If leaks are present, use adhesive tape or adjust the rubber grommet for a better seal.
Step 6: Use Your DIY Water Bong
Loading the Bowl
To use your water bong:
- Place your desired material into the aluminum foil bowl.
- Light the material while gently inhaling through the mouthpiece of the bottle.
Inhaling and Clearing
Optimize your experience:
- Once the bottle fills with smoke, remove the bowl or downstem to clear the chamber and inhale the filtered smoke.
Tips and Precautions
Keep your DIY water bong safe and effective:
- Avoid using harmful materials: Ensure that all parts used are safe for inhaling and do not produce toxic fumes.
- Maintain cleanliness: Regularly clean the bottle and replace the aluminum foil bowl to maintain hygiene and functionality.
- Monitor water levels: Make sure the water level is optimal for filtration but not too high to cause splashing.
- Handle with care: Be cautious when using sharp tools like scissors or knives to avoid injury.
Conclusion
Constructing a DIY water bong can be a straightforward and rewarding endeavor. By following these steps and using common household items, you can create an effective water bong in no time. Always prioritize safety and cleanliness to ensure a smooth and enjoyable experience.


