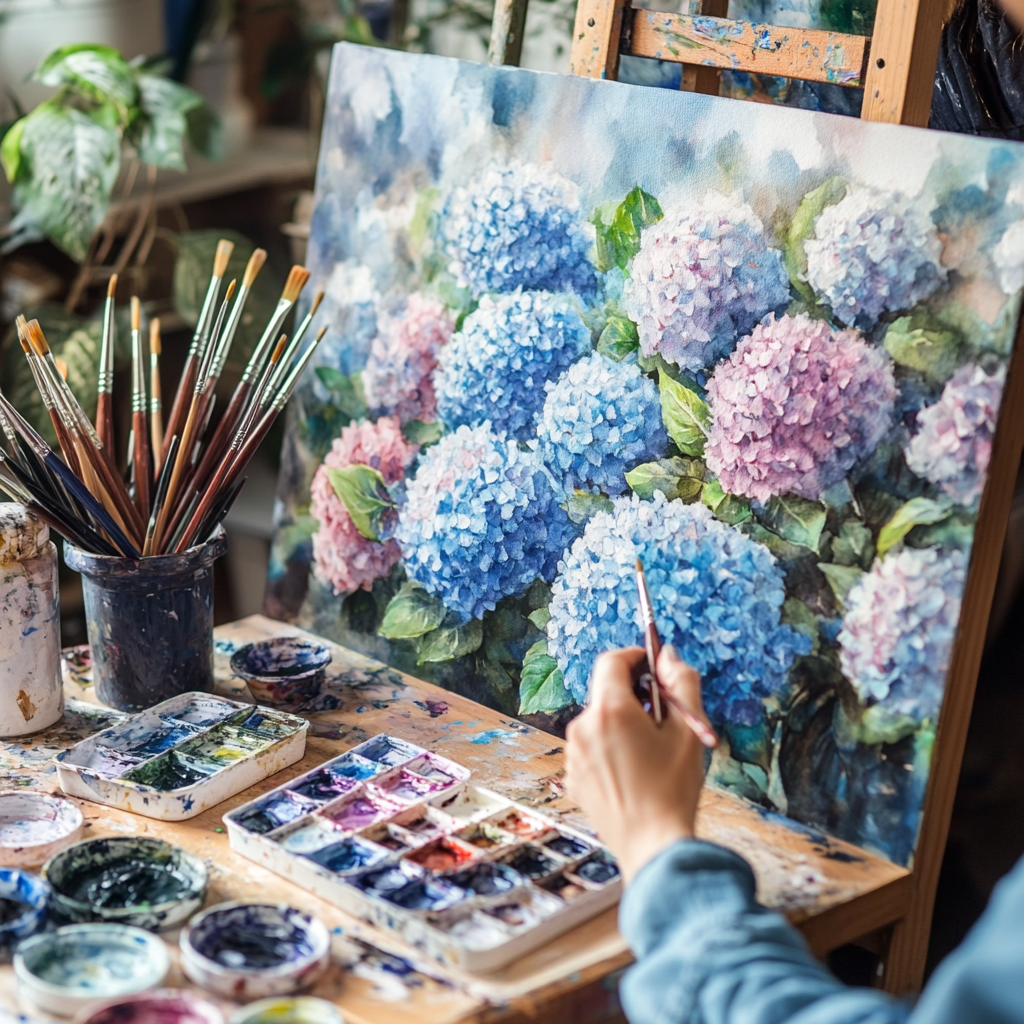
Step-by-Step Guide: How to Paint Realistic Hydrangeas Easily
Painting realistic hydrangeas can seem daunting, but with the right approach, anyone can create a stunning floral masterpiece. This step-by-step guide will take you through the process of painting lifelike hydrangeas, ensuring your artwork blossoms with vibrancy and detail. Let’s dive into the world of colors, shapes, and textures to bring your hydrangeas to life!
Materials Needed
Before you start painting, gather all necessary supplies. Here’s a list to keep you prepared:
- Canvas or watercolor paper
- Acrylic or watercolor paints
- Paintbrushes of various sizes
- Pencil and eraser
- Palette
- Water and cloth for cleaning brushes
Step 1: Sketch the Hydrangea Outline
Begin by lightly sketching the outline of your hydrangea. Break down the flower into smaller shapes:
- Draw a circle for the center of the flower cluster.
- Add smaller circles around the center to represent individual blossoms.
- Sketch leaves around the flower cluster to provide context and balance.
Tips:
- Use a light hand with your pencil to keep lines subtle.
- Refer to a real hydrangea or clear photo for accurate shapes.
Step 2: Base Layers and Background
Start with the background to set the scene for your hydrangea.
- Choose a color that complements your hydrangea (e.g., light blue or soft green).
- Use a larger brush to paint broad strokes, ensuring even coverage.
- Allow the background to dry before proceeding to the hydrangea.
Painting the Base Layers:
- Mix a base color for the hydrangea (e.g., light pink, blue, or white).
- Paint the entire cluster with this base color using broad strokes.
- Let it dry completely before adding details.
Step 3: Shading and Detailing the Blossoms
Now, we begin adding depth and realism to each blossom.
- Mix a slightly darker shade of your base color.
- Highlight the petal edges and inner parts with this darker shade.
- Create subtle gradients to give a three-dimensional appearance.
Detailing Each Petal:
- Use a fine brush to add delicate lines and veins to each petal.
- Incorporate white or a lighter shade to emphasize highlights.
- Work on one blossom at a time to maintain focus and detail.
Step 4: Painting the Leaves and Stems
Leaves and stems provide contrast and make your hydrangea pop.
- Mix various shades of green for realism (e.g., olive, lime, and emerald).
- Paint the leaves with a base green, letting the paint dry slightly.
- Add shadows and highlights using darker and lighter greens.
Leaf Detailing:
- Use thin brushes to add leaf veins.
- Incorporate brown or yellow tones for a more natural appearance.
- Blend the edges to soften the transitions.
Step 5: Final Touches and Corrections
To bring your painting to completion, focus on the finishing touches.
- Evaluate your painting from a distance to spot imbalances or inconsistencies.
- Add any missing highlights or shadows to create the final touch of realism.
- Use a clean brush to blend any harsh lines or textures.
Finishing the Painting:
- Sign your artwork in a corner.
- Allow the painting to dry thoroughly before framing or displaying.
Additional Tips for Success
Enhancing your painting experience can boost your confidence and skills.
- Practice regularly: Painting is a skill that improves with consistent practice.
- Experiment with colors: Don’t be afraid to mix and match different shades and tones.
- Take breaks: Step back occasionally to view your painting with a fresh perspective.
- Use quality materials: Investing in good brushes and paints can make a significant difference.
Conclusion
Painting realistic hydrangeas is a delightful venture that enhances your artistic abilities and provides immense satisfaction. By following this step-by-step guide, you can create beautiful, lifelike hydrangea paintings with ease. Remember to be patient with yourself and enjoy the process. Happy painting!


