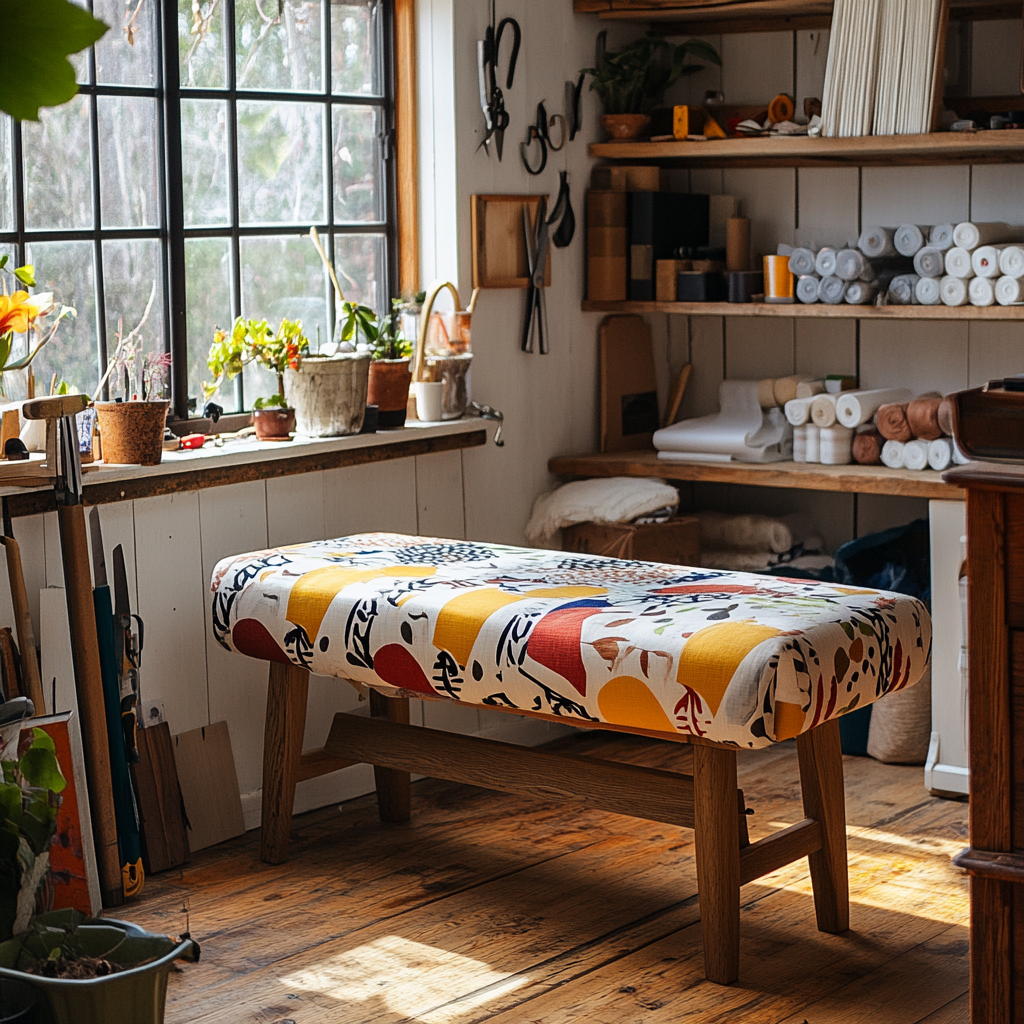
Step-by-Step Guide: How to Reupholster a Bench Easily
Reupholstering a bench may seem like a daunting task, but with the right tools and a bit of patience, you can transform your old piece of furniture into something fresh and stylish. This step-by-step guide will walk you through the entire process, ensuring you have all the information needed to tackle this DIY project. Not only will reupholstering breathe new life into your bench, but it will also allow you to customize it to fit your personal style.
Materials and Tools You’ll Need
Before diving into the reupholstering process, gather the following materials and tools:
- Upholstery fabric of your choice
- Staple gun and staples
- Scissors
- Screwdriver
- Needle-nose pliers
- Padding or foam (if needed)
- Fabric adhesive (optional)
- Measuring tape
- Marking chalk or fabric marker
- Hammer
Step 1: Remove the Old Upholstery
Begin by removing the existing upholstery from the bench. This process involves disassembling the bench, carefully taking off the fabric, padding, and any other components.
Disassembly
- Use a screwdriver to remove any screws that are holding the bench together.
- Keep all the screws and small components in a safe place, as you’ll need them for reassembly.
Removing the Fabric
- Use needle-nose pliers to remove staples or tacks that are securing the old fabric.
- Gently pull off the fabric, taking care not to damage the wood or foam underneath.
Step 2: Prepare the New Fabric
With the old fabric removed, it’s time to prepare the new upholstery material.
Measure and Cut the Fabric
- Measure the bench surface and add an extra 3-5 inches around all sides to ensure you have enough fabric to staple securely.
- Use marking chalk or a fabric marker to mark the measurements on the new fabric.
- Cut the fabric along the marked lines.
Prepare the Padding (Optional)
If the padding or foam on your bench is worn out, replace it to ensure maximum comfort.
- Cut the new padding or foam to match the dimensions of the bench.
- Use fabric adhesive if needed to attach the new padding to the bench seat.
Step 3: Attach the New Fabric
Now that your new fabric and padding are ready, it’s time to attach them to the bench frame.
Positioning the Fabric
- Lay the fabric flat and place the bench seat on top, ensuring it’s centered to avoid misalignments.
Stapling the Fabric
- Begin by pulling the fabric taut and stapling it to the center of one side of the bench seat.
- Move to the opposite side, pulling the fabric tight and adding another staple in the center.
- Repeat this process for the remaining sides, ensuring the fabric is evenly stretched and secured.
- Work your way towards the corners, adding staples at regular intervals, about 1-2 inches apart.
- When you reach the corners, fold the fabric neatly and secure it with additional staples.
Step 4: Reassemble the Bench
With the new upholstery securely in place, it’s time to reassemble the bench.
Attaching the Seat
- Align the bench seat with the frame and use the screws you set aside earlier to reattach it.
Final Touches
- Double-check that all screws are tight and the bench is sturdy.
- If necessary, use a hammer to tap in any staples that didn’t seat fully.
Maintenance and Care
Regular maintenance will keep your newly reupholstered bench looking fresh for years to come.
Cleaning Tips
To maintain the fabric:
- Vacuum regularly to remove dust and debris.
- Spot clean any spills immediately to prevent stains.
- Refer to the fabric care instructions for the best cleaning methods.
Protecting the Upholstery
- Consider using fabric protectors to make the upholstery more resistant to stains and spills.
- Avoid placing the bench in direct sunlight to prevent fading.
Conclusion
Reupholstering a bench is a rewarding DIY project that allows you to refresh your furniture while adding a personal touch. By following these step-by-step instructions, you can easily transform an old bench into a stunning piece that enhances your living space. With the right materials, tools, and a bit of creativity, your reupholstered bench will be both beautiful and functional. Remember to take your time, be patient, and enjoy the process of creating something uniquely yours.


