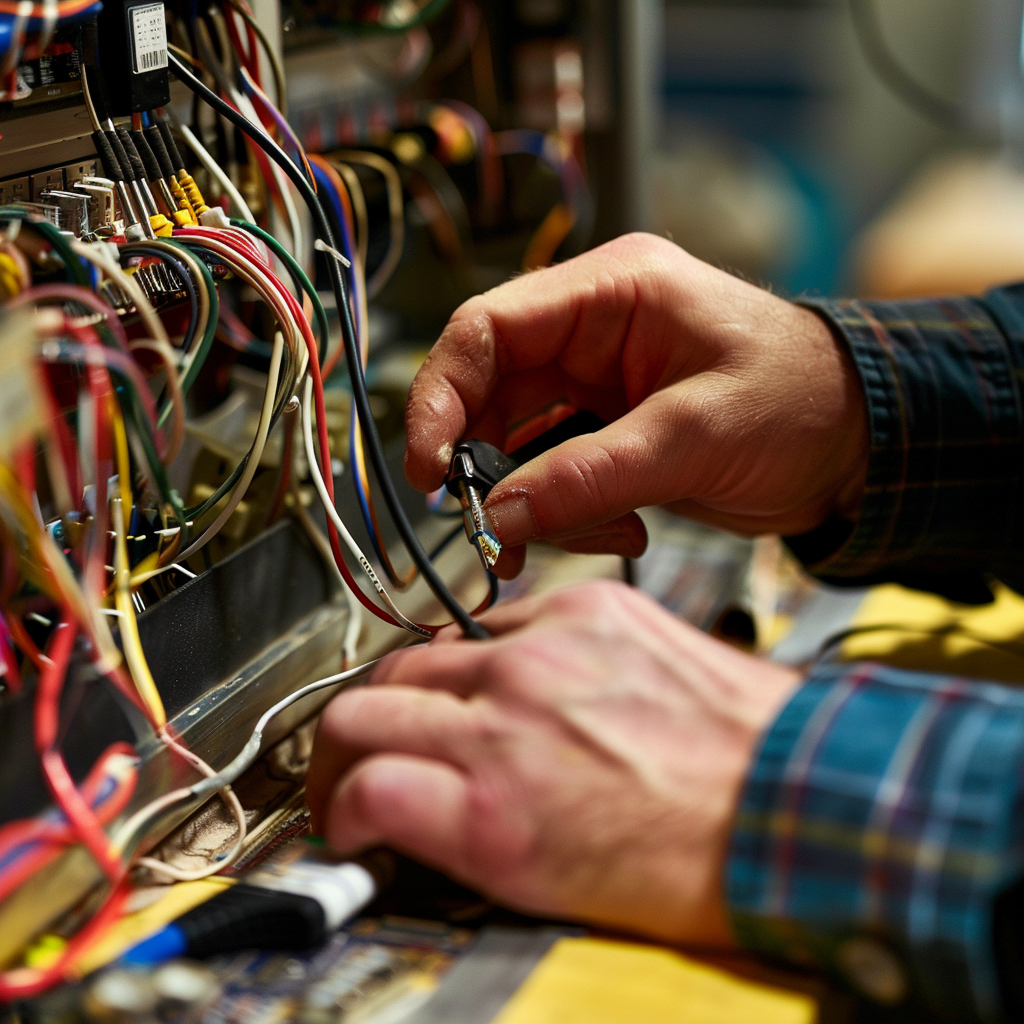
Step-by-Step Guide: Wiring a 50 Amp RV Plug Safely
Connecting a 50 Amp RV plug is essential for ensuring your recreational vehicle has sufficient power. A proper wiring job guarantees safety and reliability. Below, we’ll walk you through the step-by-step process of wiring a 50 Amp RV plug correctly and safely.
Materials and Tools You’ll Need
Before you start, ensure you have all necessary materials and tools. Here’s a checklist:
- 50 Amp RV power outlet
- 50 Amp double pole breaker
- 6/3 gauge wire (6 AWG for hot and neutral, 8 AWG for ground)
- Wire stripper
- Plug receptacle
- Wire cutters
- Screwdriver
- Voltage tester
- Electrical tape
- Safety gloves and glasses
Understanding the Basics
A 50 Amp RV plug typically has four prongs: two hot wires, one neutral wire, and one ground wire. This system provides two 120V hot wires, a neutral, and a ground. When combined, the two hot wires deliver 240V service.
Importance of Safety
Safety is paramount when working with electricity. To ensure a safe process, always:
- Turn off the main breaker to cut off the power supply.
- Use a voltage tester to confirm that the power is off.
- Wear safety gloves and glasses to protect yourself from potential electric shocks.
Step-by-Step Wiring Process
Following these steps ensures a secure and reliable 50 Amp RV plug connection.
Step 1: Turn Off the Power
The first safety measure is turning off the main power supply at your breaker box. Use a voltage tester to double-check that there is no active current.
Step 2: Install the Breaker
Next, you’ll need to install the 50 Amp double pole breaker. Here’s how:
1. Open the breaker panel cover.
2. Locate an available slot that can accommodate the double pole breaker.
3. Insert the breaker into the slot, firmly pressing it into place.
4. Connect the hot wires to the breaker’s terminals.
Step 3: Run the Wire
Carefully run the 6/3 gauge wire from the breaker panel to the location where you want to install the RV plug. Ensure it follows a secure path to prevent damage or interference.
Step 4: Prepare the Plug Receptacle
Now, focus on the receptacle where you’ll connect the wire. Follow these steps:
1. Strip about 6 inches of sheathing from the end of the wire.
2. With the wire stripper, remove about ½ inch of insulation from each individual wire.
3. Connect the wires to the respective terminals on the plug: black and red wires to X and Y terminals (hot wires), white wire to the neutral terminal, and green or bare wire to the ground terminal.
Step 5: Secure the Connections
Make sure all connections are tight and secure:
– Tighten the screws on the terminals to ensure there is no loose wire.
– Use electrical tape to wrap any exposed wires or terminals for added safety.
Step 6: Mount the Receptacle
Secure the plug receptacle into its designated box or mounting surface. This step ensures your setup is stable and protected.
Step 7: Connect the Breaker
Back at the breaker panel, connect the other end of the wires to their respective terminals:
1. Connect the black and red wires to the double pole breaker.
2. Connect the white wire to the neutral bus bar.
3. Connect the ground wire to the ground bus bar.
Final Checks and Testing
After you’ve made all the connections, follow these final steps to ensure everything is working correctly.
Step 1: Double-Check Connections
Verify all connections once more for tightness and accuracy. Ensure there are no loose strands or exposed wires.
Step 2: Turn On the Power
Turn the main power supply back on, followed by the newly installed 50 Amp breaker. Observe for any abnormal signs such as sparks or smoke. If everything looks good, proceed to the next step.
Step 3: Test the Voltage
Use a voltage tester to confirm the correct output voltage at the RV plug. Test between the:
- Two hot terminals (should read around 240V).
- Each hot terminal and the neutral (should read around 120V each).
- Each hot terminal and the ground (should also read around 120V each).
Step 4: Plug in Your RV
Once everything checks out, you can now safely plug your RV into the outlet. Ensure it receives power and operates correctly.
Troubleshooting
If you encounter any issues, consider the following:
- Double-check all connections: Loose or incorrect connections are common causes of problems.
- Verify breaker status: Ensure the breaker is properly installed and switched on.
- Consult a professional: If issues persist, it may be wise to seek professional help to avoid any potential hazards.
Conclusion
Wiring a 50 Amp RV plug safely requires a methodical approach and strict adherence to safety protocols. By following this comprehensive guide, you can ensure a safe, reliable, and efficient power connection for your RV. Regularly inspect your setup to maintain safety and functionality on your road adventures.


