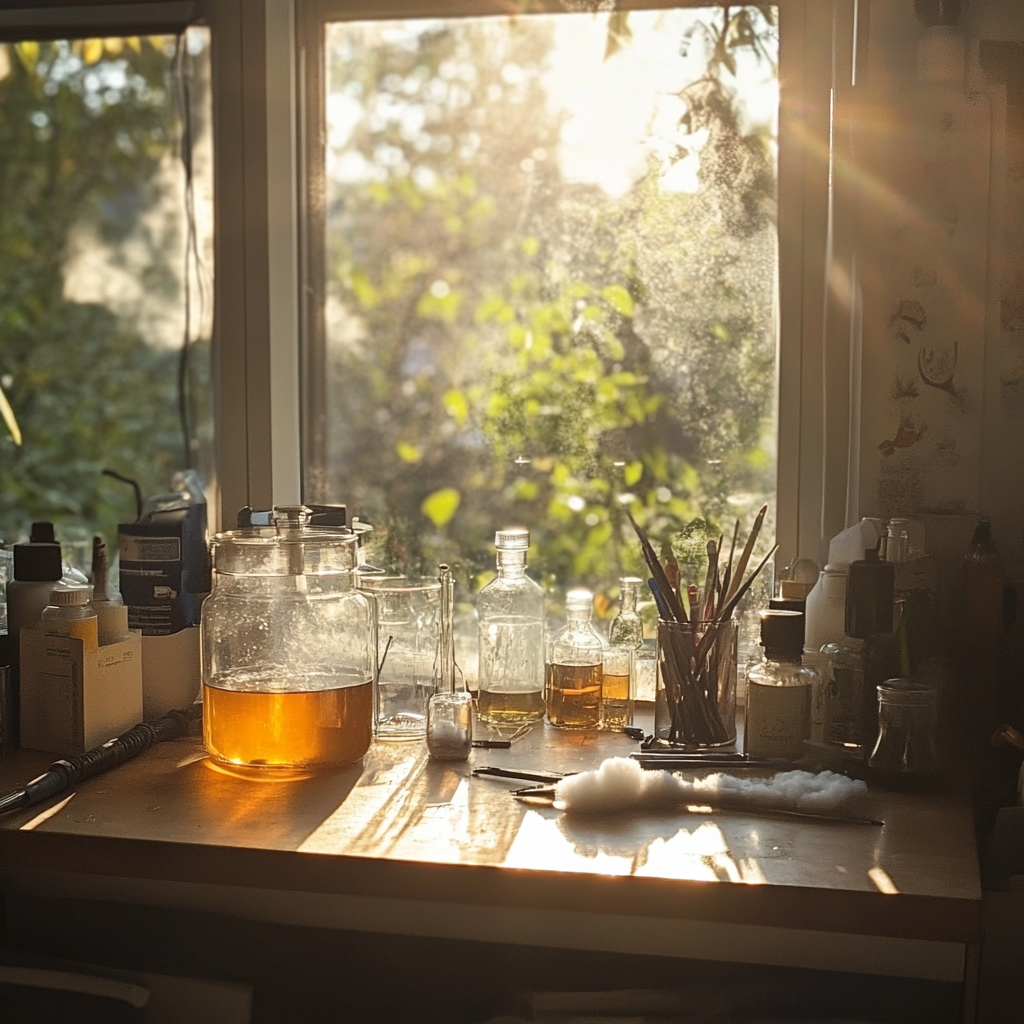
Ultimate Guide: How to Clean Your Nectar Collector Effortlessly
When it comes to maintaining your nectar collector, cleanliness is key. Ensuring that your dabbing device remains spotless not only enhances your experience but also prolongs its lifespan. This comprehensive guide will walk you through the essential steps to cleaning a nectar collector effortlessly, so you can enjoy a pure and flavorful session every time.
Why Cleaning Your Nectar Collector is Important
A nectar collector is a popular tool used for dabbing concentrates. Over time, residue builds up inside the device, which can affect the taste, aroma, and overall performance. Here are some critical reasons why you should keep your nectar collector clean:
- Optimal Performance: Resin and residue buildup can clog your nectar collector, reducing its efficiency and making it harder to draw.
- Health and Safety: Stale residue can harbor bacteria and other pathogens, posing health risks.
- Better Flavor: Clean devices offer a purer, more enjoyable flavor without the burnt taste of old residue.
- Longer Lifespan: Regular cleaning prevents wear and tear, ultimately extending the lifespan of your nectar collector.
Materials You’ll Need
Before diving into the cleaning process, gather the necessary materials. Here’s what you’ll need:
- Isopropyl Alcohol (ISO): Preferably 91% or higher for effective cleaning.
- Salt: Coarse sea salt or kosher salt acts as an abrasive to scrub off residue.
- Ziplock Bags/Seal Containers: For soaking the nectar collector parts.
- Paper Towels: For drying and wiping down after cleaning.
- Pipe Cleaners/Q-tips: To reach those tight spots within the device.
- Warm Water: For rinsing.
Step-By-Step Cleaning Instructions
Step 1: Disassembly
First, disassemble your nectar collector carefully. This typically involves removing the tip, body, and mouthpiece. Make sure you follow the manufacturer’s instructions for disassembly to avoid damaging any parts.
Step 2: Initial Rinse
Rinse each part under warm water to remove any loose debris and residue. Be cautious with the water temperature, as very hot water can crack certain materials.
Step 3: Soak the Parts
Place the disassembled parts in a ziplock bag or sealable container. Add enough isopropyl alcohol to submerge the pieces completely. Add a tablespoon or two of salt to the bag as well. The alcohol will dissolve the resin, while the salt acts as an abrasive agent.
Step 4: Shake and Agitate
Seal the bag securely and shake it gently for several minutes. The combination of alcohol and salt should start breaking down the residue. Repeat this process if necessary, until the parts appear noticeably cleaner.
Step 5: Deep Clean the Small Parts
For stubborn residue in tight spots, use pipe cleaners or Q-tips soaked in alcohol to scrub those hard-to-reach areas. Pay special attention to the tip and inner corners where buildup tends to be more significant.
Step 6: Final Rinse
Once you’re satisfied with the cleanliness of each part, rinse them thoroughly under warm water to remove any remaining alcohol and salt.
Step 7: Dry and Reassemble
Pat the parts dry with paper towels and allow them to air dry completely before reassembling your nectar collector. Reattach the components carefully, ensuring a snug fit.
Alternative Cleaning Methods
While isopropyl alcohol and salt are standard, there are other effective methods for cleaning your nectar collector:
Boiling Water
*Using boiling water is another method if you prefer to avoid chemicals:*
- **Disassemble the Nectar Collector:** Take apart the device completely.
- **Boil Water:** Fill a pot with water and bring it to a boil. Once boiling, remove it from heat.
- **Soak and Clean:** Submerge the parts in hot water for about 20-30 minutes.
- **Scrub if Needed:** Use pipe cleaners to scrub any remaining residue.
- **Rinse and Dry:** Rinse with clean water and dry thoroughly.
Specialized Cleaning Solutions
*There are also specialized bong and pipe cleaning solutions available in stores:*
- **Follow Instructions:** Use these solutions as per the manufacturer’s guidelines.
- **Soak:** Soak parts in the solution, usually for a prescribed duration.
- **Rinse and Dry:** Rinse thoroughly to remove any chemical residue, then allow to dry.
Tips for Maintaining a Clean Nectar Collector
Proactive maintenance extends the time between deep cleanings. Here are some tips to keep your device cleaner for longer:
- Rinse After Each Use: Briefly rinse your nectar collector with warm water after each use to prevent buildup.
- Avoid Overloading: Using too much concentrate creates excessive residue. Use moderate amounts for cleaner sessions.
- Regular Cleaning Schedule: Establish a regular cleaning routine, perhaps weekly or bi-weekly, depending on usage.
- Store Properly: Store your nectar collector in a clean, dry place to prevent dust and debris accumulation.
Conclusion
Learning how to clean your nectar collector effortlessly is essential for ensuring a premium dabbing experience. By following these steps and maintaining a regular cleaning routine, you’ll keep your device in top notch condition, allowing for flavorful and safe sessions every time. Happy dabbing, and keep your nectar collector sparkling clean!


