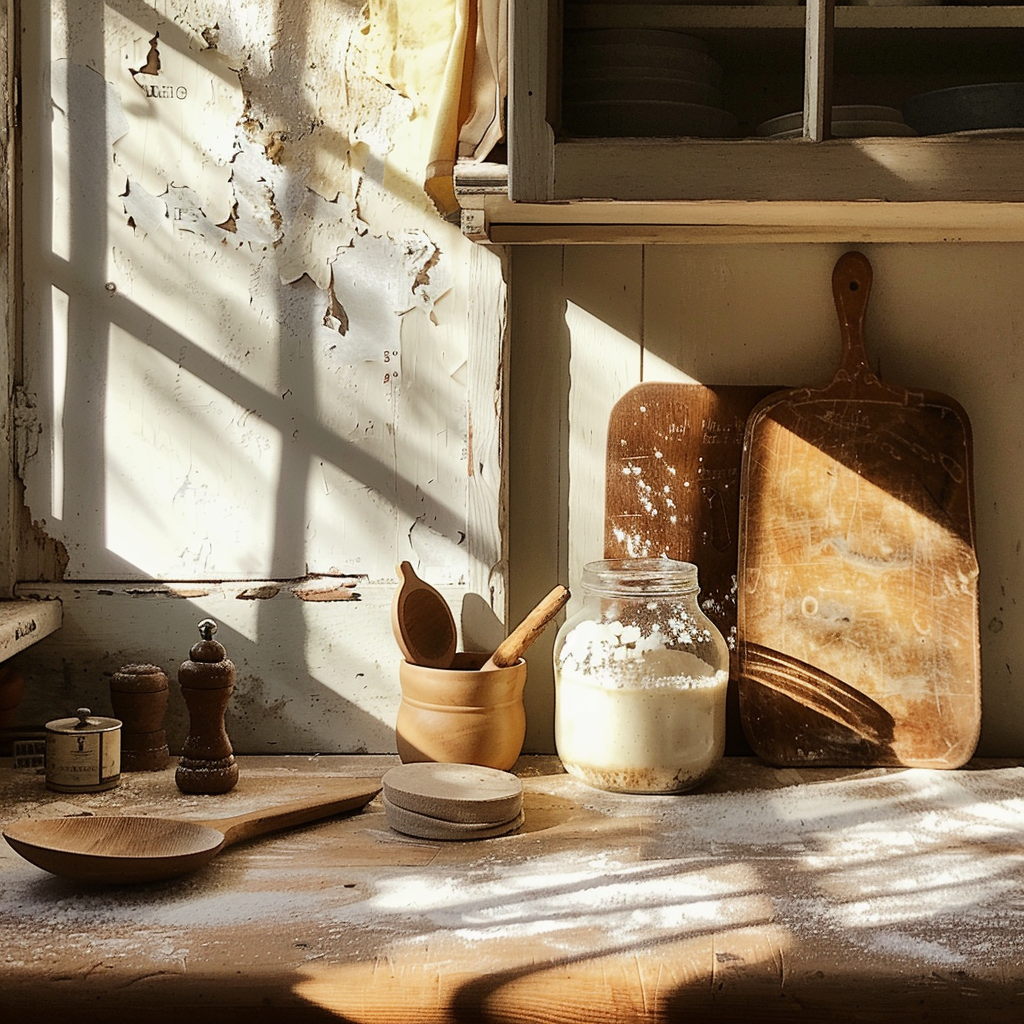
Ultimate Guide: How to Dry Your Sourdough Starter At Home
Are you a sourdough enthusiast looking to preserve your bubbly and active sourdough starter for future use or for sharing with friends and family? Drying your sourdough starter is a simple and effective way to ensure you always have a backup. Not only does it offer convenience, but it also extends the life of your beloved starter without requiring constant feeding. Follow this detailed guide to learn how to dry your sourdough starter at home successfully.
Why Dry Your Sourdough Starter?
Drying your sourdough starter has numerous benefits:
- Long-Term Storage: When dried, your sourdough starter can be stored indefinitely without the need for regular feedings.
- Convenient Sharing: Easily share portions of your dried sourdough starter with friends, family, or fellow baking enthusiasts.
- Travel-Friendly: Take your starter with you on the go without the hassle of maintaining it daily.
- Backup Insurance: Ensure you have a backup in case your live starter experiences issues.
Materials Needed
Before you begin the process, gather the necessary materials:
- Active sourdough starter
- Parchment paper or silicone baking mat
- Rubber spatula
- Baking sheet or flat surface
- Food processor or mortar and pestle (optional)
- Airtight container or resealable bags
- Permanent marker for labeling
Steps to Dry Your Sourdough Starter
Step 1: Prepare the Starter
Ensure your sourdough starter is fully active and bubbly before beginning the drying process. Feed your starter 4-6 hours before you start, allowing it to reach its peak activity.
Step 2: Spread the Starter
Lay out a sheet of parchment paper or a silicone baking mat on a baking sheet or other flat surface. Using a rubber spatula, evenly spread a thin layer of the active sourdough starter (about 1/8 inch thick) across the parchment paper or mat. The thinner the layer, the faster it will dry.
Step 3: Let It Dry
Place the baking sheet in a cool, dry place with good airflow. Depending on the humidity level in your home, drying can take anywhere from 24 to 48 hours. During this time, avoid disturbing the sheet. For optimal drying:
- Ensure the room temperature is between 60-75°F (16-24°C).
- Use fans or open windows to improve air circulation.
**Note:** Do not use an oven or dehydrator, as high heat can damage the natural yeast and bacteria in the starter.
Step 4: Check for Complete Drying
After 24-48 hours, check the starter to see if it has fully dried. The dried starter should be brittle and break easily into small pieces. If it feels sticky or damp in any areas, allow it to dry for additional time, checking periodically.
Step 5: Break and Crush the Dried Starter
Once the starter is completely dry, break it into small pieces. For finer storage and easier rehydration later, you can crush the pieces into a powder using a food processor or a mortar and pestle. Coarser pieces are also acceptable if you prefer larger chunks.
Step 6: Store the Dried Starter
Transfer the dried starter or powder into an airtight container or resealable bags. Ensure the container is sealed tightly to protect it from moisture and air exposure, which can spoil the starter. Label the container with the date and type of starter for future reference.
Rehydrating Your Dried Sourdough Starter
When you’re ready to use your dried sourdough starter, follow these steps to rehydrate and revive it:
Rehydration Process
- Step 1: Measure out 1 tablespoon of the dried starter and place it in a clean bowl.
- Step 2: Add 1/4 cup of lukewarm water to the bowl, stirring to dissolve the dried starter as much as possible. Let it sit for a few hours or until the mixture becomes bubbly.
- Step 3: Once bubbles appear, feed the rehydrated starter with 1/4 cup of flour and 1/4 cup of water. Stir until well-combined.
- Step 4: Allow the mixture to sit at room temperature for 12-24 hours, or until you see noticeable activity and expansion.
- Step 5: Continue feeding the starter every 12 hours with equal parts flour and water until it becomes active and bubbly, usually within 2-3 days.
**Note:** You can scale up the feeding amounts as the starter grows stronger and more active.
Tips for Success
- Use high-quality ingredients: Ensure you use good-quality flour and water, free from chlorine or other contaminants.
- Monitor humidity: High humidity can prolong drying time. If necessary, use a dehumidifier in the drying area.
- Label and date: Always label and date your dried starter to know when it was stored and the type of flour used.
- Store properly: Keep your dried starter in a cool, dry place away from direct sunlight.
Drying your sourdough starter at home is a straightforward process that can provide you with a convenient and long-lasting way to preserve and share your cherished starter. By following these detailed steps and tips, you’ll have a successful result and never have to worry about starting from scratch again. Happy baking!


