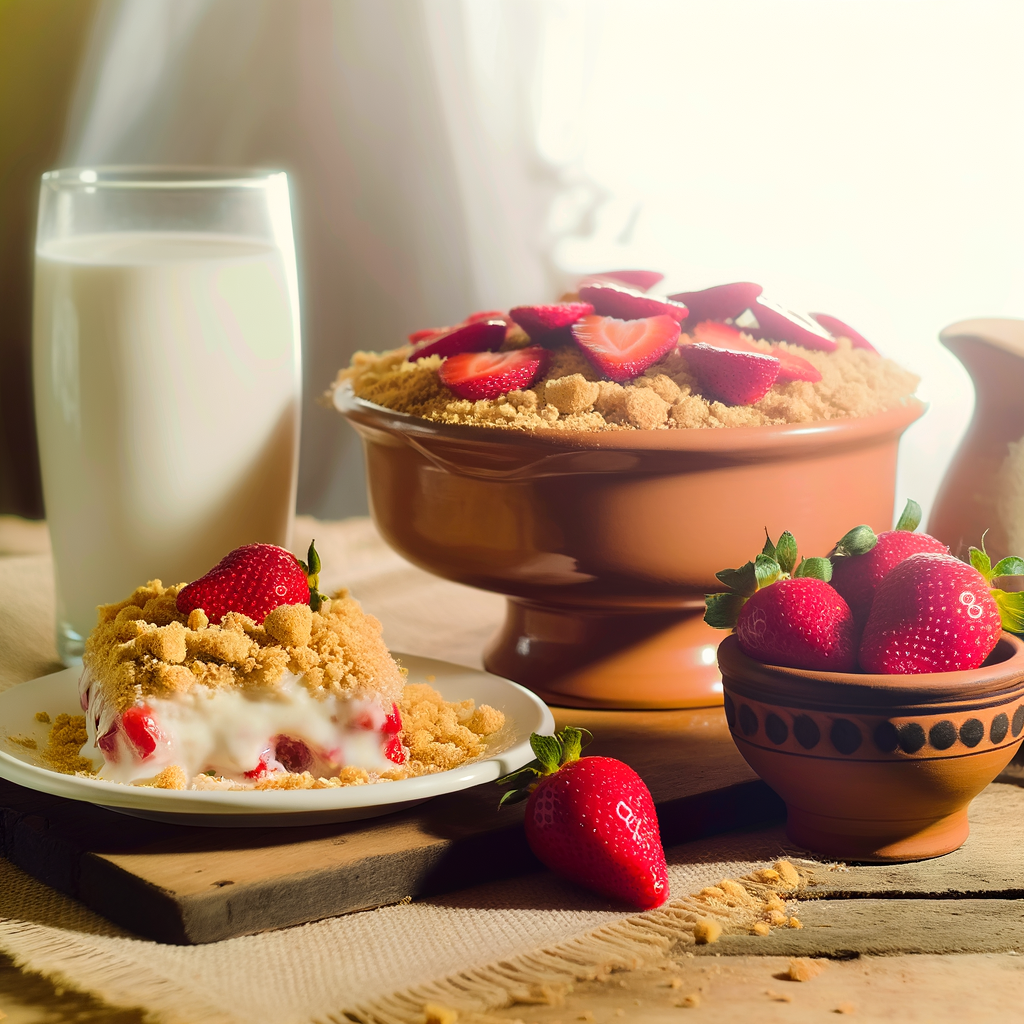
Ultimate Guide: How to Make Delicious Strawberry Crunch at Home
Nothing beats the joy of making a delicious dessert right in the comfort of your home. Today, we’ll walk you through creating a mouth-watering Strawberry Crunch that will leave your taste buds tingling and your guests impressed. Let’s dive in!
Ingredients You’ll Need
To start off, gather all the ingredients for this delightful treat. Here’s what you’ll need:
For the Crunch Topping:
- 1 cup crushed vanilla cookies
- 1/2 cup crushed freeze-dried strawberries
- 1/4 cup melted butter
- 2 tablespoons granulated sugar
For the Strawberry Filling:
- 2 cups fresh strawberries, hulled and sliced
- 1/4 cup granulated sugar
- 1 tablespoon lemon juice
- 1 teaspoon cornstarch
For the Cream Layer:
- 1 cup heavy whipping cream
- 1/4 cup powdered sugar
- 1 teaspoon vanilla extract
Step-by-Step Instructions
Step 1: Prepare the Crunch Topping
Start by making the Crunch Topping. Mix together the crushed vanilla cookies, crushed freeze-dried strawberries, melted butter, and granulated sugar until well combined.
- Preheat your oven to 350°F (175°C).
- Spread the mixture evenly on a baking sheet lined with parchment paper.
- Bake for about 10 minutes or until golden and fragrant. Let it cool completely.
Step 2: Make the Strawberry Filling
While your Crunch Topping is cooling, proceed to prepare the Strawberry Filling.
- In a medium saucepan, combine the sliced strawberries, granulated sugar, lemon juice, and cornstarch.
- Cook over medium heat, stirring continuously until the mixture starts to thicken. This should take around 5-7 minutes.
- Remove from heat and let it cool completely.
Step 3: Whip Up the Cream Layer
The next step is to make the whipped cream layer perfect for adding richness to your Strawberry Crunch.
- In a large mixing bowl, add the heavy whipping cream, powdered sugar, and vanilla extract.
- Using an electric mixer, beat the mixture until stiff peaks form. Be careful not to overmix, as this can cause the cream to turn into butter.
Step 4: Layer It Up
Here comes the fun part: layering all the components to assemble your Strawberry Crunch.
- Grab a clear baking dish or small individual serving cups for a stunning presentation.
- Start with a bottom layer of the cooled Crunch Topping.
- Follow this with a layer of the cooled Strawberry Filling.
- Add a generous layer of whipped cream.
- Repeat the layers if you have a deep dish or until you run out of ingredients, ensuring the topmost layer is the Crunch Topping for that perfect finish.
Step 5: Chill and Serve
For the best flavor and texture, chill the assembled Strawberry Crunch in the refrigerator for at least 2 hours.
- This allows the flavors to meld together beautifully.
- Once chilled, garnish with fresh mint leaves or additional sliced strawberries for a decorative touch.
Tips for Perfect Strawberry Crunch
To make sure your Strawberry Crunch is a grand success, consider these helpful tips:
- Quality Ingredients: Use fresh and high-quality ingredients to ensure a delicious taste.
- Even Layering: Make sure each layer is even to achieve a balanced flavor in every bite.
- Don’t Skip Chilling: Allowing the dessert to chill ensures that it sets properly and the flavors are perfect.
- Experiment: Feel free to switch up the cookies or even add a splash of liqueur to the whipped cream for a grown-up twist.
Why You’ll Love This Recipe
Here are some reasons why this Strawberry Crunch recipe will win you over:
- Easy to Make: It doesn’t require any complicated techniques or special equipment.
- Customizable: You can easily adjust the ingredients to suit your dietary needs or preferences.
- Family-Friendly: This dessert can be enjoyed by kids and adults alike.
- Impressive Presentation: The layered look is both pleasing to the eye and palate.
Conclusion
Making Strawberry Crunch at home is not only easy but also incredibly rewarding. With its perfect balance of crunch, creaminess, and fresh berry flavor, it’s sure to become a favorite in your household. Follow these steps, and you’ll have a dessert that’s as pleasing to the eye as it is to the taste buds.
Give this recipe a try, and let us know how it turned out! Happy cooking!


