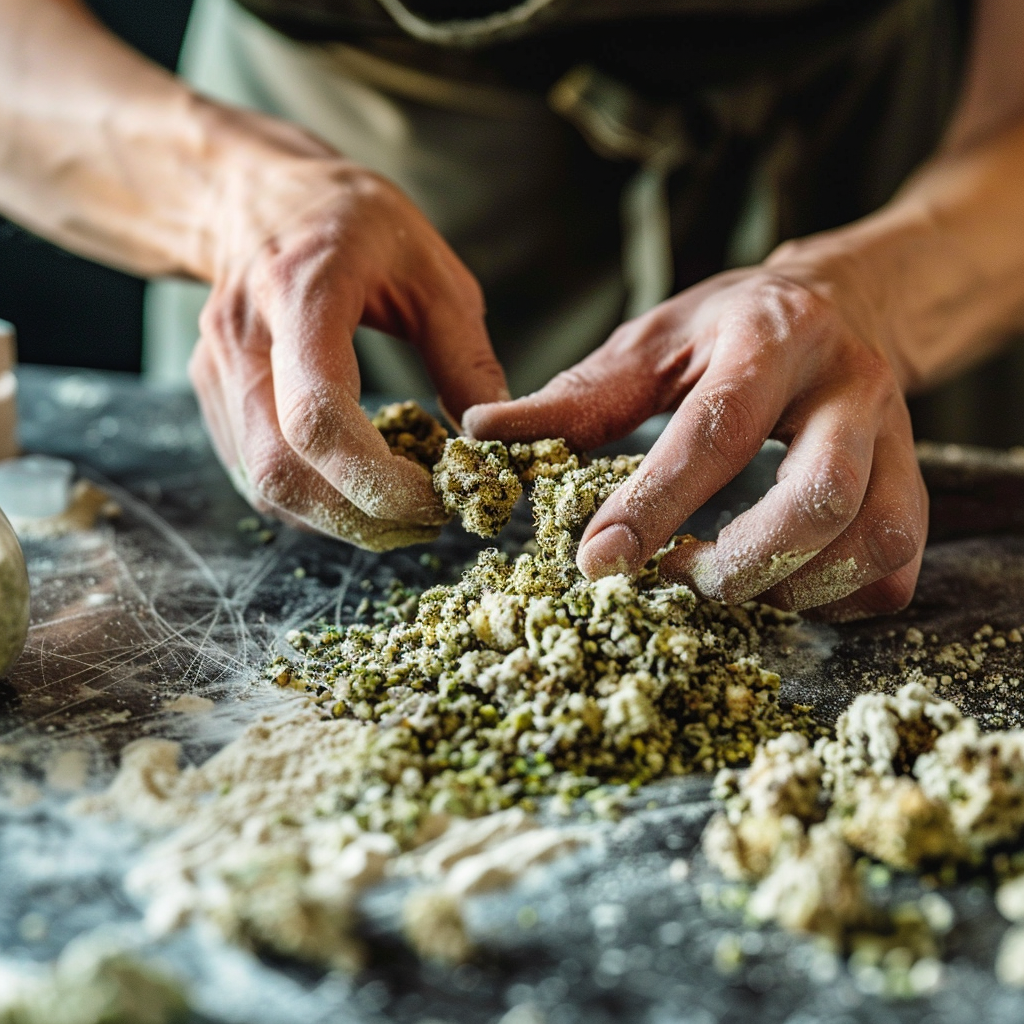
Ultimate Guide: How to Make Moonrocks for Beginners
Moonrocks are a cannabis product known for their potency and unique preparation. By combining three main components—bud, concentrate, and kief—you can create an experience that’s out of this world. This guide will take you through the process step-by-step, ensuring you can make your own moonrocks with ease.
What You’ll Need
Before diving into the creation process, gather the following materials:
- Quality Bud: Select a strain that suits your preference.
- Cannabis Concentrate: Options include hash oil, shatter, or wax.
- Kief: This is the trichome crystals collected from the cannabis plant.
- Tools: Tweezers, a small brush, and a dropper (if using liquid concentrate).
- Disposable Gloves: To keep your hands clean and avoid wasting product.
Step-by-Step Guide to Making Moonrocks
Step 1: Preparing the Bud
Choose a dense and well-cured bud. Make sure it’s not too dry as this will help the concentrate adhere better. Some prefer using a whole gram nug to ensure uniformity.
It’s a good idea to wear gloves during this step to avoid sticking resin on your fingers.
Step 2: Applying the Concentrate
Using your preferred concentrate, apply it carefully to the bud. If you have a liquid concentrate, use a dropper to coat the bud evenly. For more solid concentrates like shatter or wax, warm it slightly to make it easier to handle with a brush or dab tool.
Ensure you cover the entire surface of the bud but avoid using too much, as it can make the bud difficult to handle later.
Step 3: Coating with Kief
After the bud is thoroughly coated with concentrate, it’s time to roll it in kief. Place your kief in a shallow dish for easy access and roll the sticky bud in it. Use tweezers to handle the bud and ensure an even coating. The kief will stick to the concentrate, creating that signature moonrock texture.
Step 4: Let It Dry
Once your moonrock is completely coated, let it sit and dry. This can take anywhere from a few hours to a day, depending on the humidity and temperature of your drying area.
Ensure your moonrock is completely dry before moving on to the next steps.
Tips for Using Moonrocks
- Handling: Due to their sticky nature, avoid using grinders. Instead, use small scissors or your fingers to break them up gently.
- Smoking: Use a pipe or bong for the best experience. Moonrocks can be tricky to use in joints due to their density and stickiness.
- Storage: Keep moonrocks in an airtight container to preserve their potency and prevent them from drying out.
Benefits of Making Your Own Moonrocks
Crafting your own moonrocks comes with several advantages:
- Customization: Choose your preferred strains and concentrates to create a personalized experience.
- Cost-Efficiency: Making moonrocks at home can be more affordable than buying them pre-made.
- Control Over Ingredients: Ensure you’re using high-quality, safe products by sourcing your own materials.
Frequently Asked Questions
How Potent are Moonrocks?
Moonrocks are known for their high THC content, typically ranging from 50% to 90%, depending on the products used. This makes them significantly more potent than standard flower.
Can I Use Moonrocks in Edibles?
While possible, it’s not the most efficient use of moonrocks given their potency and the special preparation process. It’s recommended to enjoy them through smoking or vaping.
Are Moonrocks Suitable for Beginners?
Due to their high THC concentration, moonrocks are best for experienced cannabis users. Beginners may find the effects overwhelming and should proceed with caution.
Conclusion
Making moonrocks is a rewarding way to elevate your cannabis experience. With the right materials and careful preparation, even beginners can create these potent nuggets at home. Whether you’re looking to customize your high or save money, moonrocks offer a unique and unforgettable journey.
Remember to always consume responsibly and enjoy the process of crafting your own moonrocks. Happy toking!


