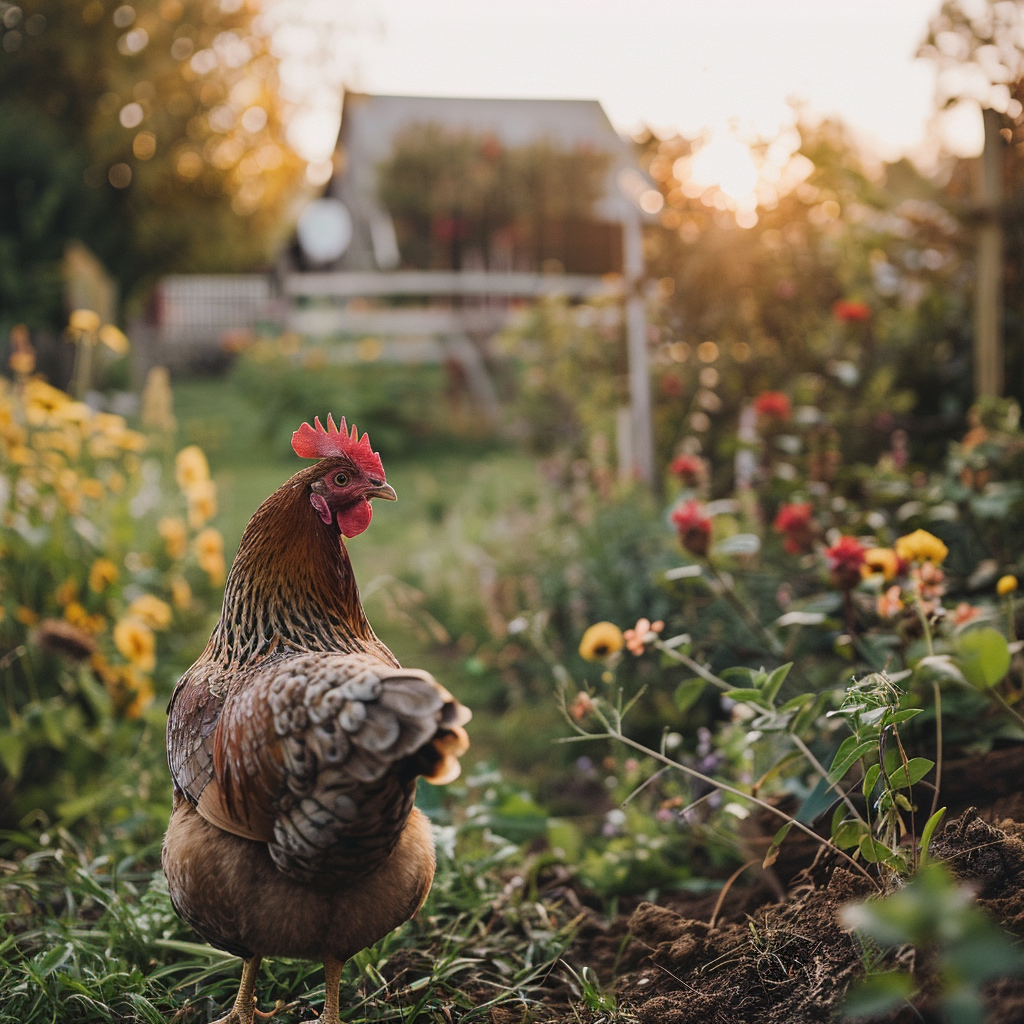
Ultimate Guide to Successfully Cull a Chicken for Beginners
Culling a chicken can be a daunting task for beginners, but with the right knowledge and preparation, it can be done humanely and efficiently. This guide will walk you through every step of the process, from preparation to execution, ensuring you have all the information needed to perform this task successfully.
Preparation
Gather Your Tools
Before you begin, you’ll need to gather the necessary tools. Here’s a list of what you’ll need:
- Sharp Knife: A sharp knife is essential for a quick and humane cut.
- Cones or Restraints: These help keep the chicken calm and contained during the process.
- Bucket: For catching blood, minimizing mess, and maintaining hygiene.
- Hot Water (approx. 150°F or 65°C): For scalding the chicken to facilitate feather removal.
- Plucker or Plucking Tools: Depending on your scale, you can use an automatic plucker or do it manually.
- Iced Water: For cooling the bird after processing to maintain meat quality.
Choose the Right Chicken
Selecting the right chicken to cull is an important step. Consider these factors:
- Age: Older birds often have tougher meat, while younger birds may provide more tender meat.
- Health: Only cull healthy chickens to ensure the quality and safety of the meat.
- Breeds: Some breeds are better suited for meat production. Know your breed’s purpose.
The Process
Step 1: Calm the Chicken
Before starting, ensure the chicken is calm. Handling the bird gently and speaking in a soothing tone can help reduce stress. Place the chicken in the restraint cone to keep it secure and still.
Step 2: Bleeding
This step is crucial for humane killing and meat quality. Make a quick, decisive cut on both sides of the chicken’s neck, just below the jawline. This severs the jugular veins and carotid arteries, allowing the blood to drain quickly. Ensure you have a bucket beneath to catch the blood.
Step 3: Scalding
After the chicken has bled out, immerse it in hot water (approximately 150°F or 65°C) for about 30 seconds to a minute. This loosens the feathers, making them easier to pluck. Keep the bird submerged but agitate it slightly to ensure all feathers are properly soaked.
Step 4: Plucking
Once scalded, proceed to pluck the feathers. If using a mechanical plucker, follow the manufacturer’s instructions. If plucking by hand, start with the larger feathers and work your way to the smaller ones. This step may take some time but is essential for a clean bird.
Step 5: Evisceration
Evisceration, or gutting, is the process of removing the internal organs. Make an incision near the vent (anus) and carefully extract the organs. Be cautious not to puncture the intestines or other organs, as this can contaminate the meat.
Step 6: Cooling
Place the processed chicken in iced water to cool it rapidly. This step is critical to maintain meat quality and prevent bacterial growth. Let the bird cool for at least 30 minutes.
Aftercare and Hygiene
Cleaning and Sanitation
Post-processing hygiene is paramount. Ensure all tools and surfaces are thoroughly cleaned and sanitized. Dispose of waste materials properly to prevent attracting pests.
Storing the Meat
Proper storage is crucial to maintain the quality of your chicken. Here are some tips:
- Refrigerate: Store the chicken in the refrigerator for up to two days.
- Freeze: For longer storage, vacuum seal and freeze the chicken. It can be stored for several months this way.
- Label: Always label your packages with the date to keep track of freshness.
Final Thoughts
Culling a chicken may seem overwhelming for beginners, but with the right preparation and steps, it can be done humanely and efficiently. Remember to stay calm and focused during the process. Your first time may not be perfect, but with practice, it will become easier and more efficient. The key is to respect the animal and the process, ensuring the end product is of the highest quality.


